Troubleshooting Skipped Stitches, Needle Breakage, and Puckering
Three defects account for a large share of daily downtime on industrial sewing floors: skipped stitches, needle breakage, and puckering. This article walks through the mechanical causes of each, the diagnostic sequence a technician should follow, and the role that sewing machine accessories — presser feet, feed dogs, needle plates, and hooks — play in resolving them. The goal is a repeatable troubleshooting routine, not a list of guesses.
Related guide: roller presser foot — types, fitting and machine compatibility.
Before touching any adjustment, confirm two baselines: the needle is correct for the material and machine class, and the thread path is clean from spool to needle eye. A surprising number of "machine faults" reported by operators trace back to a needle installed backwards or a thread snagged on a guide. Rule those out first, then work through the mechanisms below.
Skipped Stitches: Where the Loop Actually Fails
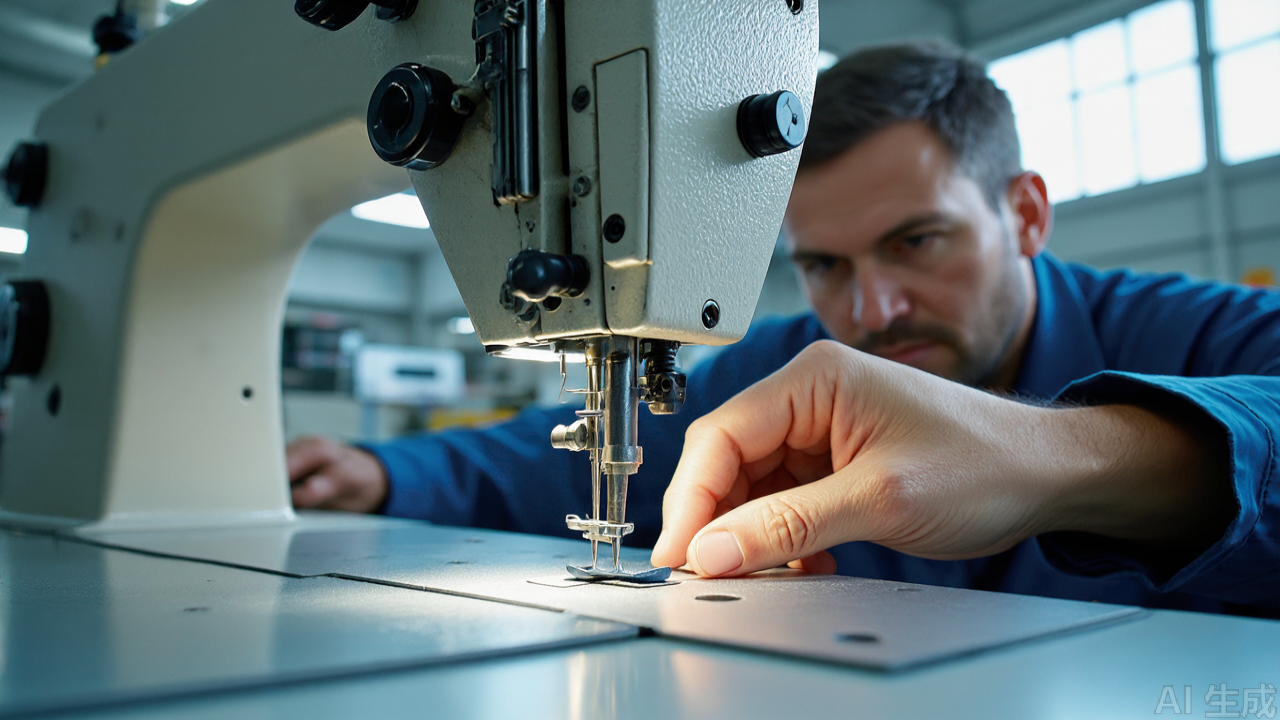
A skipped stitch means the rotary hook failed to catch the needle thread loop as it formed. The fault lies in one of three zones: loop formation, hook timing, or needle-to-hook clearance. Work through them in that order.
Check the needle and loop formation first
- Needle condition: A bent, blunt, or incorrectly sized needle will not form a consistent loop. Replace rather than straighten. On a lockstitch machine, a needle one size too small for the thread lets the loop collapse before the hook arrives.
- Needle orientation: The scarf must face the hook. On most flat-shank industrial needles the long groove faces the operator, but this varies by machine — verify against the manual, not habit.
- Needle bar height: If the needle is set too high or too low, the loop forms outside the hook's path. This is a common cause after a needle bar has been replaced or disturbed.
Then check hook timing and clearance
Hook timing drift is the second most common cause. The hook point should reach the needle's scarf just as the loop forms, typically when the needle has risen a small, machine-specific distance from bottom dead center. If timing is late, the loop is already pulled away; if early, the hook passes before the loop exists.
Needle-to-hook clearance matters just as much. Too large a gap and the hook misses the loop; too small and the hook strikes the needle, which also causes breakage. Set clearance to the manufacturer's specification — usually a few thousandths of an inch — and re-check after any adjustment to the needle bar.
Parts that contribute to skipping
- A worn or burred needle plate can deflect the needle and disturb loop geometry.
- A feed dog with rounded teeth allows fabric to slip, changing stitch formation timing.
- A hook with a dulled or chipped point will miss loops intermittently — inspect under magnification before condemning the timing.
- Incorrect presser foot pressure lets the fabric lift with the needle, preventing loop formation. This is especially common on knits and stretch wovens.
Needle Breakage: Distinguish the Failure Pattern
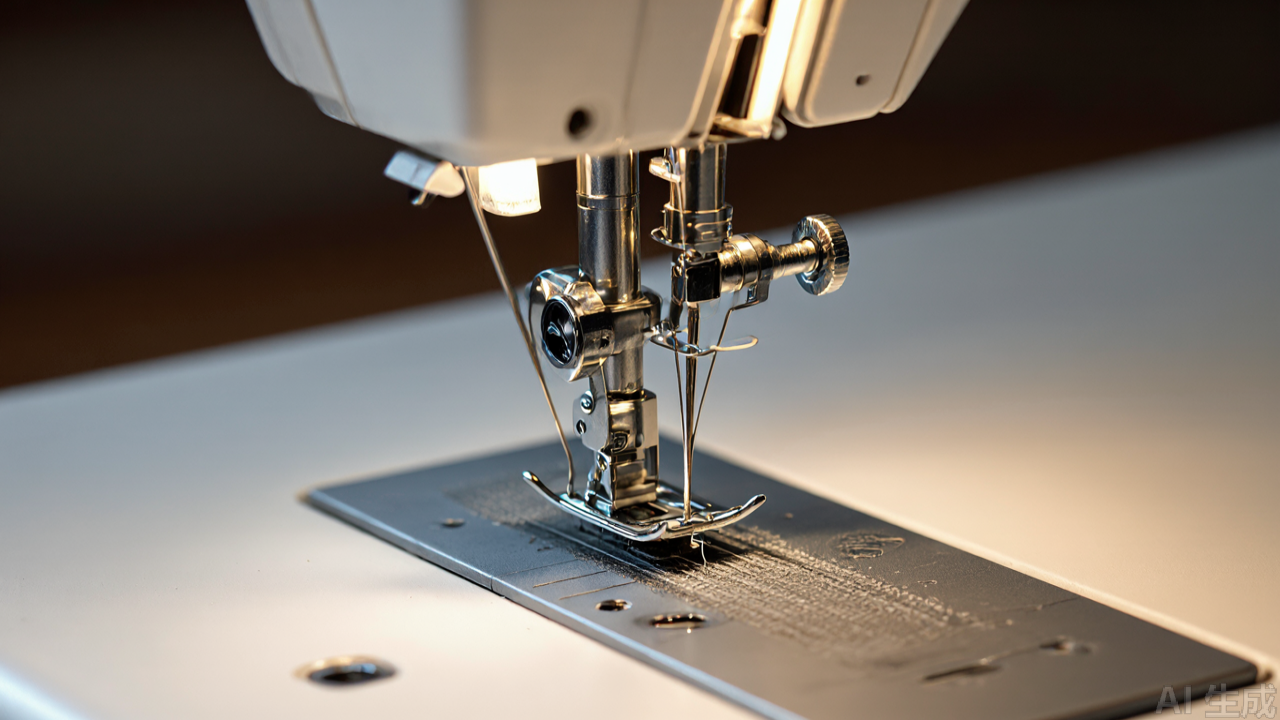
Needle breakage is rarely random. The failure pattern — where the needle snaps and how often — points directly to the cause. Ask the operator to save the broken needles; the break location is diagnostic.
Break at the eye or mid-shank
A break near the eye usually indicates the needle is striking something below the plate: a misaligned hook, a damaged needle plate hole, or a feed dog set too high. Check the plate for burrs and confirm the hook clearance. A break mid-shank often points to excessive deflection from lateral pull — heavy fabric being steered by hand, or a presser foot that does not hold the material securely.
Break at the shank or repeatedly in the same spot
- Bent needle bar or loose needle clamp: The needle enters at an angle and contacts the plate edge. Check the bar for true, and confirm the clamp screw holds firmly without over-tightening.
- Wrong needle system: A needle of incorrect length or shank style seats improperly and changes the timing relationship. Confirm the system number, not just the size.
- Fabric handling: Pulling or pushing fabric through the machine deflects the needle into the plate. Operators should guide, not drag.
- Presser foot and feed dog mismatch: A foot that is too narrow for the application, or a feed dog that does not match the stitch length, forces the operator to compensate by pulling.
One trade-off worth noting: increasing presser foot pressure reduces needle deflection on heavy material but increases the risk of puckering on light fabric. There is no single setting that suits every job — the pressure must be matched to the material, and that means documenting settings per style.
Puckering: Separate the Causes Before Adjusting Tension
Puckering is the defect operators most often try to fix with thread tension alone, and it is the one where that approach most often fails. Puckering has at least four distinct causes, and they require different corrections.
Tension-induced puckering
Excessive needle or bobbin thread tension contracts the seam and pulls the fabric into ridges. Test by sewing a sample on scrap of the same material and examining both sides. If the seam relaxes when tension is reduced but the stitch still forms correctly, tension was the cause. Note that on a lockstitch machine, bobbin tension changes should be made in small increments — a quarter turn at a time — and re-tested.
Feed-induced puckering
When the feed dog advances more fabric than the needle can accommodate, or when the presser foot drags, the material compresses ahead of the needle and forms fine, evenly spaced puckers. This is common on lightweight and stretch fabrics. Causes include:
- Feed dog height set too high, lifting the fabric with each stroke.
- Presser foot pressure too heavy for the material.
- A presser foot with a rough or worn sole that grips and drags.
- Stitch length too long for a delicate fabric.
Material and thread interaction
Some puckering is inherent to the combination of a fine fabric and a relatively stiff thread. A thread that is too heavy for the material will not lie flat in the seam and pulls the fabric as it relaxes. Matching thread weight to fabric weight resolves more puckering complaints than any machine adjustment.
Where specialty presser feet help
For lightweight and slippery materials, a roller presser foot reduces friction and drag compared with a standard flat foot, which lowers feed-induced puckering. Roller feet are also useful on leather and coated fabrics where a standard foot tends to stick. For hemming operations, a rolled hemmer foot — sometimes listed as a sewing rolled hem foot — controls the fabric edge and reduces the manual handling that contributes to wavy seams. These are specialty presser feet with specific applications; they are not universal fixes, and a roller foot can reduce visibility at the needle on fine work, which some operators dislike.
A Practical Diagnostic Sequence
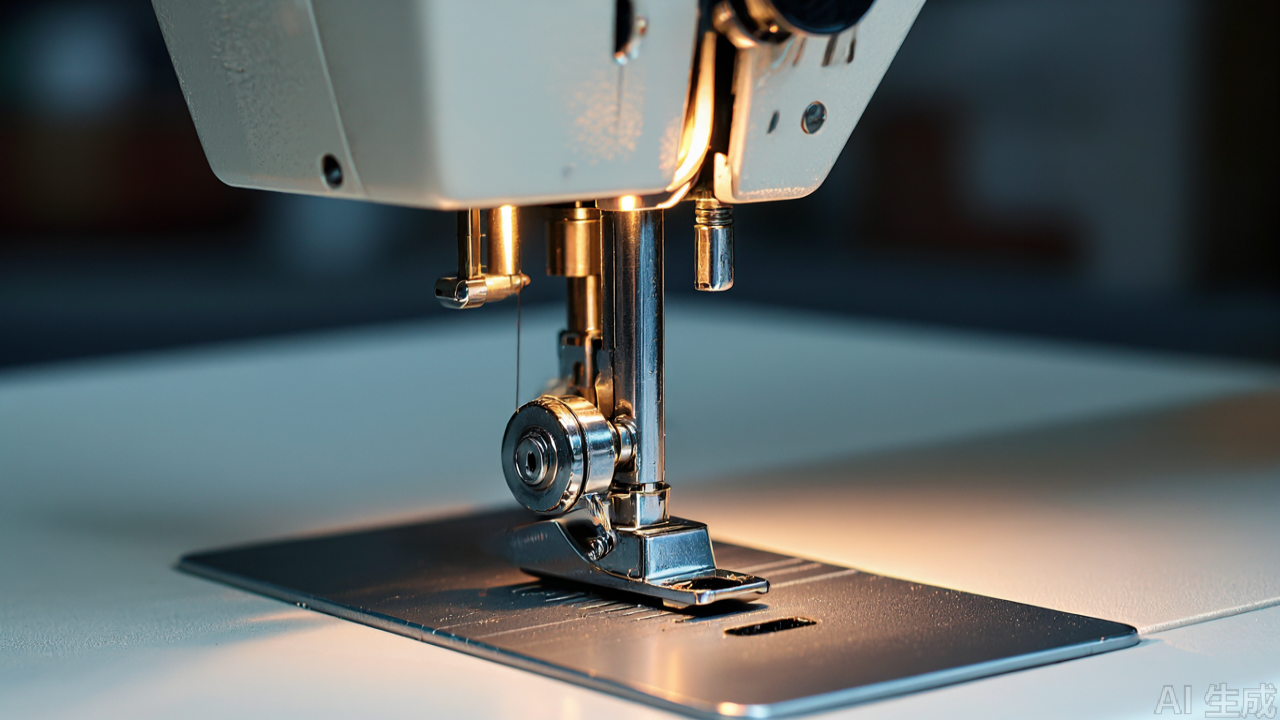
When a defect appears, work from least invasive to most invasive. This order avoids introducing new faults while chasing an old one.
- Confirm the consumables: needle condition, needle system, thread path, bobbin winding quality.
- Confirm the setup: needle bar height, hook timing and clearance, feed dog height, presser foot pressure.
- Inspect the parts: needle plate for burrs, feed dog for wear, hook point for damage, presser foot sole for roughness or deformation.
- Match to the material: thread weight, needle size and point style, stitch length, foot type.
- Document the fix: record the settings that worked for each style so the next run starts from a known baseline.
For buyers and factory managers, the practical implication is that industrial sewing machine parts quality directly affects defect rates. A hook with a properly polished point, a needle plate with a clean hole and no burrs, and a feed dog with sharp, consistent teeth reduce the frequency of all three defects described here. When sourcing, request dimensional drawings and material specifications rather than relying on model numbers alone, and inspect sample batches for burrs and surface finish. A China sewing parts supplier with documented quality control can be a reliable source, but the specification has to be written down and verified — verbal assurances do not hold up on the floor.
For reference, the full catalog of presser feet, feed dogs, needle plates, bobbins, and hooks described in this article is documented at pinseam.com, including model numbers and dimensional data for matching against machine specifications.
Summary
Skipped stitches trace to loop formation, hook timing, or clearance. Needle breakage is diagnosed by the break location. Puckering has four distinct causes and should not be treated with tension adjustment alone. In all three cases, the fastest path to a fix is a fixed diagnostic sequence, correct consumables, and parts that meet specification. Record what works — the next shift will need it.
Need this part for your workshop?
Get a Free Quote on WhatsApp: +86 137 3825 6697Browse the full catalog at pinseam.com · Free 2026 full catalog (PDF) · Related guide: roller presser foot
📢 New arrivals & factory updates on Telegram — join our channel
Edited by the technical team at PL (Professional Leader) — high-quality sewing machine accessories from China. About our factory | Catalog: pinseam.com | WhatsApp: +86 137 3825 6697 | Telegram: @plsewingparts
Explore Our Parts Guides
- multifunctional needle threader guide — how to use & choose
- jack multifunctional needle threader — one-second threading
- sewing machine accessories, needle threaders & thread guides
- industrial & magnetic seam guides
- presser foot guide: types & compatibility
- industrial presser feet for factory lines
- roller & rolled hemmer presser feet
- industrial sewing machine parts & spare parts
- wholesale sewing machine parts — PL (Professional Leader) factory direct
- about PL (Professional Leader) — Hangzhou Fubang, sewing parts brand since 2018
Questions about a specific part? Chat with us on WhatsApp +86 137 3825 6697 — factory direct, reply within hours.


Comments
Post a Comment