Roller Presser Foot for Overlock Machines: Installation and Use Guide
This guide explains how to install, adjust and maintain a roller presser foot on an overlock machine (serger) to stop light and stretch fabrics from curling at the edge. It covers the mechanism, the step-by-step mounting procedure, the settings that matter for thin versus heavy material, and the mistakes that cause poor results. The information applies to both industrial overlockers and heavier domestic serger models, and to the wider family of sewing machine accessories used to control seam allowance.
Related guide: roller presser foot — types, fitting and machine compatibility.
Edge curling is one of the most persistent problems in overlock production. Chiffon, single jersey, silk and other light or elastic fabrics tend to roll over themselves as the feed dog pushes them toward the needle, so the trimmed edge folds back before the loopers can wrap it. The result is a wavy, uneven seam, a seam allowance that varies from piece to piece, and a high reject rate on thin-fabric orders. A roller presser foot, sometimes sold as part of a set of specialty presser feet, addresses this by guiding the fabric edge flat before it reaches the cutting and stitching zone.
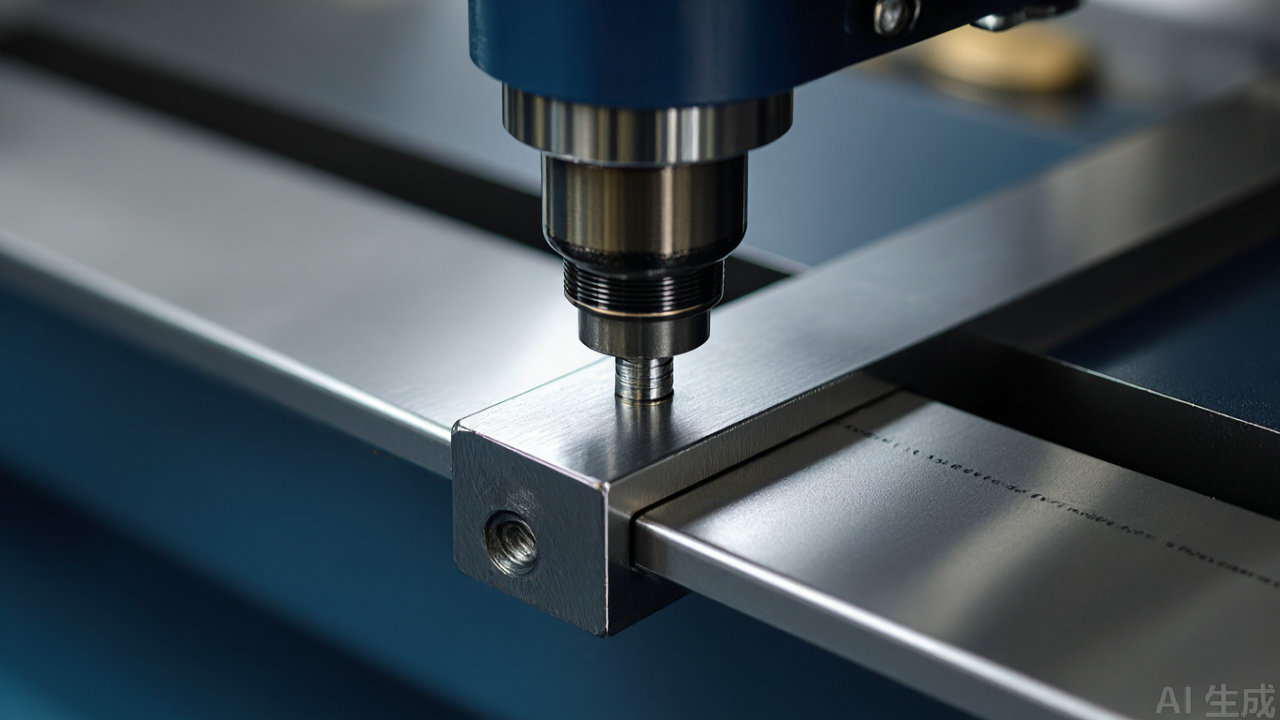
What Problem the Roller Presser Foot Solves
On a standard overlocker, the presser foot holds the fabric down while the feed dog advances it. On stable woven fabric this works well. On light or elastic material, the foot can drag or grip unevenly, and the unsupported edge ahead of the needle tends to lift and curl. Operators often compensate by slowing down, by stretching the fabric by hand, or by feeding it at an angle. All three methods reduce output and depend heavily on operator skill.
A roller presser foot changes the geometry of the problem. Instead of relying on a flat sole to hold the edge, it uses a small guide or roller positioned close to the needle plate to keep the fabric edge flat and aligned. The edge is supported right up to the point where the upper and lower loopers wrap it, so there is less opportunity for the material to roll.
The practical benefits are measurable on the production floor:
- Consistent seam allowance. The guide sets a fixed reference for the fabric edge, so width variation between pieces drops.
- Fewer curled edges. Light and stretch fabrics stay flat through the stitch formation zone.
- Less operator fatigue. The operator no longer has to hold the edge flat by hand for every piece.
- Faster ramp-up for new staff. A mechanical guide is easier to learn than a hand-feeding technique.
It is worth being honest about the limits. A roller presser foot is a guide, not a cure. If the machine's differential feed, stitch length or looper tension is badly set, the guide will not fix the seam. It also adds a small amount of hardware near the needle, which slightly reduces clearance for very tight curves. For tight radii on heavy fabric, many operators remove the guide and sew freehand.
How the Guide Mechanism Works
The accessory mounts on or near the presser foot bracket and presents a flat or slightly angled guide surface to the fabric edge. As the feed dog draws the material forward, the edge runs against this surface, which holds it flat and at a fixed lateral position. Because the guide sits just ahead of the needle, the fabric enters the stitch formation zone already flattened and aligned.
The left-right adjustment is the key control. By loosening the fixing screw and sliding the guide body, the operator sets how much fabric sits inboard of the edge. This determines the effective seam allowance and, on thin material, how much of the edge is supported before trimming. Moving the guide closer to the needle reduces the unsupported span and improves edge control, but too close a setting can interfere with the trimming knife or the presser foot itself.
Height adjustment works in the opposite direction. On thin fabric the guide should sit low, close to the needle plate, so the edge cannot lift. On medium and heavy fabric the guide is raised slightly so it does not press the material down into the feed dog or obstruct the forward motion of thick seams.
Specifications, Materials and Build Quality
The unit described here is a compact metal guide with a plated, rust-resistant finish and chamfered edges. The chamfer matters: a sharp edge on a guide will snag fine knits and leave pull marks along the seam. Good units have a smooth, polished contact surface and a radius rather than a square corner where the fabric runs.
Key specification points to check before buying:
- Body material. Metal construction with electroplated anti-rust treatment is standard for workshop use. Plastic guides are lighter but wear faster at the contact edge.
- Adjustment range. The left-right travel should be enough to cover the seam allowances you actually run, typically a few millimetres either side of the nominal position.
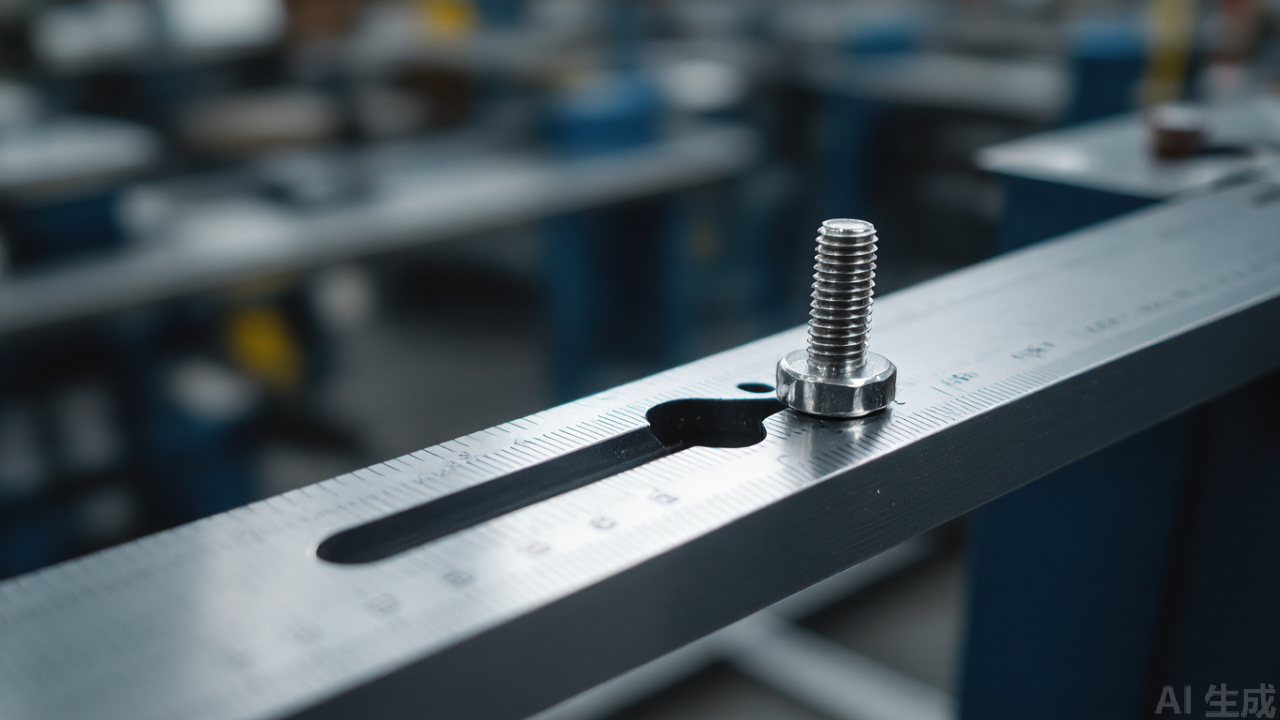
- Mounting hole spacing. This is the single most common compatibility problem. The guide must match the screw hole positions near the presser foot bracket on your machine.
- Profile height. The body must be low enough not to foul the presser foot lift or the stitch length adjustment.
- Edge finish. Check for burrs on the guide face and on the mounting slot. A burr will damage fabric within a few hundred pieces.
Because mounting geometry varies widely between machine brands and generations, always confirm the hole distance and bracket shape against your specific overlocker before ordering. This is standard practice for industrial sewing machine parts, where a part that fits one model may not fit a visually similar one from another builder.
Step-by-Step Installation
Step 1: Prepare the machine safely
Switch off the machine and unplug it, or lock out the power at the isolator if it is a production machine. Raise the presser foot and remove the needle to avoid injury during fitting. Clear the work area so you can see the presser foot bracket and the needle plate clearly.
Step 2: Identify the mounting point
Locate the screw holes on or near the presser foot bracket. On many overlockers there is a spare tapped hole for attachments; on others you use the existing presser foot screw. Confirm the guide's slot aligns with the available hole before you start tightening anything. If the holes do not line up, do not force the part — a mismatched mount will sit at an angle and guide the fabric incorrectly.
Step 3: Fit the guide loosely
Insert the fixing screw through the guide slot and thread it in by hand. Leave it loose enough that the guide can still slide and rotate. At this stage you are positioning, not locking.
Step 4: Set the lateral position
Lower the presser foot and place a scrap of the production fabric under it, with the raw edge where it would normally sit. Slide the guide left or right until its contact face rests lightly against the fabric edge, holding it flat. The goal is contact, not pressure — if the guide pushes the fabric sideways, it is set too far inboard.
Step 5: Set the height
For light fabric, bring the guide down close to the needle plate so the edge has minimal room to lift. For medium and heavy fabric, raise it so the material passes underneath without being compressed. A useful rule is to leave just enough clearance for the thickest seam the machine will cross, no more.
Step 6: Tighten and check clearance
Tighten the fixing screw firmly, then turn the handwheel through a full cycle by hand. Watch the needle, the presser foot, the trimming knife and the feed dog. The guide must not touch any of them at any point in the cycle. If there is contact, adjust the position and repeat. Never test a new attachment under power before completing this hand-cycle check.
Step 7: Test sew and fine-tune
Thread the machine as normal and sew a test strip of the actual production fabric at normal speed. Check three things: whether the edge stays flat, whether the seam allowance is consistent along the length, and whether the guide leaves any mark on the fabric. Adjust the lateral position in small increments until the edge runs flat without being pinched.
Setting Up for Different Fabrics
The same guide can handle a wide range of materials, but the settings are not identical. The table below summarises the practical differences.
- Chiffon, silk, fine knits (light). Guide low and close to the needle plate. Light presser foot pressure. Reduce differential feed slightly if the edge is being stretched. Run at moderate speed; very high speed on fine fabric increases the chance of the edge flicking up before the guide catches it.
- Single jersey and elastane blends (stretch). Guide low, with differential feed set to gather slightly so the seam does not wave. Keep the guide contact light — too much pressure on stretch fabric causes the edge to ripple ahead of the needle.
- Cotton, poplin, linen (medium). Guide at mid height. Standard presser foot pressure. This is the easiest category; most operators set the guide once and leave it.
- Denim, canvas, coated fabric (heavy). Guide raised to clear thick seams. Check that the guide does not block the presser foot from lifting over cross seams. On very heavy material, consider removing the guide for tight curves.
One point that is often overlooked: the guide controls the edge, but the seam quality still depends on looper tensions and stitch length. Set the machine to produce a correct stitch on a scrap without the guide first, then add the guide to control the edge. Troubleshooting two variables at once wastes time.
Suitable Machines and Compatibility Notes
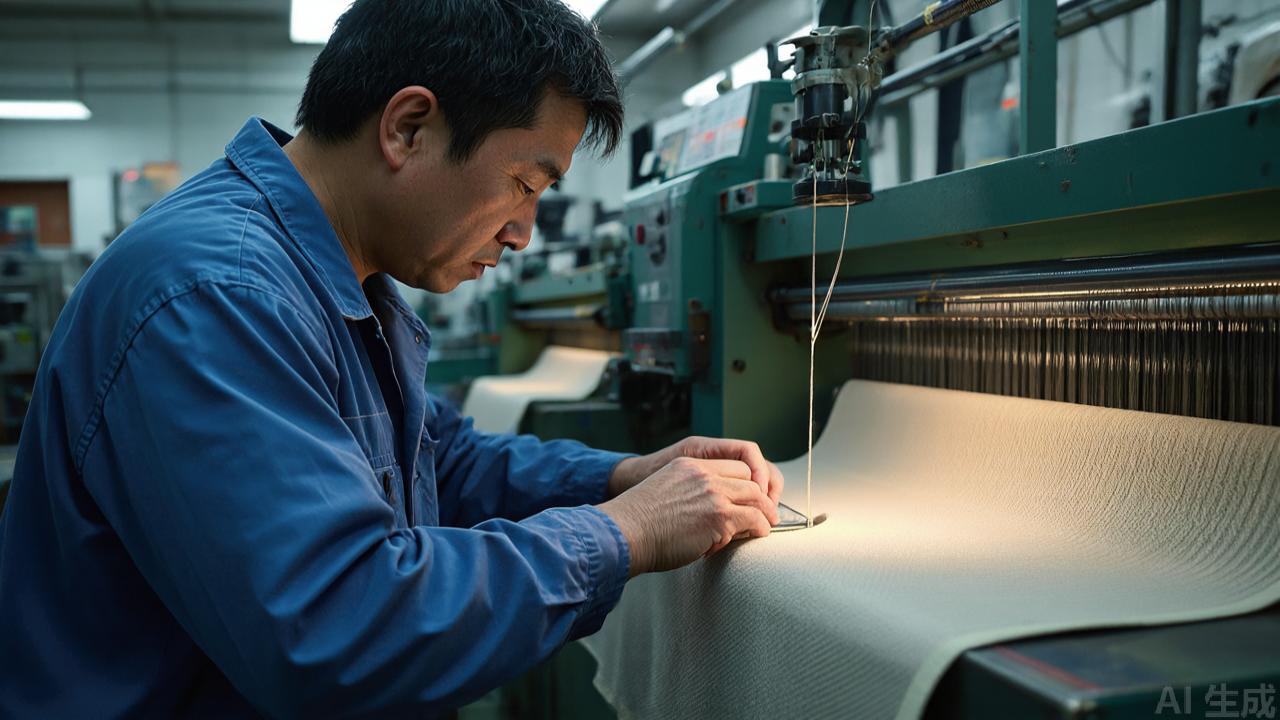
This type of guide is intended for overlock machines and sergers, both industrial and heavier domestic. It is not designed for lockstitch machines or coverstitch machines, where the edge-control problem is different and the mounting points do not match. If you are working on a coverstitch machine, look for a dedicated hem guide rather than an overlock edge guide.
Compatibility comes down to three measurements: the mounting hole distance, the clearance around the presser foot bracket, and the height available above the needle plate. Machines from different eras of the same brand can differ here, so a part number alone is not a guarantee. Where a factory runs a mixed machine fleet, it is common practice to buy one sample, test-fit it, and only then order in volume. This applies to any sewing machine spare parts purchase where mounting geometry is involved.
Common Mistakes and Maintenance
Most problems with this accessory come from installation and setup rather than the part itself. The recurring ones are:
- Over-tightening the fixing screw. This strips the slot or cracks the bracket. Firm hand-tight plus a quarter turn is usually enough.
- Setting the guide too far inboard. The guide then pushes the fabric sideways, distorting the seam allowance instead of controlling it.
- Setting the guide too high on thin fabric. The edge lifts under the guide and curls anyway, which leads operators to conclude the part does not work.
- Skipping the hand-cycle check. This is how needles get broken and knives get chipped.
- Ignoring thread waste build-up. Lint and trimmed thread collect on the guide face and change its effective position over a shift.
Maintenance is simple and should be part of the daily routine. Wipe the guide face with a dry brush or compressed air at the end of each shift to remove lint and thread fragments. Check the fixing screw for tightness at the start of each shift — vibration loosens it gradually, and a guide that drifts mid-run produces a batch of off-width seams before anyone notices. Inspect the contact face weekly for burrs or wear marks; a polished face keeps fabric running smoothly, while a scored one will mark fine material.
If the machine is used on coated or abrasive fabric, check the guide more often. Abrasive material wears the contact edge faster than soft knit, and a worn edge changes the effective seam allowance even when the screw has not moved.
Practical Selection Tips
When comparing options, whether from a presser foot manufacturer or a general industrial sewing machine parts supplier, focus on fit and finish rather than appearance.
- Measure first. Note the mounting hole distance and the clearance around your presser foot bracket before you shop. A photograph of the bracket alongside a ruler is enough for most suppliers to confirm fit.
- Check the adjustment mechanism. A slot with a proper locking screw holds position under vibration. A friction-only mount will drift.
- Inspect the contact edge. It should be smooth and slightly radiused, with no visible burrs or plating defects.
- Confirm the material. Metal with anti-rust plating is the durable choice for production environments. A PL (Professional Leader) presser foot or equivalent metal guide will outlast plastic alternatives in daily workshop use.
- Buy a sample before volume. Test-fit on the actual machine models in your fleet, then standardise.
For factories running thin and stretch fabrics at volume, the return on a correctly fitted edge guide comes from reduced rework rather than from faster sewing. A seam that does not need to be unpicked and re-sewn is the real saving.
Frequently Asked Questions
Will this guide fit my domestic serger?
It fits many domestic sergers, but only if the mounting hole positions match. Measure the hole distance and compare it with the guide's slot before ordering. Domestic machines often have less clearance around the presser foot, so check the body height as well.
Can I use it on a lockstitch machine?
No. This is an overlock edge guide. On a lockstitch machine, edge control is normally handled with a rolled hemmer foot or a dedicated seam guide that mounts on the machine bed, not at the presser foot bracket.
Does it work on both thin and heavy fabric?
Yes, within reason. The height and lateral adjustments let you move between light knit and medium woven without changing the part. Very heavy material and tight curves are the practical limit, and many operators remove the guide for those jobs.
How often should the fixing screw be checked?
At the start of every shift. Vibration is the main cause of drift, and a guide that has moved by a fraction of a millimetre will shift the seam allowance across an entire batch.
Summary
An adjustable roller presser foot is a low-cost way to stabilise edge control on overlock machines, particularly on chiffon, silk, single jersey and other light or elastic fabrics that curl at the trimmed edge. The installation itself takes a few minutes: mount the guide loosely, set the lateral position against the fabric edge, set the height for the material, tighten, hand-cycle to check clearance, then test-sew on production fabric and fine-tune. The settings that matter most are guide height, lateral position and presser foot pressure, and they change between thin and heavy material.
Treat the guide as one part of a correctly set machine rather than a standalone fix. Get the stitch, tensions and differential feed right first, then use the guide to hold the edge flat and consistent. Keep the contact face clean, check the fixing screw daily, and inspect for wear on abrasive fabrics. Handled that way, this small piece of hardware removes a recurring source of rejects on thin-fabric overlock work and pays for itself in reduced rework.
PL (Professional Leader) supplies sewing machine parts for industrial lockstitch, overlock and interlock machines, including the industrial presser foot range, needle plates, feed dogs and related presser foot accessories. The full sewing machine parts and presser foot catalogue is listed at pinseam.com.
Need this part for your workshop?
Get a Free Quote on WhatsApp: +86 137 3825 6697Browse the full catalog at pinseam.com · Free 2026 full catalog (PDF) · Related guide: roller presser foot
📢 New arrivals & factory updates on Telegram — join our channel
Edited by the technical team at PL (Professional Leader) — high-quality sewing machine accessories from China. About our factory | Catalog: pinseam.com | WhatsApp: +86 137 3825 6697 | Telegram: @plsewingparts
Explore Our Parts Guides
- sewing machine accessories, needle threaders & thread guides
- industrial & magnetic seam guides
- presser foot guide: types & compatibility
- industrial presser feet for factory lines
- roller & rolled hemmer presser feet
- industrial sewing machine parts & spare parts
- wholesale sewing machine parts, factory direct
- about PL (Professional Leader)
Questions about a specific part? Chat with us on WhatsApp +86 137 3825 6697 — factory direct, reply within hours.


Comments
Post a Comment