Roller Presser Foot for Lockstitch Machines: How It Works
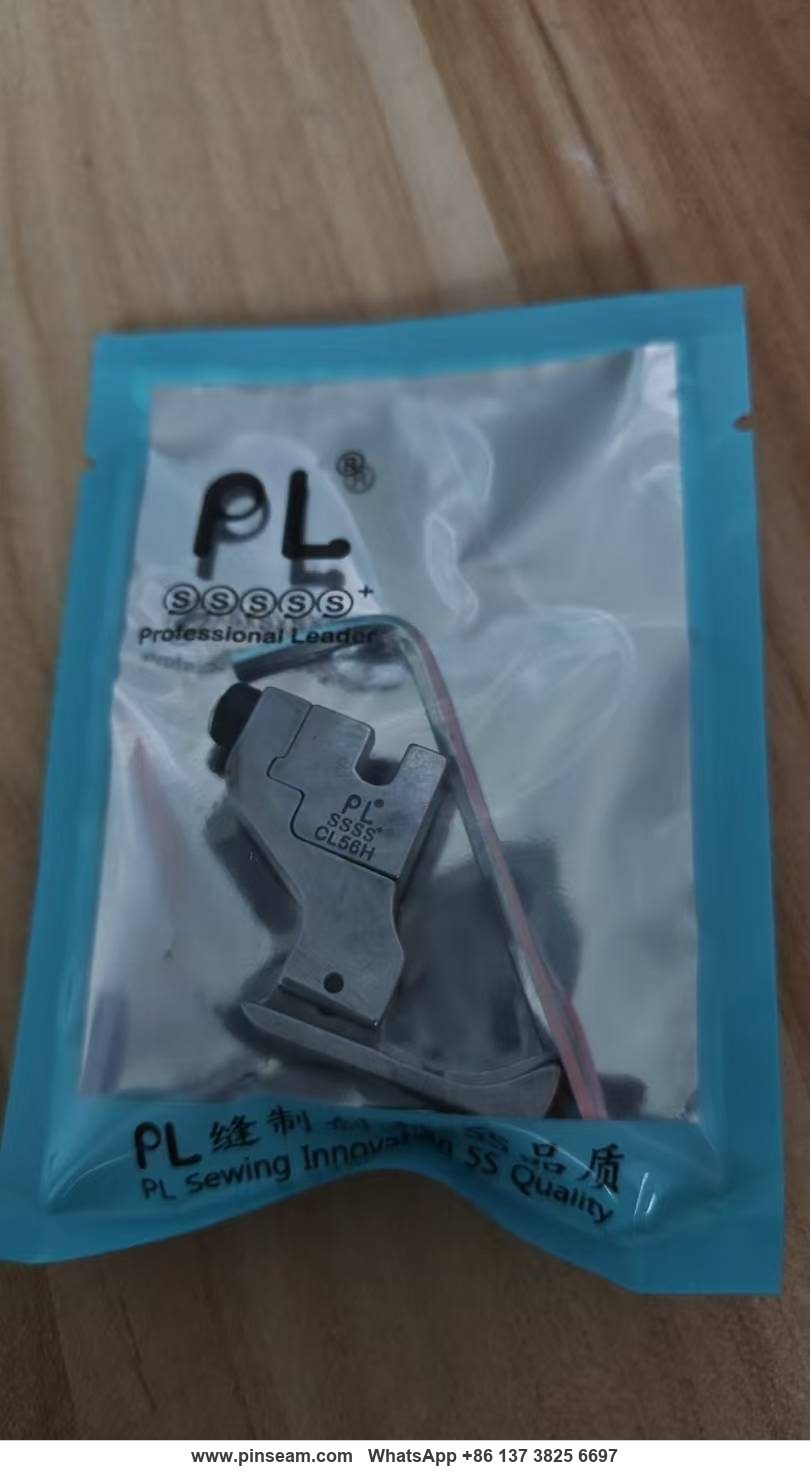
The roller presser foot is a drop-in replacement for the standard presser foot on an industrial lockstitch machine, designed to solve two persistent problems: fabric being pulled into the needle plate (feed-in) and the top ply being pushed ahead of the bottom ply (feed-ahead). This article explains the internal mechanism of the PL (Professional Leader) wide-slot Teflon roller presser foot (item 1688-0600), how its rolling contact differs from sliding contact, and how to install, adjust, and maintain it. It is written for garment factory managers, sewing technicians, and parts buyers who need to evaluate whether this type of sewing machine accessory belongs in their workshop.
Related guide: roller presser foot — types, fitting and machine compatibility.
The Problem: Why Standard Presser Feet Struggle With Mixed-Thickness Work
A conventional presser foot holds fabric down with spring pressure while the feed dog pushes it forward from below. The foot itself does not drive the material — it only resists it. All forward motion comes from the feed dog teeth engaging the underside of the fabric stack.
This works acceptably when the fabric stack is uniform. It breaks down at three specific moments:
- Thickness transitions. When a thin panel meets a thick seam, the foot rises and the contact pressure changes abruptly. The feed dog loses grip on the bottom ply while the foot still drags on the top ply.
- Low-friction or high-friction surfaces. Coated fabric, leather, and some synthetic knits behave unpredictably against a polished steel foot sole.
- Multi-layer alignment work. Topstitching, edge stitching, and binding operations require both plies to advance at exactly the same rate. Any differential shows up as a pucker or a shifted seam line.
The result is the two defects every sewing technician recognises. Feed-in means the fabric edge curls under or gets drawn into the needle plate slot. Feed-ahead means the upper layer arrives at the needle ahead of the lower layer, producing a wavy seam or a visible offset at the end of the run.
How a Roller Presser Foot Changes the Contact Model
The core design change is simple to state and difficult to execute well: replace sliding contact with rolling contact. Instead of a fixed steel sole dragging across the top ply, one or more rollers rotate as the fabric moves beneath them.
Sliding Friction vs. Rolling Friction
When a standard foot slides over fabric, the resistance is proportional to the normal force (presser foot pressure) multiplied by the coefficient of friction between steel and the fabric surface. On a coated or tightly woven material, that coefficient can be high enough that the top ply is effectively held back while the feed dog drives the bottom ply forward.
A roller changes the mechanics. The contact point moves with the fabric rather than against it. Rolling resistance is typically an order of magnitude lower than sliding resistance for the same normal load. In practice, this means the foot can still apply enough downward force to keep the fabric flat against the needle plate, without imposing a drag force that fights the feed dog.
The Wide-Slot Geometry
The "wide slot" in this presser foot refers to the enlarged opening in the sole, ahead of and behind the needle. Two things happen because of it:
- Visibility. The operator can see the stitch formation and the fabric edge more clearly, which matters on narrow topstitching and edge-guiding work.
- Reduced accumulation. Fabric, thread trim, and lint have somewhere to go instead of packing into a tight sole opening. On long production runs, a clogged foot is a common cause of sudden stitch quality changes.
A wider slot does reduce the total bearing surface of the foot. That is a trade-off: less surface area means less flattening force on very soft or very light fabric. This is why the roller matters — it restores control at the contact point that the wide slot gives up elsewhere.
Why the Roller Is Teflon-Coated
Polytetrafluoroethylene (PTFE, sold as Teflon) has one of the lowest coefficients of friction of any solid material, and it retains that property across a wide temperature range. Industrial sewing generates local heat at the needle and at any high-speed contact point. A bare metal roller on coated fabric or leather can develop enough adhesion to mark the surface or start dragging.
A PTFE layer on the roller surface addresses three failure modes at once:
- Adhesion. Adhesive transfer — where fabric coating sticks to the roller and builds up — is largely eliminated.
- Marking. Pressure marks and shine on dark or coated fabric are reduced because the contact is both rolling and low-friction.
- Wear. PTFE is soft compared to steel, so it wears rather than the fabric. The roller is the sacrificial component, which is the correct design choice.
Internal Structure and Materials
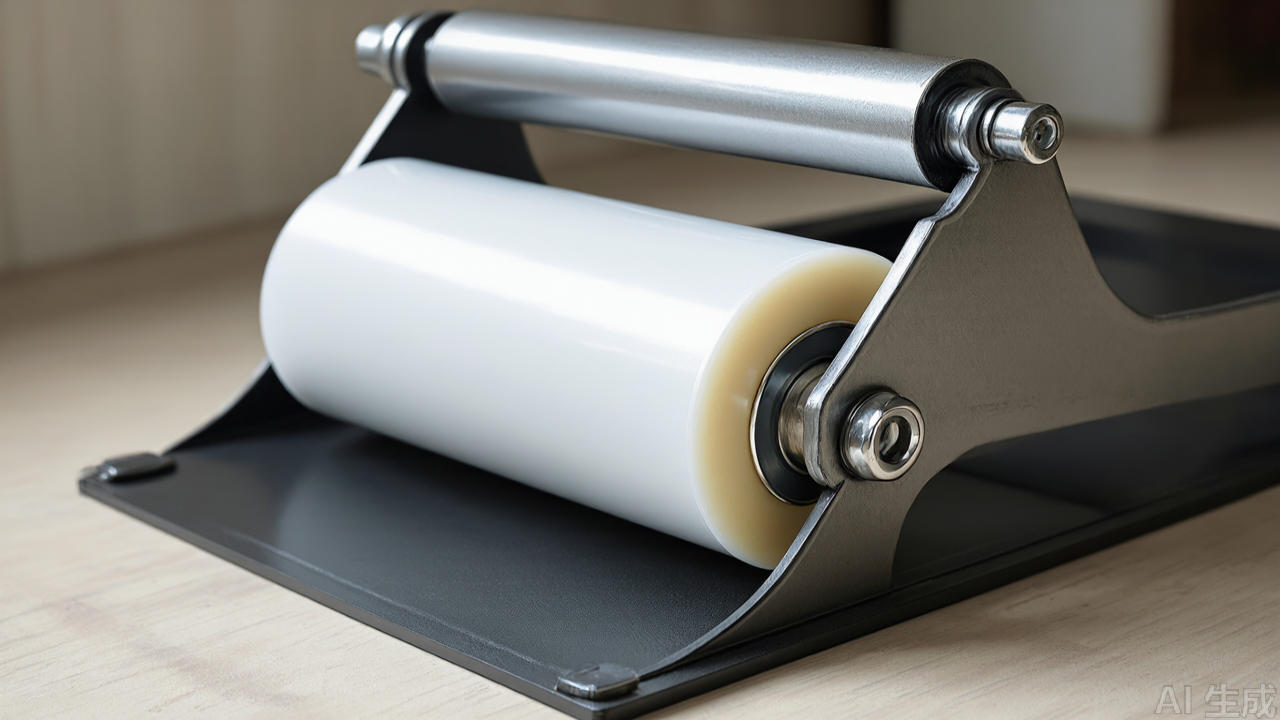
Understanding the internal construction helps buyers assess durability and helps technicians diagnose failures. This presser foot breaks into four functional assemblies.
1. The Shank and Mounting Bracket
The shank is the vertical interface that clamps into the presser bar. It must match the machine's presser bar diameter and the position of the clamping screw. On standard industrial lockstitch machines this is a well-established dimension, which is why the foot is described as a direct replacement with no machine modification required.
The bracket is machined from steel, heat-treated, and ground. Heat treatment matters more than most buyers realise. A soft bracket deforms under repeated clamping cycles and eventually shifts the foot angle, which changes the feed geometry. Ground surfaces ensure the foot sits square to the needle plate.
2. The Roller Assembly
This is the critical sub-assembly. It contains:
- The roller body — a cylindrical component with the PTFE surface layer.
- The bearing or bushing — determines how freely the roller spins and how much axial play it has.
- The axle and retaining method — determines whether the roller can be cleaned and whether it can be replaced independently.
Bearing quality is the single biggest differentiator between a roller foot that works and one that does not. A roller with a rough or contaminated bearing will not spin freely; it will skid instead, which puts you back to sliding friction with none of the benefits. When evaluating sewing machine spare parts of this type, spin the roller by hand before installation. It should rotate with light finger pressure and coast briefly. Any grinding or hesitation is a rejection criterion.
3. The Sole and Slot Geometry
The sole is the flat underside that contacts the fabric around the needle. The wide slot is cut through it. The geometry here determines how the foot behaves at thickness transitions — specifically, how much the foot is allowed to tilt as it climbs onto a thicker section.
A foot with excessive sole length will bridge over a thick seam rather than climbing it, which lifts the front of the foot and reduces feed dog contact at the needle. A shorter sole climbs more readily. This is a design compromise that varies between models, and it is worth testing on your actual production fabric rather than assuming.
4. The Needle Clearance
The needle slot must clear the needle through the full stitch cycle, including at maximum zigzag width if the machine is used for decorative stitching. On a straight lockstitch machine this is less critical, but the slot still needs enough clearance that needle deflection at high speed does not cause contact. Needle-to-foot contact produces a distinctive ticking sound and will eventually damage both components.
Installation: Step by Step
Installation follows the same procedure as any standard presser foot. There is no machine modification, no additional hardware, and no change to the feed dog or needle plate.
- Power down and raise the needle. Turn the handwheel until the needle is at its highest position. Switch off the machine and, on automated setups, lock out the power.
- Remove the existing foot. Loosen the presser bar clamping screw. On most machines this is a single screw on the right side of the presser bar. Slide the old foot off downward.
- Check the presser bar. Wipe the bar and the clamping area. Any burr or debris here will prevent the new foot from seating squarely.
- Position the new foot. Slide the shank into the presser bar slot. Orient the roller so it faces the direction of feed — that is, the roller should be on the leading side, rotating as fabric moves toward the needle.
- Tighten the clamping screw. Snug it firmly. Do not overtighten; the shank can be distorted by excessive clamping force on some designs.
- Verify needle clearance. Rotate the handwheel through a full cycle by hand. The needle must pass through the slot without contact. If it touches, the foot is not seated correctly or the needle is bent.
- Set presser foot pressure. Start at a lower pressure than you would use with a standard foot. The roller does not need high normal force to control the fabric. Increase only if the fabric lifts.
- Test on scrap. Run a test seam on the actual production fabric stack, including any thickness transition. Check for feed-in at the start and feed-ahead at the end.
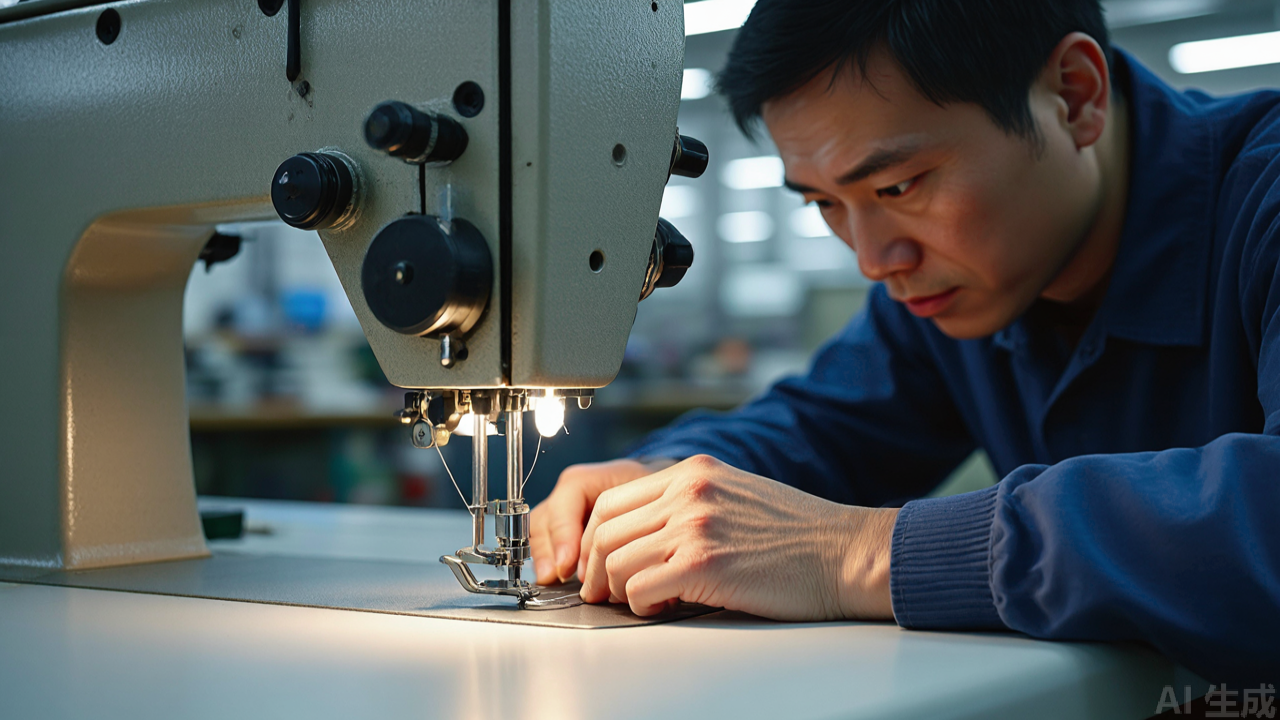
Adjustment: Pressure, Stitch Length, and Feed Synchronisation
Presser Foot Pressure
This is the adjustment that most affects performance, and it is the one most often set incorrectly. The instinct carried over from standard feet is to apply enough pressure to hold the fabric firmly. With a roller foot, that instinct works against you.
Excessive pressure increases rolling resistance, loads the roller bearing, and can flatten pile fabrics or leave marks on coated material. Set pressure to the minimum that keeps the fabric flat and in contact with the feed dog. On thin fabric, this may be noticeably lighter than your existing setting.
Stitch Length
Stitch length interacts with the roller in a way that is not obvious. The feed dog advances the fabric in discrete steps — one feed cycle per stitch. The roller responds to that motion. At very short stitch lengths, the feed dog motion becomes rapid and the roller may not track it smoothly, especially on slick fabric.
If you see irregular stitch spacing or a slight hesitation in the fabric motion, try increasing stitch length slightly. This is a common fix on thin, slick materials where the roller and feed dog are not synchronising well.
Feed Dog Height and Condition
The roller foot does not replace the feed dog. It works with it. If the feed dog is worn, set too low, or the wrong tooth pattern for the fabric, the roller cannot compensate. Before blaming the foot for a feed problem, verify that the feed dog rises the correct amount above the needle plate and that the teeth are sharp.
Suitable Machines and Fabrics
Machine Compatibility
This foot is designed for standard industrial single-needle lockstitch machines with a conventional presser bar. That covers the majority of flat-bed sewing positions in a garment factory.
It is not suitable for:
- Walking foot / unison feed machines. These machines already drive the top ply mechanically. Adding a roller foot provides no benefit and may interfere with the walking foot mechanism.
- Needle feed machines. Same reasoning — the needle itself advances the fabric, so the foot's rolling behaviour is not the controlling factor.
- Machines with non-standard presser bar dimensions. Always verify the shank fits before ordering in quantity.
- Overlock machines and coverstitch machines. These use entirely different foot mounting systems.
Fabric Suitability
The design intent is mixed-thickness and difficult-feed work. In practice, it performs best on:
- Knits and stretch fabrics — where differential feed between plies causes waviness.
- Coated and laminated fabrics — where adhesion to a steel foot is a problem.
- Leather and synthetic leather — at moderate thickness, where marking and drag are concerns.
- Thin synthetics — chiffon, mesh, lining materials — where feed-in at the start of a seam is common.
- Thickness transitions — shirt collars and cuffs, waistbands, panel joins where a thin body meets a thick seam.
Where it performs poorly:
- Very heavy stacks. Multiple layers of heavy leather or dense canvas require high presser foot pressure, which defeats the roller's low-friction advantage and loads the bearing. A dedicated heavy-duty foot is the better choice.
- Very soft, lofty materials. High-pile fleece and lofted batting need broad, flat contact to compress the material evenly. A roller contacts on a narrow line.
- Operations requiring maximum flattening. Some seam types depend on the foot pressing the fabric flat immediately ahead of the needle.
Common Mistakes and Maintenance
Mistake 1: Over-Tightening Presser Foot Pressure
Covered above, but it is the most frequent error. If the roller foot is not solving your feed problem, the first thing to check is whether pressure is set too high.
Mistake 2: Installing the Roller Facing the Wrong Way
The roller must lead the fabric into the needle. Installed backwards, it still rolls, but the geometry works against the feed direction and performance degrades. Check orientation against the machine's feed direction before tightening.
Mistake 3: Ignoring Lint and Thread Buildup
The wide slot is designed to reduce accumulation, not eliminate it. Thread trim, lint, and fabric dust collect in the slot and around the roller axle. On a busy production floor, this buildup is the leading cause of a roller foot that "used to work well."
Mistake 4: Cleaning With Sharp Tools
The PTFE layer is soft. A pick, awl, or blade used to clear lint will score the surface and create a site for adhesion to start. Use compressed air, a soft brush, or a wooden stick.
Maintenance Schedule
- Daily or per shift: Blow out the slot and roller area with compressed air. Spin the roller by hand to confirm free rotation.
- Weekly: Inspect the PTFE surface for scoring, flat spots, or coating loss. Check for axial play in the roller.
- As needed: Replace the roller assembly if it no longer spins freely or if the coating is worn through. On designs where the roller is a replaceable component, this is a low-cost service item; where it is not, the whole foot is replaced.
Do not lubricate the roller with oil. Oil attracts lint and fabric dust, which will contaminate the bearing and cause exactly the drag you are trying to avoid. These bearings are typically designed to run dry or are sealed.
Practical Selection Tips for Parts Buyers
Roller presser feet appear across a wide price range, and the differences are not cosmetic. When evaluating sewing machine accessories of this type — whether from a presser foot manufacturer in China or elsewhere — the following checks separate usable parts from problems.
Check the Roller Bearing First
Spin it. It should rotate freely with minimal finger pressure and coast. Listen for grinding. A cheap bushing that binds under load will fail in production, and the failure mode is subtle — the operator experiences intermittent feed problems rather than a clear breakdown, which makes diagnosis slow and expensive.
Verify the PTFE Layer
Look for an even coating with no visible seams, bubbles, or thin spots. Bonded PTFE tape and sprayed coatings behave differently in service; a poorly bonded layer will delaminate at the edges within weeks.
Measure the Shank
Confirm the shank dimensions against your machine's presser bar. This is the one dimension that cannot be adjusted after purchase. Order one sample and fit it before committing to a bulk order.
Test on Your Actual Fabric
Performance on a supplier's test fabric tells you little. The variables that matter — fabric friction coefficient, stack thickness, seam transition geometry, machine feed dog condition — are specific to your line. Run a sample through your worst-case operation, not your easiest one.
Consider Roller Replaceability
If the roller is a separately replaceable component, the foot has a longer service life and a lower cost per operating hour. If it is a sealed unit, factor full replacement into your consumable budget. Both approaches exist in the market; the right choice depends on your maintenance capability and volume.
Standardise Across Similar Workstations
If a roller presser foot solves a feed problem at one station, the same problem likely exists at similar stations running comparable fabric and operations. Standardising the foot across those positions reduces operator variation and simplifies spare parts inventory. It also makes training easier, because the setup procedure is identical.
Where This Fits in a Broader Parts Strategy
Roller presser feet are one item in the broader category of specialty presser feet — a group that includes rolled hemmer feet, Teflon feet, compensating feet, and edge guides. Each addresses a specific failure mode. A rolled hemmer foot, for example, solves edge rolling and narrow hem formation; it does not solve differential feed on flat seams. The sewing rolled hem foot and the roller presser foot are complementary, not interchangeable.
The practical approach for a factory is to identify the operations where feed defects consistently appear, determine the mechanism of the defect, and select the foot that addresses that mechanism. Feed-in and feed-ahead on mixed-thickness work point to a roller foot. Edge rolling points to a hemmer. Marking on coated fabric points to a Teflon-faced foot. Buying specialty presser feet without this diagnosis leads to a drawer full of unused parts.
For buyers managing sewing machine parts inventory across multiple production lines, the roller presser foot is best treated as a standard item for any station running knit, coated, thin synthetic, or mixed-thickness work. The PL (Professional Leader) roller presser foot (item 1688-0600) is one example of this category, built around a wide-slot sole and a PTFE-coated roller with a machined steel bracket. The design principles described in this article apply to evaluating any roller foot, regardless of source.
Summary
The roller presser foot solves a specific and well-understood problem: differential feed between fabric plies when thickness or surface friction varies. It does this by converting sliding contact to rolling contact, reducing the drag force the foot imposes on the top ply while maintaining enough normal pressure to keep the fabric flat against the feed dog. The Teflon coating on the roller further reduces adhesion and marking on coated and synthetic materials, and the wide-slot sole improves visibility and reduces lint accumulation.
It is not a universal solution. It performs poorly under very high presser foot pressure, on lofty pile fabrics, and on machines that already drive the top ply mechanically. Correct installation — roller facing the feed direction, needle clearance verified, pressure set low — and routine cleaning are what determine whether the part delivers its design intent in production. For garment factory managers and technicians, the roller presser foot is a targeted tool for a targeted problem, and it earns its place on the machine when that problem is correctly identified.
PL (Professional Leader) supplies sewing machine parts for industrial lockstitch, overlock and interlock machines, including the industrial presser foot range, needle plates, feed dogs and related presser foot accessories. The full sewing machine parts and presser foot catalogue is listed at pinseam.com.
Need this part for your workshop?
Get a Free Quote on WhatsApp: +86 137 3825 6697Browse the full catalog at pinseam.com · Free 2026 full catalog (PDF) · Related guide: roller presser foot
📢 New arrivals & factory updates on Telegram — join our channel
Edited by the technical team at PL (Professional Leader) — high-quality sewing machine accessories from China. About our factory | Catalog: pinseam.com | WhatsApp: +86 137 3825 6697 | Telegram: @plsewingparts
Explore Our Parts Guides
- sewing machine accessories, needle threaders & thread guides
- industrial & magnetic seam guides
- presser foot guide: types & compatibility
- industrial presser feet for factory lines
- roller & rolled hemmer presser feet
- industrial sewing machine parts & spare parts
- wholesale sewing machine parts, factory direct
- about PL (Professional Leader)
Questions about a specific part? Chat with us on WhatsApp +86 137 3825 6697 — factory direct, reply within hours.


Comments
Post a Comment