Roller Presser Foot for Lockstitch Machines: How It Works and What's Inside
A roller presser foot changes the friction mechanics at the point where fabric meets needle. Instead of a flat metal sole dragging across the material, a small plastic roller turns with the feed, cutting resistance and reducing distortion on stretchy or coated fabrics. This article explains the internal structure, the function of each component, and the practical limits of the PL flat-bed Teflon narrow-body all-steel-head roller presser foot (item 1688-0587) so that technicians and buyers can judge whether it fits a given operation.
Related guide: presser foot — types, fitting and machine compatibility.
Why a Standard Presser Foot Fails on Certain Fabrics
The conventional presser foot is a simple part: a flat sole, a shank, and a slot for the needle. Its job is to hold fabric down against the needle plate while the feed dog pushes material forward from below. That works well on stable woven cotton. It works poorly on anything with stretch, coating, or a low-friction surface.
The problem is sliding friction. When the feed dog advances the fabric, the top surface must slide under the stationary sole of the presser foot. On a knit, this sliding action pulls the loop structure and causes wavy seams or skipped stitches. On PU leather or coated fabric, the sole tends to stick, then release in jerks, producing uneven stitch length. On small-radius curves, the sole acts as a brake and the operator has to fight the machine to steer.
A roller presser foot addresses this by replacing sliding contact with rolling contact. The fabric no longer drags against a fixed surface; it turns a wheel. The resistance drops, and the fabric moves as the feed dog intends rather than as friction allows.
What rolling contact actually changes
- Feed resistance falls. A rolling element has far lower resistance than a sliding one at the same downward pressure. The operator needs less push to guide the work.
- Stretch is reduced. Because the top surface is not being dragged, knits and bias-cut pieces keep their shape better.
- Curves become controllable. The fabric can pivot under the foot without the sole grabbing, so small radii are easier to follow.
- Stick-slip is eliminated on coated materials. A turning roller does not build up the adhesion that makes a flat sole jump.
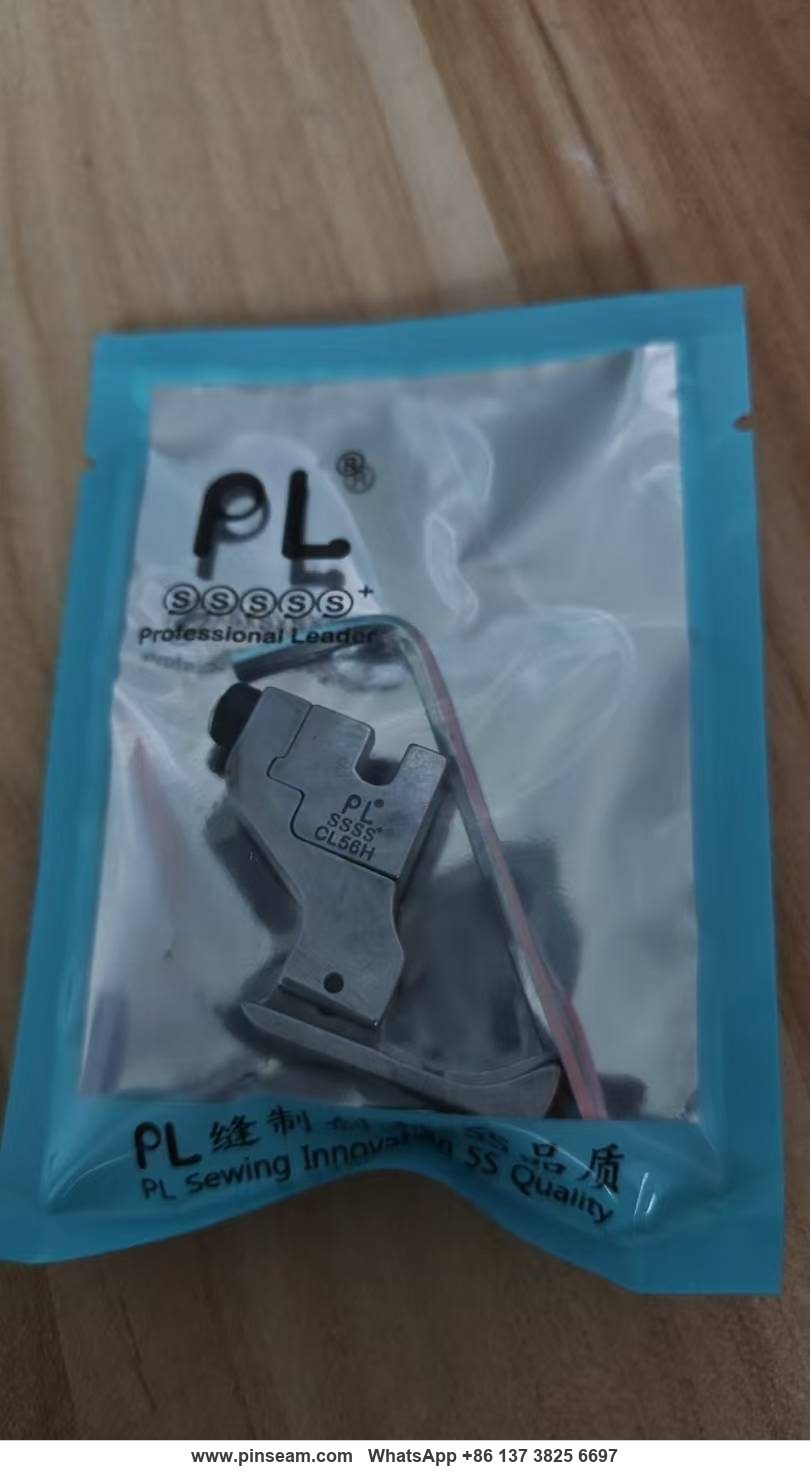
Internal Structure: What Is Inside This Presser Foot
This is not a single-piece casting. It is an assembly of three functional zones, each doing a different job. Understanding the split helps when diagnosing wear or deciding whether the part suits a specific seam.
The all-steel head (front section)
The front of the foot is solid steel, not coated plastic and not a roller. This is deliberate. The head is the part that contacts the fabric immediately ahead of the needle, where the material must be held flat and stable for the stitch to form cleanly. Steel resists wear, holds its shape over long production runs, and does not deform under presser pressure.
The head also acts as the guide for the fabric edge on binding and topstitching work. Because it is rigid, it holds a consistent line. A soft or worn head would let the fabric wander, and the seam would drift.
The narrow body (middle section)
The body of the foot is narrower than a standard flat presser foot. This matters more than it first appears. A narrow body gives the operator a clearer view of the needle and the fabric edge, and it allows the foot to rotate through tight curves without the body contacting the fabric outside the seam line.
On a standard-width foot, turning a 5 mm radius curve means the corner of the sole digs into the fabric and lifts it. A narrow body reduces that contact area, so the foot can follow the curve without disturbing the material around it. This is why narrow-body feet are common on collar, cuff, and armhole operations.
The plastic roller (underside)
The roller sits in the base of the foot, set into the sole so that only its lower edge contacts the fabric. It is plastic rather than steel for two reasons. First, plastic is lighter, so the foot does not add unnecessary mass to the presser bar. Second, plastic is gentler on the fabric surface and less likely to mark or burnish delicate materials.
The roller is the wear part. It turns continuously during sewing, and over time the surface will flatten or the bore will wear. When that happens, the rolling action degrades and the foot behaves more like a flat sole. Replacement is the correct response, not adjustment.
The Teflon coating (surface treatment)
The steel surfaces carry a PTFE (Teflon) coating. This is a non-stick layer that reduces adhesion between the foot and the fabric. On leather, PU, and coated materials, adhesion is the main cause of uneven feeding and of the slight drag marks that appear on the surface after sewing.
The coating is a surface treatment, not a structural element. It wears with use, and it can be damaged by sharp tools. It should be treated as a consumable property of the foot rather than a permanent one.
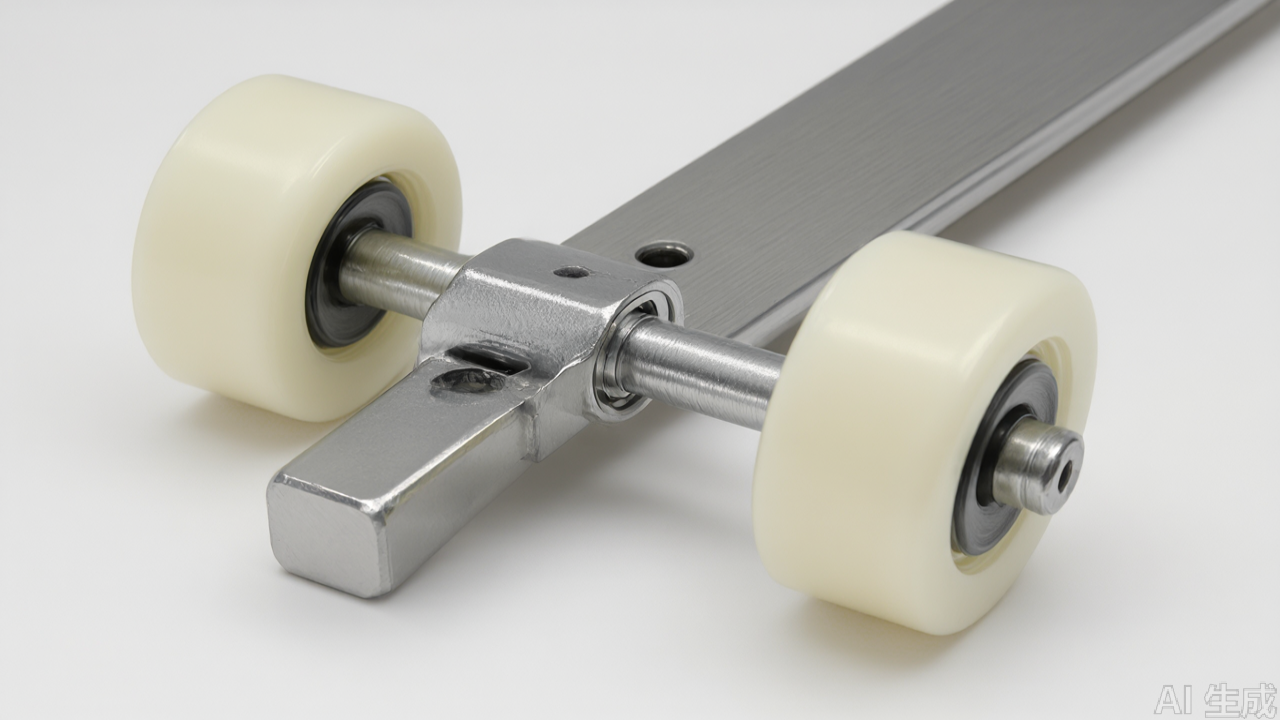
How the Three Zones Work Together
The design only works because the three zones are matched. The steel head holds the fabric stable where the stitch forms. The narrow body allows the foot to move through curves without disturbing the surrounding material. The roller reduces the resistance that would otherwise be transferred to the fabric by the head.
If any one of these is wrong, the foot underperforms. A steel head on a wide body would still drag on curves. A roller with a soft head would let the fabric shift at the needle. A narrow body without a roller would still grab on coated materials. The combination is what produces the effect.
Feed dog interaction
The roller does not replace the feed dog. The feed dog still does the work of advancing the material from below. The roller's role is to remove the top-side resistance that fights the feed dog. When the two are correctly matched, the fabric moves at a consistent rate and stitch length stays uniform.
This is why presser pressure matters. Too much pressure and the roller is forced into the fabric, creating a track mark and increasing resistance. Too little and the feed dog cannot grip, so the fabric slips and stitch length varies. The correct setting is the lowest pressure that still gives consistent feeding.
Why the roller direction matters
The roller must be oriented so that it turns in the direction of feed. Installed backwards, it will not roll; it will skid, and the foot will behave worse than a flat sole. This is the single most common installation error and it is easy to check by hand before running the machine.
Specifications and Materials
- Head: solid steel, wear-resistant, dimensionally stable under load.
- Body: narrow-profile base, reduced contact area for curve work.
- Roller: plastic, set into the sole, contacting fabric only at its lower edge.
- Surface: PTFE (Teflon) non-stick coating on steel surfaces.
- Mounting: standard presser bar fit for single-needle lockstitch machines; no modification required.
- Application class: functional retrofit foot, not a decorative or specialty attachment.
These are the properties that matter for selection. The steel head determines service life. The narrow body determines what curves the foot can handle. The roller determines feed behaviour on difficult materials. The coating determines how the foot behaves on leather and coated fabric.
Installation: Step by Step
Installation follows the same procedure as any standard presser foot. The differences are in the checks that follow.
- Raise the presser bar and switch off the machine.
- Loosen the presser foot screw and remove the existing foot.
- Position the new foot on the presser bar, aligning the needle slot with the needle.
- Check roller orientation. The roller must turn in the direction of feed — toward the operator on a standard flat-bed machine.
- Tighten the screw and confirm the foot sits flat, with no tilt.
- Lower the foot and check clearance with the needle plate and feed dog. The roller must not contact the feed dog at any point in its travel.
- Set presser pressure to the minimum that still feeds consistently for the fabric in use.
- Run a test seam on the same fabric and thread as production, checking stitch length, curve control, and surface marking.
Pressure and height adjustment
On thin and medium fabrics, reduce presser pressure. Excessive pressure forces the roller into the material, leaves a visible track, and increases the resistance the roller was meant to remove. On heavier material, increase pressure only until feeding is consistent.
Check the foot at both raised and lowered positions. At rest, the roller should sit just above the needle plate, not touching it. During sewing, it should contact the fabric evenly across its width. Any tilt means the foot is not seated correctly on the bar.
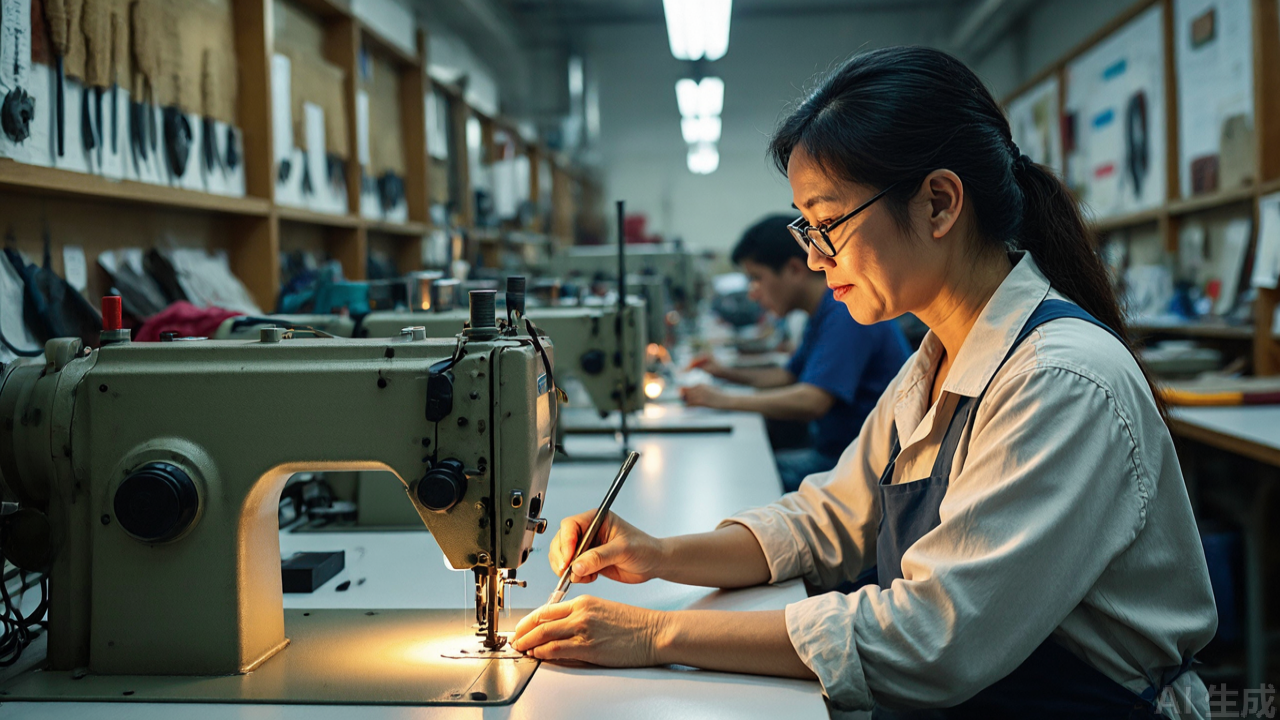
Suitable Machines and Fabrics
This foot fits standard single-needle lockstitch machines with a conventional presser bar. It is not intended for overlock machines or coverstitch machines, which use different foot mounting systems and different feed mechanics.
Machines
- Single-needle lockstitch machines (flat-bed), standard presser bar.
- Industrial lockstitch machines used in garment production lines.
- Not suitable for overlock (serger) or coverstitch machines.
- Not suitable for machines with non-standard or quick-change foot systems without an adapter.
Fabrics
- Knits and stretch fabrics: reduced stretch and distortion at the seam.
- PU, artificial leather, coated fabric: reduced adhesion and stick-slip.
- Thin to medium wovens: improved curve control on collars, cuffs, and small radii.
- Home textiles: smoother long-run feeding on curtains and covers.
- Not ideal for: very heavy or abrasive materials where a steel roller or standard walking foot is more appropriate.
Common Mistakes and Maintenance
Most problems with roller presser feet come from installation and setup rather than from the part itself. The following are the recurring issues seen in production environments.
Installation errors
- Roller installed backwards. The foot skids instead of rolling. Check by hand before running.
- Excessive presser pressure. Produces roller marks and defeats the purpose of the roller.
- Foot not seated flat. Causes uneven contact and inconsistent feeding.
- Roller contacting the feed dog. Damages both parts and disrupts feed timing.
Maintenance practice
- Do not scrape the coating. Sharp tools damage the PTFE layer. Clean with a soft cloth.
- Inspect the roller regularly. A flattened or loose roller no longer rolls correctly and should be replaced.
- Check the head for wear. The steel head lasts a long time, but a worn or chipped head affects edge guidance.
- Re-test after any change. Fabric batch, thread, and pressure changes all affect how the foot performs.
The roller is the primary wear item. In high-volume production, it is worth keeping spare feet on hand rather than waiting for a roller to fail mid-run. The cost of a replacement foot is small compared with the cost of a stopped line.
Selection Tips: When to Use This Foot and When Not To
A roller presser foot is a targeted tool, not a universal upgrade. It solves specific problems, and it introduces trade-offs that matter in some operations.
Choose it when
- The operation involves small-radius curves where a flat sole drags.
- The fabric is a knit, a coated material, or PU leather that sticks or stretches.
- Operators report fatigue from fighting feed resistance on long runs.
- The seam requires consistent stitch length on difficult material.
Do not choose it when
- The material is very heavy or abrasive; a steel roller or walking foot is more durable.
- The operation requires maximum needle visibility and the roller body obstructs the view.
- The machine uses a non-standard foot mounting system.
- The seam demands high downward stability, such as heavy topstitching on rigid material.
For buyers specifying sewing machine spare parts across a production floor, the practical approach is to standardise on a small number of foot types and match them to operation categories. Roller feet belong to the curve-work and difficult-material category. Flat feet belong to straight-run, stable-fabric work. Keeping both on the shelf and assigning them by operation is more effective than trying to use one foot for everything.
Comparing roller foot types
Roller feet vary in roller material, roller width, and body profile. Plastic rollers suit delicate and coated fabrics. Steel rollers suit heavy and abrasive materials but mark softer surfaces. Narrow bodies suit curve work; wide bodies suit straight runs. The PL presser foot in this configuration — narrow body, plastic roller, steel head, Teflon coating — sits in the delicate-to-medium category, which is where most garment curve work falls.
When evaluating any presser foot for a production line, the questions are the same: what fabric, what curve radius, what stitch length consistency is required, and what is the operator's fatigue level on the operation. The answers determine the foot type, not the other way around.
Conclusion
The roller presser foot is a mechanical solution to a friction problem. By replacing sliding contact with rolling contact, and by combining a rigid steel head with a narrow body and a non-stick coating, it reduces the resistance that causes stretch, stick-slip, and poor curve control on difficult materials. It is not a universal replacement for the flat foot, and it has clear limits on heavy and abrasive work. Used within those limits, and set up with correct pressure and roller orientation, it improves feed consistency and reduces operator effort on the operations where a standard presser foot struggles most.
Need this part for your workshop?
Get a Free Quote on WhatsApp: +86 137 3825 6697Browse the full catalog at pinseam.com · Free 2026 full catalog (PDF) · Related guide: presser foot
📢 New arrivals & factory updates on Telegram — join our channel
PL (Professional Leader) supplies sewing machine parts for industrial lockstitch, overlock and interlock machines, including the industrial presser foot range, needle plates, feed dogs and related presser foot accessories.
Edited by the technical team at PL (Professional Leader) — high-quality sewing machine accessories from China. About our factory | Catalog: pinseam.com | WhatsApp: +86 137 3825 6697 | Telegram: @plsewingparts
Explore Our Parts Guides
- sewing machine accessories, needle threaders & thread guides
- industrial & magnetic seam guides
- presser foot guide: types & compatibility
- industrial presser feet for factory lines
- roller & rolled hemmer presser feet
- industrial sewing machine parts & spare parts
- wholesale sewing machine parts, factory direct
- about PL (Professional Leader)
Questions about a specific part? Chat with us on WhatsApp +86 137 3825 6697 — factory direct, reply within hours.


Comments
Post a Comment