Production Line Efficiency: Small Sewing Machine Accessories, Real Specifications
Most production line efficiency losses trace back to sewing machine accessories that are mismatched or worn: a presser foot applying the wrong pressure, a feed dog with the wrong tooth height, a needle plate with an oversized slot. This article gives technicians and line managers concrete specifications — foot pressure in newtons, feed dog tooth height in millimeters, needle plate slot widths by needle size, and replacement intervals in stitch counts — plus step-by-step troubleshooting procedures for the five most common feeding and seam defects. The focus is on sewing machine parts as measurable production variables, not consumables to be swapped by feel.
Related guide: industrial presser foot — types, fitting and machine compatibility.
Start With Measurable Baseline Settings
Before changing any part, establish the machine's actual operating parameters. Most of the defects described later in this article are diagnosed by measurement, not by eye.
- Presser foot pressure: measure with a spring gauge or pressure gauge placed under the foot with the machine at rest and the foot lowered. Record in newtons (N). Typical working ranges: 15–25 N for light woven and knit fabrics, 25–40 N for medium woven, 40–60 N for denim and canvas. Machines with a pressure adjustment screw should be marked so settings can be repeated.
- Feed dog height above needle plate: measure with a dial indicator or feeler gauge. Standard range is 0.8–1.0 mm for most flat-bed lockstitch machines. Below 0.7 mm causes slippage; above 1.2 mm causes puckering and needle deflection on light fabrics.
- Needle plate slot width: measure with a pin gauge or calipers. The slot should be no more than one needle size wider than the needle itself. For a #14 needle (0.90 mm), use a plate with a 1.0–1.2 mm slot. For a #18 needle (1.10 mm), use 1.2–1.4 mm. Oversized slots let fabric dip and cause skipped stitches.
- Feed dog tooth height: measure from the base of the tooth to the tip. Common ranges: 0.6–0.8 mm for fine knits and silks, 0.8–1.0 mm for medium woven, 1.0–1.4 mm for denim and heavy canvas.
Write these values on a setup card for each machine group. When a defect appears, the first diagnostic step is comparing the current measurement against the card.
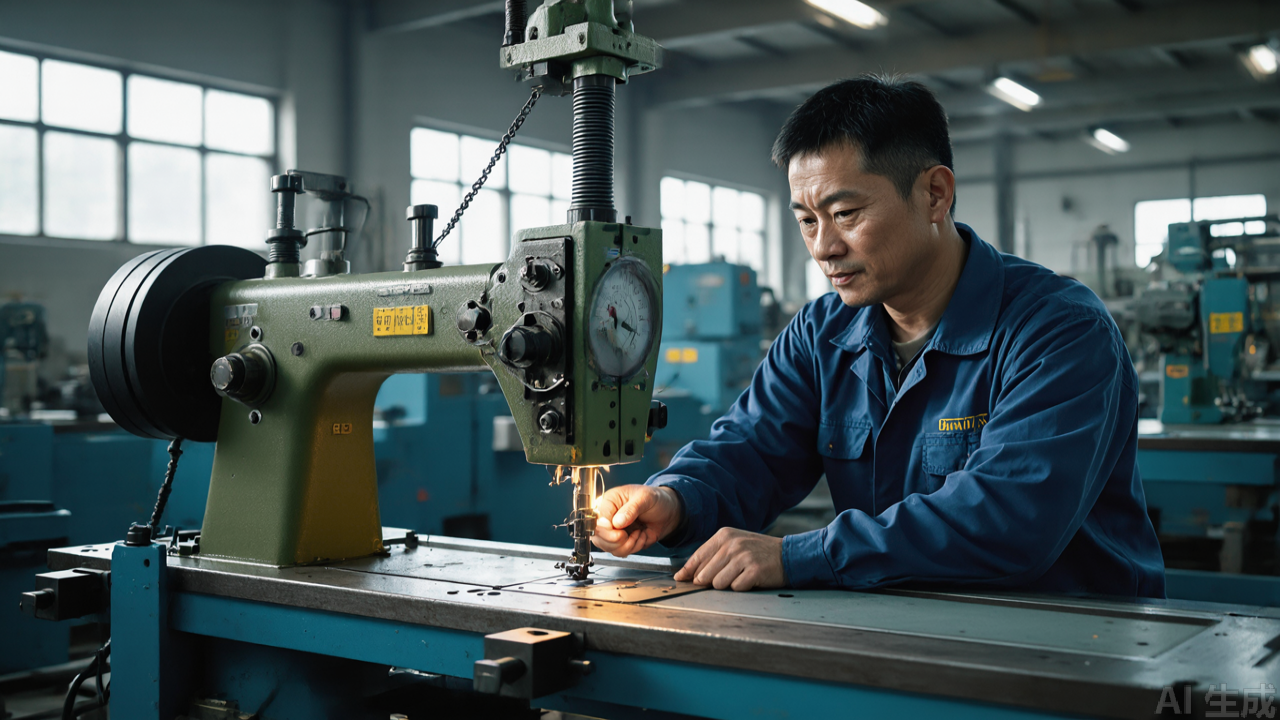
Presser Foot Pressure: Setting It by Fabric Weight
Foot pressure is the single most impactful adjustment on a lockstitch machine, and the one most often set by feel. Incorrect pressure causes puckering, skipped stitches, and uneven feed. The table below gives starting points; adjust within the range based on seam results.
- Silk, chiffon, fine knit (80–120 g/m²): 15–20 N. Above 20 N, the foot compresses the fabric and the feed dog cannot recover it, producing puckered seams.
- Cotton shirting, polyester blend (120–200 g/m²): 20–30 N. This is the standard range for most flat presser foot applications.
- Denim, canvas, coated fabric (300 g/m² and above): 40–60 N. Below 35 N, the material lifts between stitches and causes skipped stitches and needle deflection.
How to verify pressure is correct
Run a test seam at production speed on the actual fabric. Then:
- Inspect the underside of the seam. If the bottom thread is pulled up into the fabric, pressure is too high or thread tension is too tight.
- Check stitch length consistency over a 300 mm run. Variation greater than ±0.2 mm indicates the feed dog is losing grip — either pressure is too low or the feed dog is worn.
- Check for fabric marking on the top surface. Marks on light fabrics at 20 N or below usually indicate a foot sole that needs polishing or a non-stick coating, not a pressure problem.
Foot type selection by application
Pressure alone does not solve feeding problems on difficult materials. Foot geometry matters:
- Standard flat foot: woven cotton, stable polyester, general assembly. Works within the 20–30 N range.
- Walking foot (compound feed): knits, stretch fabrics, multiple plies, leather. Reduces layer differential; set pressure 5–10 N lower than a standard foot for the same fabric because the walking motion already provides grip.
- Roller foot: vinyl, coated fabric, leather. The roller reduces friction; pressure can be 10–15% lower than flat foot settings.
- Teflon-coated foot: lightweight synthetics, technical fabrics. Use the same pressure as a standard foot but expect lower friction and less marking.
The trade-off: a specialized industrial presser foot costs more and adds changeover time. On mixed-order lines, keeping a dedicated foot per machine group and swapping during scheduled style changes is usually cheaper than running the wrong foot and absorbing rework.
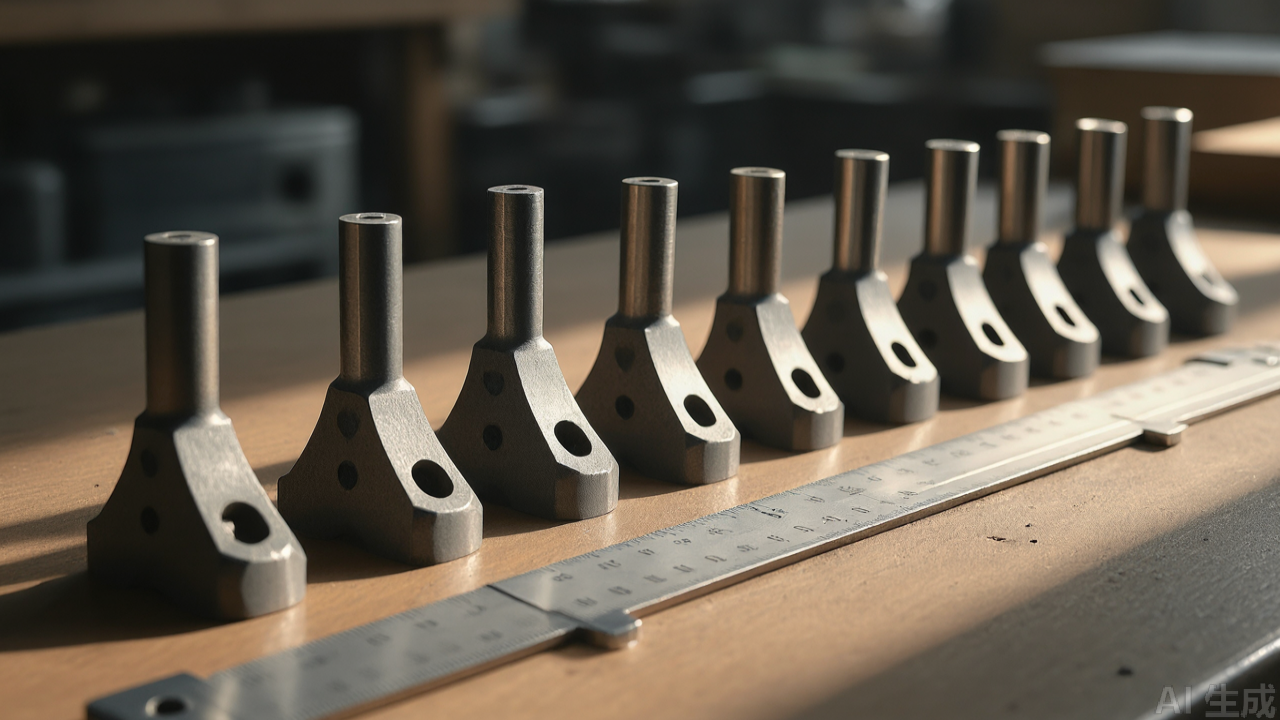
Feed Dog and Needle Plate: Specifications and Wear Limits
The feed dog and needle plate determine how material moves through the stitch zone. Their specifications must match the fabric and the needle, and their wear limits must be checked on a schedule.
Feed dog tooth height and profile
Tooth height is measured from the base to the tip of the tooth. The table below gives working ranges by fabric type:
- Fine knits, silk, chiffon: 0.6–0.8 mm tooth height, 18–22 teeth per inch, fine tooth profile. Higher teeth damage the fabric surface.
- Medium woven (shirting, suiting): 0.8–1.0 mm, 14–18 teeth per inch, standard profile.
- Denim, canvas, heavy woven: 1.0–1.4 mm, 10–14 teeth per inch, coarse profile. Lower tooth counts grip better on heavy material.
Wear limit: replace the feed dog when tooth height has decreased by more than 0.2 mm from the original specification, or when the tooth tips are visibly rounded under 10× magnification. A worn feed dog slips on the fabric, causing stitch length variation that fails quality inspection.
Needle plate slot width by needle size
The slot width must accommodate the needle without allowing fabric to dip. Use the following as a guide:
- #9 needle (0.70 mm): 0.8–0.9 mm slot. Used for fine silks and lightweight synthetics.
- #11 needle (0.75 mm): 0.9–1.0 mm slot. Light woven and knit.
- #14 needle (0.90 mm): 1.0–1.2 mm slot. Standard medium woven — the most common production setup.
- #16 needle (1.00 mm): 1.1–1.3 mm slot. Medium-heavy woven.
- #18 needle (1.10 mm): 1.2–1.4 mm slot. Denim, canvas, heavy material.
Wear limit: inspect the slot edges under magnification during every preventive maintenance cycle. Replace the plate when the slot edges show rounding greater than 0.05 mm, or when any burr can be felt with a fingernail. A worn plate snags thread and causes intermittent thread breaks that are difficult to diagnose without inspection.
Feed dog height setting
Feed dog height above the needle plate should be set to 0.8–1.0 mm for most flat-bed lockstitch machines. Measure with a dial indicator with the feed dog at its highest point in the stitch cycle. Below 0.7 mm, feeding becomes unreliable. Above 1.2 mm, light fabrics pucker and the needle deflects. On overlock and coverstitch machines, the differential feed dog height follows the same principle but the adjustment mechanism differs by model — consult the machine manual for the specific range.
Bobbins and Hooks: Tolerance and Replacement Intervals
Bobbin and hook problems produce tension variation that is often misdiagnosed as a tension dial issue. Verify dimensions and wear before adjusting tension.
- Bobbin dimensions: standard M-size bobbins for lockstitch machines should measure 20.5 mm ± 0.1 mm in diameter and 11.5 mm ± 0.1 mm in height. Out-of-tolerance bobbins wobble in the case and cause tension fluctuation. Check a sample from each lot with calipers.
- Bobbin case tension: with a full bobbin, the thread should pull with 0.2–0.4 N of resistance. Measure with a tension gauge. If resistance varies by more than 0.1 N as the bobbin empties, the case spring is worn — replace the case.
- Hook point condition: inspect under 10× magnification. Replace the hook when the point shows any burr, flat spot, or rounding. On high-speed lines running 4,000+ stitches per minute, hook replacement intervals typically fall between 800,000 and 1,500,000 stitches depending on thread type and lubrication.
Preventive replacement intervals in stitch counts
Rather than waiting for visible failure, schedule replacement based on stitch count. The following intervals are starting points for high-speed lockstitch lines; adjust based on fabric abrasiveness and thread type.
- Presser foot: inspect every 250,000 stitches; replace at 1,000,000–1,500,000 stitches for standard steel feet, or earlier if surface wear is visible.
- Feed dog: inspect every 500,000 stitches; replace at 2,000,000–3,000,000 stitches, or when tooth height loss exceeds 0.2 mm.
- Needle plate: inspect every 500,000 stitches; replace at 2,000,000–3,000,000 stitches, or when slot edge rounding exceeds 0.05 mm.
- Bobbin case: replace at 1,000,000 stitches or when tension variation exceeds 0.1 N across the bobbin.
- Rotary hook: replace at 800,000–1,500,000 stitches, or immediately upon inspection finding a burr or flat spot.
These intervals are conservative. Factories running abrasive materials like denim or coated fabric should shorten them by 30–50%. Factories running fine silks can extend them but should inspect more frequently.
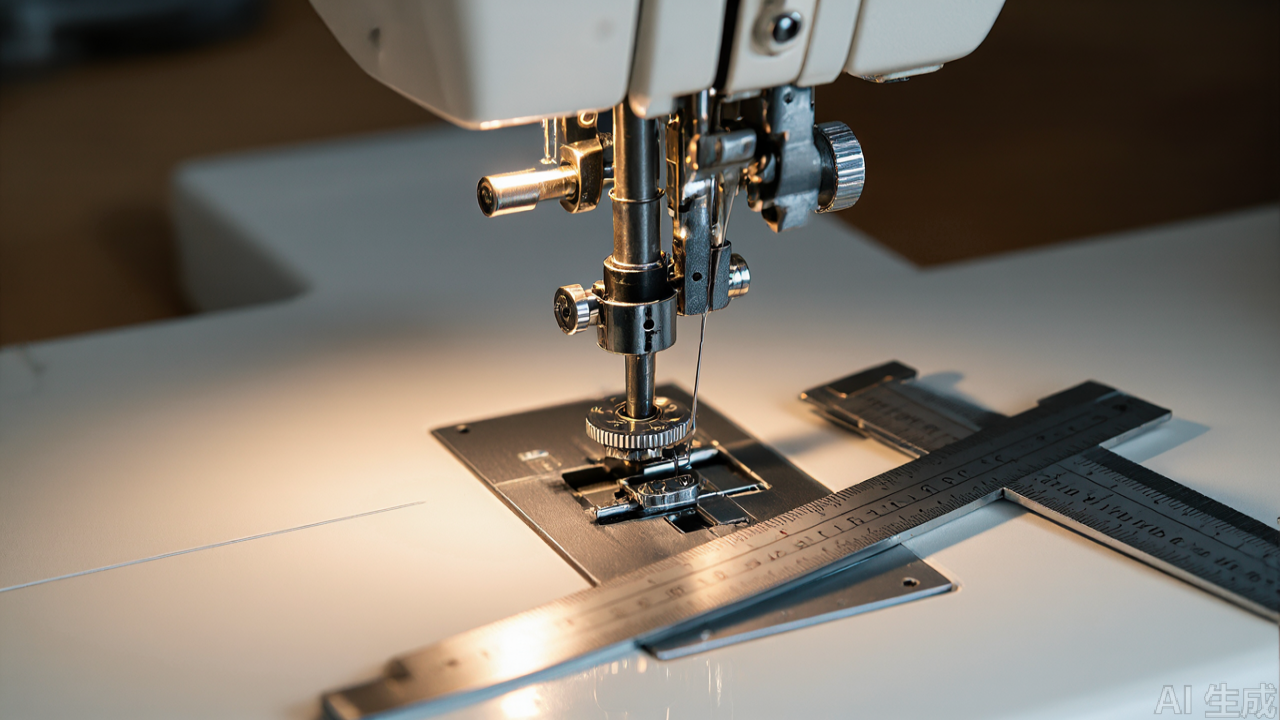
Troubleshooting Procedures for Five Common Defects
The following procedures assume the machine is correctly timed and the needle is new. Work through the steps in order; each step isolates one variable.
1. Puckered seams on light fabric
- Measure presser foot pressure. If above 20 N, reduce to 15–18 N and re-test.
- Measure feed dog height. If above 1.0 mm, lower to 0.8–0.9 mm.
- Check feed dog tooth height. If above 0.8 mm for light fabric, switch to a fine-profile feed dog.
- Check needle plate slot width. If wider than 1.0 mm for a #11 needle, switch to the correct plate.
- If all measurements are in range, check thread tension — puckering can also come from excessive top tension.
2. Skipped stitches at production speed
- Inspect the hook point under magnification. Replace the hook if any burr or flat spot is visible.
- Check needle plate slot width. An oversized slot lets fabric dip and the needle misses the hook. Replace with the correct plate for the needle size.
- Measure presser foot pressure. If below the minimum for the fabric weight, increase in 5 N increments and re-test.
- Check needle size against fabric. A needle that is too fine for the material deflects and misses the hook.
3. Uneven stitch length
- Measure feed dog tooth height. If worn by more than 0.2 mm, replace the feed dog.
- Check feed dog height setting. If below 0.7 mm, raise to 0.8–1.0 mm.
- Measure presser foot pressure. If below the minimum for the fabric, increase in 5 N increments.
- Check that the presser foot sole is flat and parallel to the feed dog. A bent or worn foot causes uneven grip.
4. Fabric marking on light materials
- Reduce presser foot pressure to the low end of the range (15–18 N for light fabric).
- Inspect the foot sole for sharp edges or burrs. Polish or replace.
- Switch to a Teflon-coated or roller foot if the fabric is coated or synthetic.
- Check that the feed dog teeth are not protruding above the needle plate more than specification — excessive height presses fabric into the foot.
5. Tension variation across the bobbin
- Measure bobbin dimensions with calipers. Replace bobbins that are outside 20.5 mm ± 0.1 mm diameter or 11.5 mm ± 0.1 mm height.
- Measure bobbin case tension with a gauge at full and near-empty bobbin. If variation exceeds 0.1 N, replace the bobbin case.
- Inspect the bobbin case spring for wear or deformation. Replace if worn.
- Check that the bobbin winds evenly. An unevenly wound bobbin causes tension variation independent of the case.
Managing Parts as Production Assets
The procedures above only work if parts are specified, measured, and replaced on a schedule. Three practices make this practical on a production floor:
- Setup cards per machine group. Record foot pressure, feed dog height, needle plate slot width, and bobbin dimensions for each machine type. Update when the dominant fabric changes.
- Stitch counters on critical machines. Most modern lockstitch machines have a stitch counter. Use it to trigger inspection and replacement rather than relying on operator memory.
- Incoming inspection on parts lots. Measure a sample from each lot of presser feet, feed dogs, needle plates, and bobbins. Dimensional consistency across lots matters more than the first sample's performance. Factories sourcing from a China sewing parts supplier or any other supplier should request dimensional reports and verify them independently. For reference, PL's full parts catalog is documented at pinseam.com with standard specifications for industrial presser feet, feed dogs, and bobbins.
The Takeaway
Production line efficiency improves when sewing machine accessories are treated as engineered components with measurable specifications and wear limits. Foot pressure in newtons, feed dog tooth height in millimeters, needle plate slot width by needle size, and replacement intervals in stitch counts give technicians a common language for diagnosis and setup. The measurements take minutes. The reduction in rework, downtime, and operator compensation is measurable across the shift.
Need this part for your workshop?
Get a Free Quote on WhatsApp: +86 137 3825 6697Browse the full catalog at pinseam.com · Free 2026 full catalog (PDF) · Related guide: industrial presser foot
📢 New arrivals & factory updates on Telegram — join our channel
Edited by the technical team at PL (Professional Leader) — high-quality sewing machine accessories from China. About our factory | Catalog: pinseam.com | WhatsApp: +86 137 3825 6697 | Telegram: @plsewingparts
Explore Our Parts Guides
- multifunctional needle threader guide — how to use & choose
- jack multifunctional needle threader — one-second threading
- sewing machine accessories, needle threaders & thread guides
- industrial & magnetic seam guides
- presser foot guide: types & compatibility
- industrial presser feet for factory lines
- roller & rolled hemmer presser feet
- industrial sewing machine parts & spare parts
- wholesale sewing machine parts — PL (Professional Leader) factory direct
- about PL (Professional Leader) — Hangzhou Fubang, sewing parts brand since 2018
Questions about a specific part? Chat with us on WhatsApp +86 137 3825 6697 — factory direct, reply within hours.


Comments
Post a Comment