Production Line Efficiency: Selecting and Troubleshooting Sewing Machine Parts
Production line efficiency in garment manufacturing is often lost to small, repeated part problems: a presser foot that leaves marks, a feed dog that slips on stretch fabric, a needle plate slot that deflects the needle. This article gives concrete selection parameters and step-by-step diagnostic procedures for the small sewing machine accessories that most affect throughput — presser feet, feed dogs, needle plates, bobbins, and hooks — so factory managers and technicians can specify, install, and troubleshoot industrial sewing machine parts with measurable criteria rather than guesswork.
Related guide: presser foot — types, fitting and machine compatibility.
Presser Foot Pressure: Measure It, Do Not Guess
Presser foot pressure is the single most misadjusted setting on a lockstitch machine. Too much pressure flattens the fabric, restricts the feed dog, and causes puckering on knits. Too little pressure lets the fabric lift between stitches, producing skipped stitches and irregular seam length.
Pressure is expressed in newtons (N) or as a spring compression distance in millimeters. Most industrial lockstitch machines use a coil spring above the presser bar, adjusted by a knurled screw or a lever. A practical working range:
- Lightweight wovens (chiffon, voile, lining): 10–20 N. Enough to keep the fabric in contact with the feed dog without compressing the weave.
- Medium wovens (poplin, twill, shirting): 20–35 N. The default range for most general-purpose lockstitch operations.
- Heavy wovens (denim, canvas, upholstery): 35–50 N. Higher pressure is needed to prevent layer shift at cross-seams.
- Knits and stretch fabrics: 10–25 N, combined with a differential or walking foot. Excess pressure on knits causes wavy seams that cannot be corrected by tension alone.
If you do not have a spring gauge, use the compression method. Mark the presser bar, then measure how far the spring compresses when the foot is lowered onto the needle plate. A typical medium-weight setting compresses the spring by roughly 2–3 mm. Record the setting for each fabric and machine so it can be repeated.
Diagnosing Pressure Problems
- Symptom: skipped stitches at high speed. Lower the foot with the machine off. If the fabric can be lifted slightly from the needle plate with light finger pressure, pressure is too low. Increase in quarter-turn increments and re-test.
- Symptom: fabric marks or shine on the seam line. Pressure is too high, or the foot sole is too wide for the fabric. Reduce pressure first, then evaluate the foot.
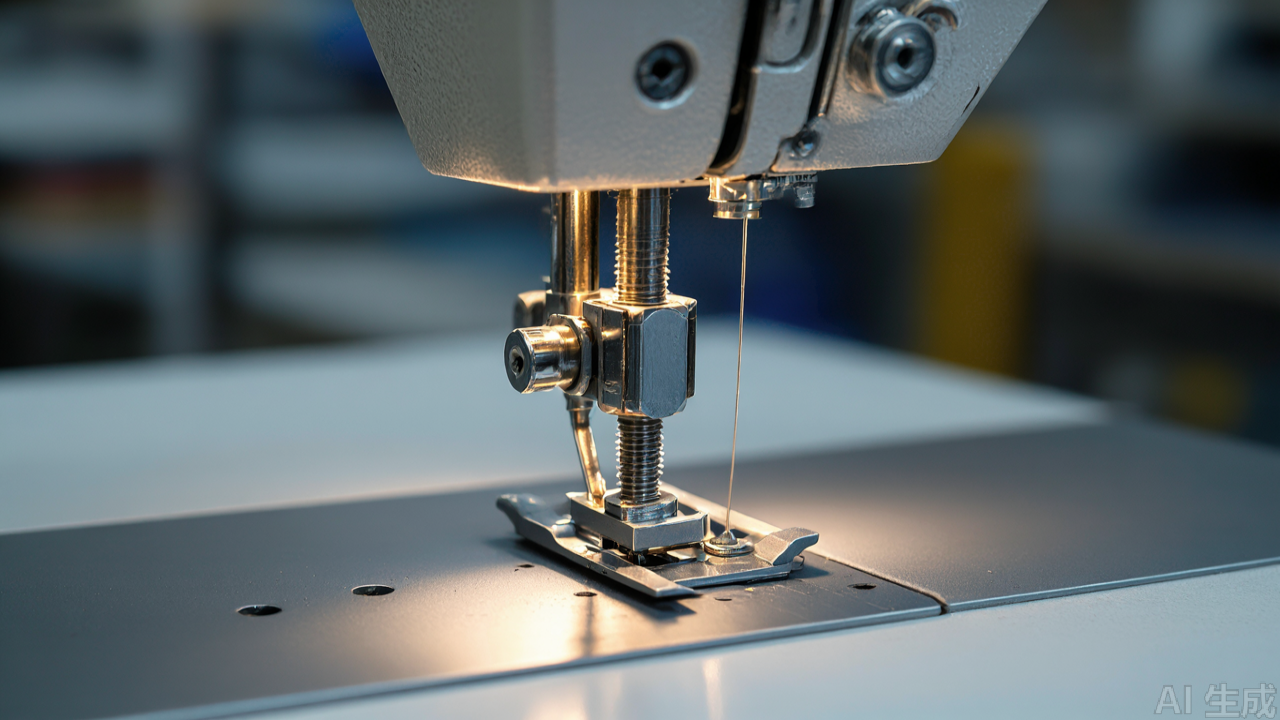
- Symptom: irregular stitch length. Check that the feed dog is not being pressed below the needle plate. With the foot down and no fabric, the feed dog teeth should protrude 0.8–1.2 mm above the plate surface.
Feed Dog Tooth Pitch and Protrusion
Feed dog performance depends on two measurable parameters: tooth pitch (the distance between teeth) and tooth height above the needle plate. Both must match the fabric and the operation.
Tooth Pitch Selection
- Fine pitch (approximately 1.0–1.2 mm): For lightweight and medium fabrics. Provides grip without leaving visible tooth marks.
- Medium pitch (approximately 1.4–1.6 mm): General-purpose range for wovens and stable knits.
- Coarse pitch (approximately 1.8–2.5 mm): For denim, canvas, and heavy knits. Aggressive feed, but will mark lightweight fabrics.
Tooth height is equally important. If the feed dog sits too low, the fabric slips and the operator compensates by pulling. If it sits too high, the fabric is pushed into the needle plate slot and the seam distorts. The standard protrusion range for most lockstitch machines is 0.8–1.2 mm. Measure with a dial indicator or a feeler gauge placed on the needle plate beside the feed dog slot.
Diagnosing Feed Problems
- Symptom: stitch length varies across the seam. Check feed dog height first. If it is within range, check that the feed dog is not worn flat on the leading edge.
- Symptom: fabric shifts between layers. This is usually a pressure problem, not a feed dog problem. Verify pressure before replacing the feed dog.
- Symptom: holes or marks along the seam. The tooth pitch is too coarse for the fabric. Switch to a finer feed dog and re-test.
Needle Plate Slot Width vs. Needle Size
The needle plate slot must be wide enough to clear the needle but narrow enough to support the fabric. A slot that is too wide lets the fabric dip into the opening, causing skipped stitches and needle deflection. A slot that is too narrow risks needle contact and breakage.
As a working rule, the slot width should be approximately 1.5 to 2 times the needle diameter for the operation. For common needle sizes:
- Needle size 9/65 (lightweight): Slot width approximately 1.2–1.4 mm.
- Needle size 11/75 to 14/90 (medium): Slot width approximately 1.6–2.0 mm.
- Needle size 16/100 to 18/110 (heavy): Slot width approximately 2.2–2.6 mm.
- Needle size 20/125 and above (extra heavy): Slot width approximately 2.8–3.2 mm.
These are starting points, not absolutes. The slot shape also matters: a round-hole plate provides better fabric support for fine fabrics, while an elongated slot is needed for zigzag and decorative stitches.
Diagnosing Needle Plate Problems
- Symptom: needle breaks repeatedly at the same point. Inspect the plate slot for burrs or deformation. Run a fingertip along the slot edge; any catch indicates damage.
- Symptom: skipped stitches on fine fabric. Check that the slot is not too wide. If the fabric can be pushed into the slot with light finger pressure, the plate is mismatched.
- Symptom: thread frays near the needle. A burr on the plate slot or the needle hole can abrade thread. Replace the plate rather than attempting to polish it in place.
Bobbin Dimension Tolerances
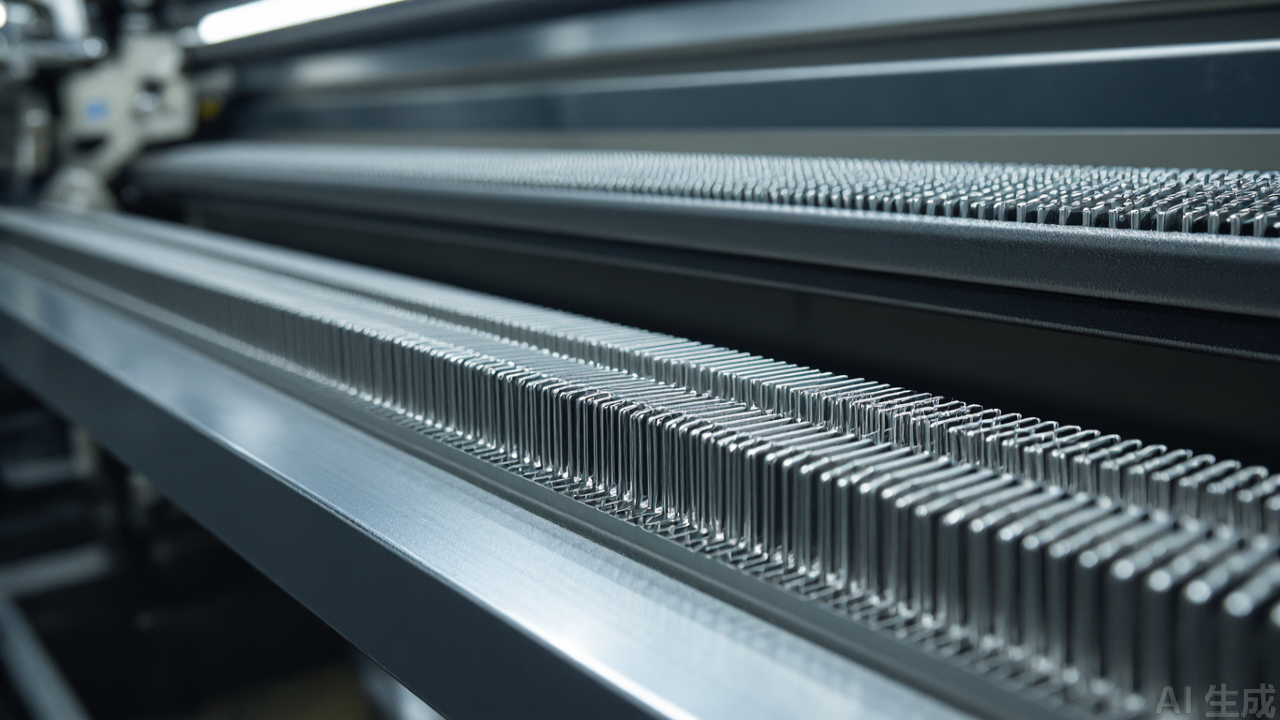
Bobbin-related faults are among the most common causes of unplanned downtime in lockstitch operations. The problem is usually dimensional inconsistency, not wear. A bobbin that is 0.1 mm out of spec can cause tension variation that operators misdiagnose as a hook or tension assembly fault.
Key dimensions to control:
- Flange diameter: Typically 20.0 mm for standard L-style bobbins, tolerance ±0.05 mm.
- Barrel diameter: Typically 14.5 mm, tolerance ±0.05 mm.
- Overall width: Typically 11.5 mm, tolerance ±0.1 mm.
- Concentricity: Flange to barrel runout should not exceed 0.05 mm. Excessive runout causes the bobbin to wobble in the case, producing uneven tension.
These tolerances are not theoretical. A batch of bobbins with 0.15 mm flange variation will produce measurable tension differences across a line, even when the bobbin case tension is set identically.
Diagnosing Bobbin Problems
- Symptom: inconsistent stitch quality across machines. Swap a known-good bobbin into the problem machine. If the fault follows the bobbin, the bobbin is the cause.
- Symptom: thread nesting under the fabric. Check bobbin case tension with a gauge. If tension is correct, inspect the bobbin for runout or flange damage.
- Symptom: bobbin binds in the case. Measure the barrel diameter. If it exceeds the upper tolerance, the bobbin is out of spec.
Hook Inspection and Replacement Criteria
The hook is a precision component that wears gradually. The first sign is usually increased thread breakage at high speed, because a worn hook surface abrades the thread. Visual inspection under magnification is the most reliable check.
Step-by-Step Hook Inspection
- Remove the bobbin case and the needle plate.
- Clean the hook race with a soft brush and lint-free cloth. Do not use compressed air, which drives lint into the lubrication system.
- Inspect the hook point under 10x magnification. A sharp, polished point is required. A rounded or chipped point will skip stitches.
- Run a fingernail along the hook race surface. Any catch indicates scoring or wear.
- Check the hook timing against the needle. The hook point should meet the needle scarf approximately 1.5–2.0 mm above the needle eye.
If the hook point is damaged or the race is scored, replacement is the only reliable fix. Polishing a worn hook in place may restore short-term function but will not restore the original geometry.
Building a Practical Parts Standard for the Line
The parameters above are only useful if they are documented and applied consistently. A simple approach:
- For each fabric family, record the presser foot type, pressure setting in N or spring compression, feed dog pitch, needle plate slot width, and needle size.
- Keep a small set of known-good bobbins for troubleshooting. Verify their dimensions with a caliper before use.
- Schedule feed dog and needle plate inspection at fixed intervals, not only when a fault appears.
- When a fault occurs, follow the diagnostic sequence: pressure first, then feed dog height, then needle plate, then bobbin, then hook. This order reflects the likelihood of each cause and avoids unnecessary part replacement.
For reference, PL's full parts catalog is documented at pinseam.com, including dimensional data for common presser foot, feed dog, and needle plate profiles. This kind of documentation is useful when comparing suppliers or building a preventive replacement schedule.
Conclusion: Parameters Beat Guesswork
Small sewing machine parts determine whether a line runs predictably or lurches between good and bad shifts. The difference is not the parts themselves but whether they are specified against measurable parameters — pressure in newtons, tooth pitch in millimeters, slot width matched to needle size, bobbin dimensions held to tolerance — and whether faults are diagnosed in a consistent sequence.
For factory managers and technicians, the practical takeaway is to stop treating presser feet, feed dogs, needle plates, and bobbins as interchangeable consumables. Measure them, record the settings that work, and replace them against criteria rather than symptoms. The investment in a caliper, a spring gauge, and a documented standard is small. The return is a line that performs the same way on every shift.
PL (Professional Leader) supplies sewing machine parts for industrial lockstitch, overlock and interlock machines, including the industrial presser foot range, needle plates, feed dogs and related presser foot accessories. The full sewing machine parts and presser foot catalogue is listed at pinseam.com.
Need this part for your workshop?
Get a Free Quote on WhatsApp: +86 137 3825 6697Browse the full catalog at pinseam.com · Free 2026 full catalog (PDF) · Related guide: presser foot
📢 New arrivals & factory updates on Telegram — join our channel
Edited by the technical team at PL (Professional Leader) — high-quality sewing machine accessories from China. About our factory | Catalog: pinseam.com | WhatsApp: +86 137 3825 6697 | Telegram: @plsewingparts
Explore Our Parts Guides
- sewing machine accessories, needle threaders & thread guides
- industrial & magnetic seam guides
- presser foot guide: types & compatibility
- industrial presser feet for factory lines
- roller & rolled hemmer presser feet
- industrial sewing machine parts & spare parts
- wholesale sewing machine parts, factory direct
- about PL (Professional Leader)
Questions about a specific part? Chat with us on WhatsApp +86 137 3825 6697 — factory direct, reply within hours.


Comments
Post a Comment