Industrial Sewing Machine Parts: Tolerances, Failure Modes, and Retrofit Procedure
This article gives technicians and buyers the numbers that actually matter when specifying or troubleshooting industrial sewing machine parts: presser foot shank tolerances, feed dog tooth pitch and height, needle plate slot widths matched to needle size, and the failure modes that appear when these dimensions drift out of range. It also sets out a step-by-step retrofit procedure for adding servo and monitoring hardware to an existing lockstitch, overlock, or coverstitch line without chasing false faults.
Related guide: industrial presser foot — types, fitting and machine compatibility.
Why the Mechanical Baseline Comes First
Every monitoring function on a modern sewing machine measures the result of a mechanical action. Stitch counters, thread-break sensors, and needle-break detection all report on what the needle, feed dog, and presser foot did — not on what the controller intended. When the mechanical layer is out of tolerance, the data reflects the fault, and technicians waste time on the control box instead of the tooling.
The practical rule: verify the four contact dimensions below before installing or diagnosing any electronic function.
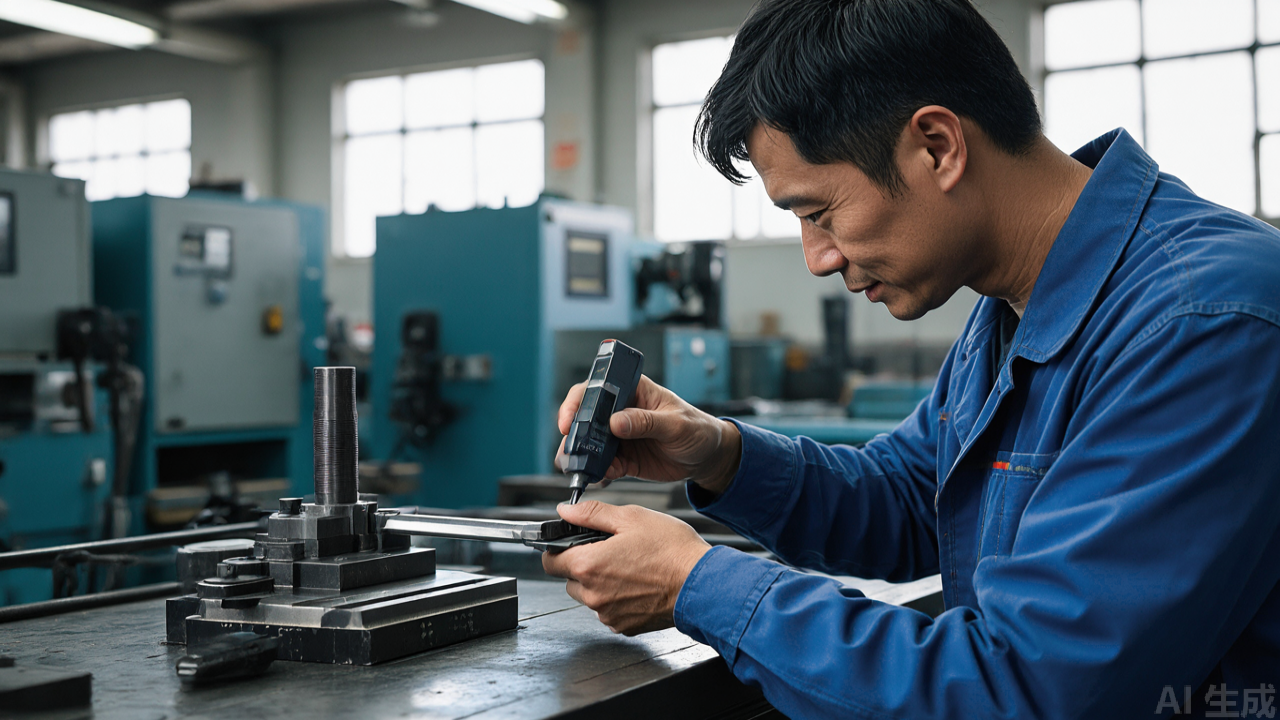
Parameter Tables: What to Measure and What to Expect
The values below are typical industry ranges for standard lockstitch classes. Always confirm against the machine builder's parts book, because shank geometry differs between flat-shank, low-shank, and high-shank systems.
Presser foot shank and mounting dimensions
| Parameter | Typical range | Out-of-range symptom |
|---|---|---|
| Shank width (flat shank) | 6.0–6.5 mm | Foot rocks on the bar; uneven hold-down across the seam |
| Shank thickness | 2.0–2.5 mm | Screw will not clamp; foot shifts under load |
| Mounting screw hole diameter | 4.0–4.3 mm | Wobble at the pivot; stitch line wanders on curves |
| Foot sole flatness (deviation) | ≤ 0.05 mm | Fabric lifts on one side; skipped stitches at the edge |
| Foot lift clearance at rest | 0.5–1.0 mm above needle plate | Fabric drags or jams at the foot entry |
A foot that passes width and thickness but fails flatness is the most common hidden defect. It looks correct on the bench and misbehaves only at speed.
Feed dog tooth pitch and height
| Parameter | Typical range | Out-of-range symptom |
|---|---|---|
| Tooth pitch (center-to-center) | 1.2–1.8 mm | Uneven stitch length; fabric marking on fine material |
| Tooth height above plate | 0.8–1.2 mm (light), 1.2–1.6 mm (medium/heavy) | Fabric slip at high speed; or pinching and feed marks |
| Tooth tip radius | 0.1–0.2 mm | Rounded tips: slip. Sharp tips: fabric damage |
| Feed dog slot clearance in plate | 0.2–0.4 mm total | Contact between dog and plate; noise and wear debris |
Tooth height is the parameter most often set wrong after a material change. Raising the feed dog to stop slipping on heavy fabric will pinch lightweight material on the next order.
Needle plate slot width by needle size
Slot width should be the smallest value that clears the needle without contact. Oversized slots let thin fabric drop and produce skipped stitches that no tension adjustment will correct.
| Needle size (metric) | Recommended slot width | Typical application |
|---|---|---|
| 65–70 | 1.2–1.4 mm | Silk, chiffon, fine synthetics |
| 75–80 | 1.4–1.6 mm | Light shirting, lining |
| 90–100 | 1.6–1.9 mm | Medium cotton, poly-cotton, knit |
| 110–120 | 1.9–2.3 mm | Denim, canvas, workwear |
| 125–140 | 2.3–2.8 mm | Upholstery, webbing, coated technical fabric |
On overlock and coverstitch machines the plate geometry differs, but the same principle applies: match the slot or throat opening to the needle and material, and replace the plate when the opening has worn oval.
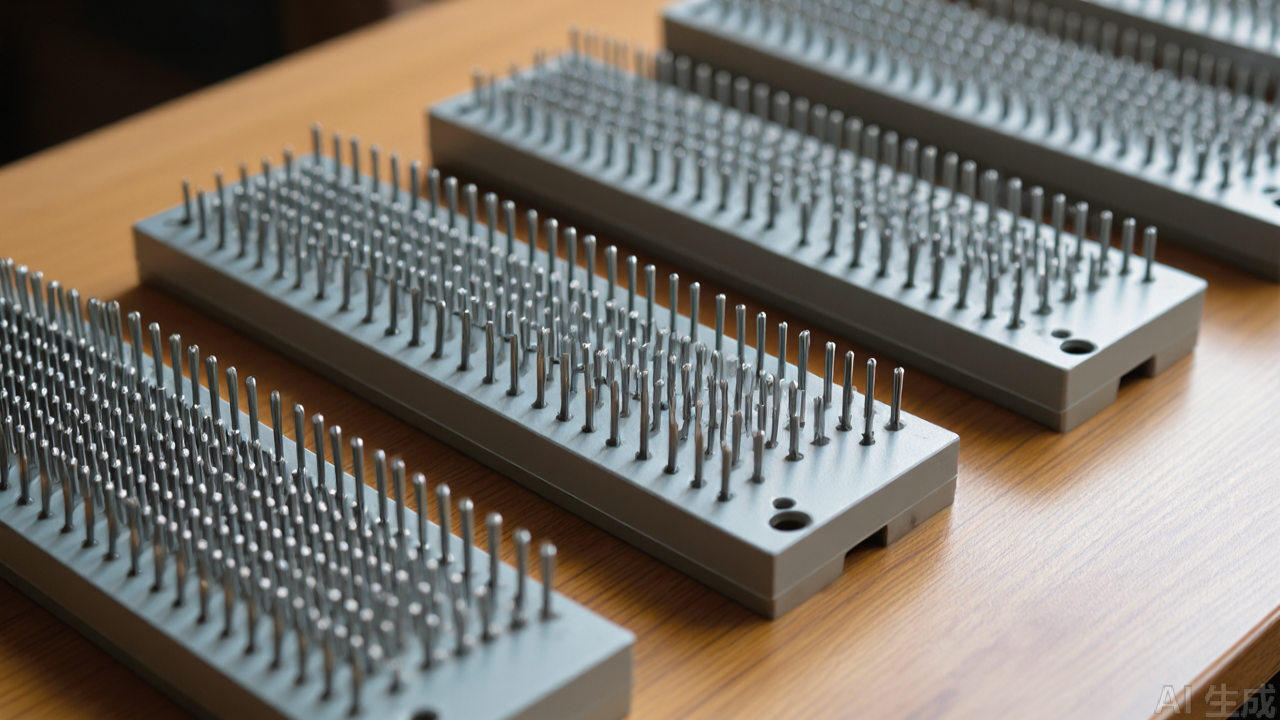
Named Failure Modes and Their Mechanical Causes
These are the faults technicians encounter most often on monitored lines, with the component-level cause rather than the electronic symptom.
Skipped stitches that persist after tension adjustment
- Cause: needle plate slot too wide for the needle and material, allowing the fabric to drop below the plate surface.
- Check: measure slot width against the table above; inspect for oval wear at the slot.
- Fix: replace the plate with the correct slot width for the needle in use.
Inconsistent stitch length without a controller fault code
- Cause: feed dog tooth tips rounded from wear, reducing grip on the material.
- Check: inspect tooth tip radius under magnification; compare against a new dog.
- Fix: replace the feed dog. Re-sharpening is not viable at production speeds.
Fabric marking and pinching on light material
- Cause: feed dog tooth height set for medium or heavy fabric and not reset after the changeover.
- Check: measure tooth height above the plate surface with a depth gauge.
- Fix: reset height to the light-material range and re-check presser foot pressure.
Intermittent auto presser foot lift faults
- Cause: bent or worn foot shank causing inconsistent travel in the lift linkage, reported by the controller as a machine error.
- Check: measure shank width and thickness; roll the foot on a surface plate to check for bend.
- Fix: replace the foot; do not attempt to straighten a hardened shank.
Thread breakage clustered at the hook
- Cause: low-tolerance rotary hook assembly with excessive clearance, or an out-of-round bobbin causing tension fluctuation.
- Check: measure bobbin diameter for roundness; inspect hook for play.
- Fix: replace the hook with a part from a supplier that publishes dimensional tolerances; replace bobbins as a set.
Pattern drift on programmable stitch sequences
- Cause: presser foot sole flatness out of tolerance or excessive clearance at the mounting screw, allowing fabric movement between pattern segments.
- Check: measure sole flatness and screw hole diameter.
- Fix: replace the foot; torque the mounting screw to the builder's specification.
Step-by-Step Retrofit Procedure for an Existing Line
This sequence applies to adding servo drive and monitoring to an existing lockstitch or overlock head. Do the mechanical steps first; the electronic steps will not hold if the tooling is out of tolerance.
Step 1 — Baseline the mechanical condition
- Measure presser foot shank width, thickness, and sole flatness on every head. Record the values.
- Measure feed dog tooth height and inspect tip radius.
- Measure needle plate slot width and check for oval wear.
- Replace any component outside the ranges in the tables above before proceeding.
Step 2 — Install the servo drive
- Remove the clutch motor and mounting hardware; clean the mounting face.
- Fit the servo motor and align the belt to the handwheel pulley. Belt tension should allow roughly 10–15 mm deflection at mid-span.
- Set needle-up and needle-down positions using the servo's positioning function, then verify by hand-cycling the machine through a full revolution.
Step 3 — Configure automatic functions
- Set auto presser foot lift height to clear the thickest material in the current order, then re-check foot lift clearance at rest.
- Set auto-trim timing and verify thread remaining length on a test seam.
- Run 20 test seams on the actual production fabric at production speed before releasing the machine.
Step 4 — Add monitoring hardware
- Fit the stitch counter and thread-break sensor per the gateway manufacturer's instructions.
- Run one shift with monitoring active but no alerts enabled, to establish a baseline of normal variation.
- Set alert thresholds above that baseline. Thresholds set from a spec sheet rather than from the machine's own baseline generate constant false alerts.
Step 5 — Verify and document
- Confirm that a deliberate thread break triggers the expected alert.
- Record the measured tooling dimensions and the servo settings for each head. This becomes the reference for the next service interval.

Sourcing Notes for Buyers
When specifying industrial sewing machine parts from any source, including China sewing parts supplier channels, the evaluation should be dimensional rather than visual. A catalog photograph cannot tell you shank tolerance or tooth pitch.
- Request shank width, thickness, and sole flatness in writing, with tolerances.
- Request feed dog tooth pitch, tooth height, and tip radius specification.
- Request needle plate slot width by needle size, not a single "standard" value.
- Test samples on the actual fabric at production speed, not on a bench.
- Compare the second and third shipments against the first; batch consistency is the real measure of process control.
Suppliers that publish full dimensional data for their catalog ranges make this comparison possible before a sample order is placed, which shortens the qualification cycle considerably.
Service Interval Reference
These intervals assume single-shift operation on medium-weight fabric. Reduce them by roughly 30 percent for heavy or abrasive materials, and for multi-shift running.
- Presser foot: inspect sole flatness and shank dimensions every 500 operating hours; replace when out of tolerance.
- Feed dog: inspect tooth tip radius every 500 hours; replace at the first sign of rounding.
- Needle plate: check slot width for oval wear every 1,000 hours.
- Bobbin: check for roundness every 200 hours; replace as a set when any bobbin in the set fails.
- Rotary hook: inspect for play every 1,000 hours; replace at the first measurable clearance.
The point of these numbers is not precision for its own sake. They give a technician a threshold to act on, and they give a buyer a specification to hold a supplier to. Smart manufacturing on a sewing floor starts with components that hold their dimensions.
PL (Professional Leader) supplies sewing machine parts for industrial lockstitch, overlock and interlock machines, including the industrial presser foot range, needle plates, feed dogs and related presser foot accessories. The full sewing machine parts and presser foot catalogue is listed at pinseam.com.
Need this part for your workshop?
Get a Free Quote on WhatsApp: +86 137 3825 6697Browse the full catalog at pinseam.com · Free 2026 full catalog (PDF) · Related guide: industrial presser foot
📢 New arrivals & factory updates on Telegram — join our channel
Edited by the technical team at PL (Professional Leader) — high-quality sewing machine accessories from China. About our factory | Catalog: pinseam.com | WhatsApp: +86 137 3825 6697 | Telegram: @plsewingparts
Explore Our Parts Guides
- sewing machine accessories, needle threaders & thread guides
- industrial & magnetic seam guides
- presser foot guide: types & compatibility
- industrial presser feet for factory lines
- roller & rolled hemmer presser feet
- industrial sewing machine parts & spare parts
- wholesale sewing machine parts, factory direct
- about PL (Professional Leader)
Questions about a specific part? Chat with us on WhatsApp +86 137 3825 6697 — factory direct, reply within hours.


Comments
Post a Comment