How to Install a Shoulder Strap Presser Foot on an Overlock Machine
This guide explains how to install, adjust, and maintain a shoulder strap presser foot on an industrial overlock machine. It covers the guided-slot mechanism that prevents elastic and webbing from drifting sideways, the step-by-step mounting procedure, pressure and feed dog synchronisation settings, and the faults that most often appear when the part is fitted incorrectly.
Related guide: presser foot — types, fitting and machine compatibility.
On an industrial overlock machine, few operations create as much scrap as running narrow elastic or webbing through a standard foot. The material twists, the operator compensates by hand, and output drops. Fitting a dedicated presser foot with a width-matched guide channel removes most of that variation, but only if the installation and setup are done correctly.
Why a Standard Presser Foot Fails on Narrow Straps
A general-purpose overlock foot is designed around the assumption that the operator can control the material's lateral position. On a 12 mm elastic band or a 20 mm shoulder strap, that assumption breaks down. The contact area between foot and material is small, and the foot sole is flat or only lightly grooved.
Three specific problems appear:
- Lateral drift. The differential feed pulls the material forward, but nothing constrains it sideways. The strap wanders into or away from the needle line.
- Edge curl. Elastic and knitted webbing tend to roll at the edges under foot pressure, producing a folded or wavy seam that fails inspection.
- Stitch skipping. When the material shifts off the needle plate line, the loopers and needle lose their timing relationship with the fabric edge, and skipped stitches follow.
The cost is not only rework. On a multi-needle overlock station running at 5,000 rpm, an operator who has to guide material by hand every cycle cannot reach the machine's rated output. The problem is mechanical, and it needs a mechanical solution.
How the Guided-Slot Mechanism Works
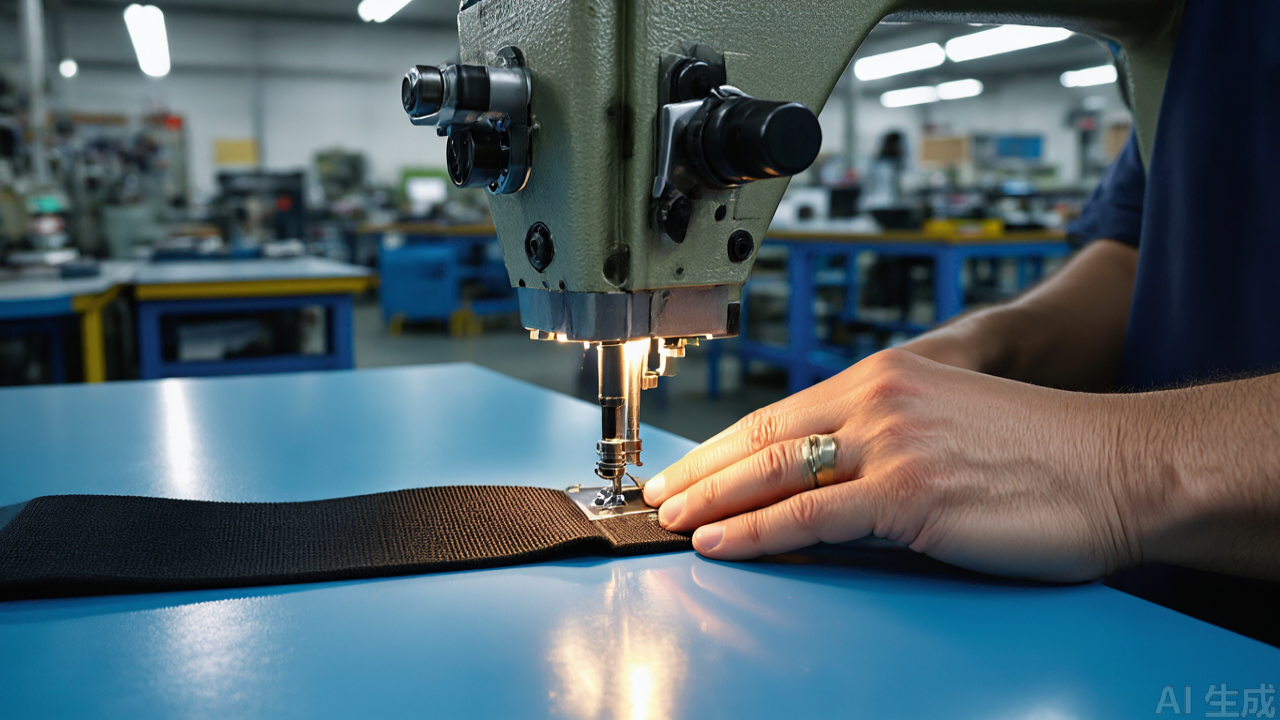
A shoulder strap presser foot replaces the flat sole with a channel. The channel walls sit slightly higher than the material thickness, and the strap runs inside them. Two forces act on the material at once: the feed dog drives it forward from below, and the channel walls constrain it laterally from above and both sides.
The guide channel and limit edges
The channel width is cut to match common strap and elastic widths. In practice this means the material has a small clearance — typically a fraction of a millimetre on each side — enough to slide freely but not enough to rotate or fold. Some designs add a raised limit edge on the outer side, which is useful when the strap must be aligned flush with the fabric edge for a clean overlock finish.
Toe lift and material entry
The front of the foot is angled upward. This toe lift lets the operator feed the strap into the channel without lifting the foot or stopping the machine. On long runs of continuous elastic, that entry angle determines how quickly the operator can reload after a cut. A shallow entry angle is faster to load but offers less control; a steeper angle holds the material more securely at the cost of slower threading.
Why the third-generation geometry matters
Earlier versions of this type of foot used a channel that was either too shallow, allowing the strap to ride up over the walls, or too deep, which trapped lint and caused the material to jam. The revised geometry on the current PL third-generation design tightens the channel tolerance and adjusts the foot pressure distribution so the material passes through without being compressed. The practical result is fewer jams and a lower rate of skipped stitches at the needle.
Materials, Hardness, and What It Means in Production
The foot body is forged from alloy steel or high-carbon steel, then quenched and precision ground. Hardness matters here for one reason: the channel walls wear against abrasive material all day. A soft foot will show channel wear within weeks on elastic with a high synthetic content, and once the channel widens, the anti-drift function is gone.
Surface treatment is usually chrome plating or a black oxide finish. Both reduce friction between foot and material, which matters most on stretch fabrics where drag causes the strap to elongate under the foot. A low-friction channel surface keeps the elastic at its natural length as it enters the stitch zone.
Two specifications deserve attention before purchase:
- Channel width and depth. Match these to the actual strap or elastic you run, not to a nominal size. A 10 mm elastic from one supplier may measure 10.5 mm after tensioning.
- Presser bar interface. Confirm the mounting method and bar diameter against your machine. Overlock presser feet are not interchangeable across all brands and generations.
These are standard considerations for any industrial sewing machine parts purchase, and they apply equally whether you are buying a presser foot, a feed dog, or a needle plate.
Step-by-Step Installation on an Overlock Machine
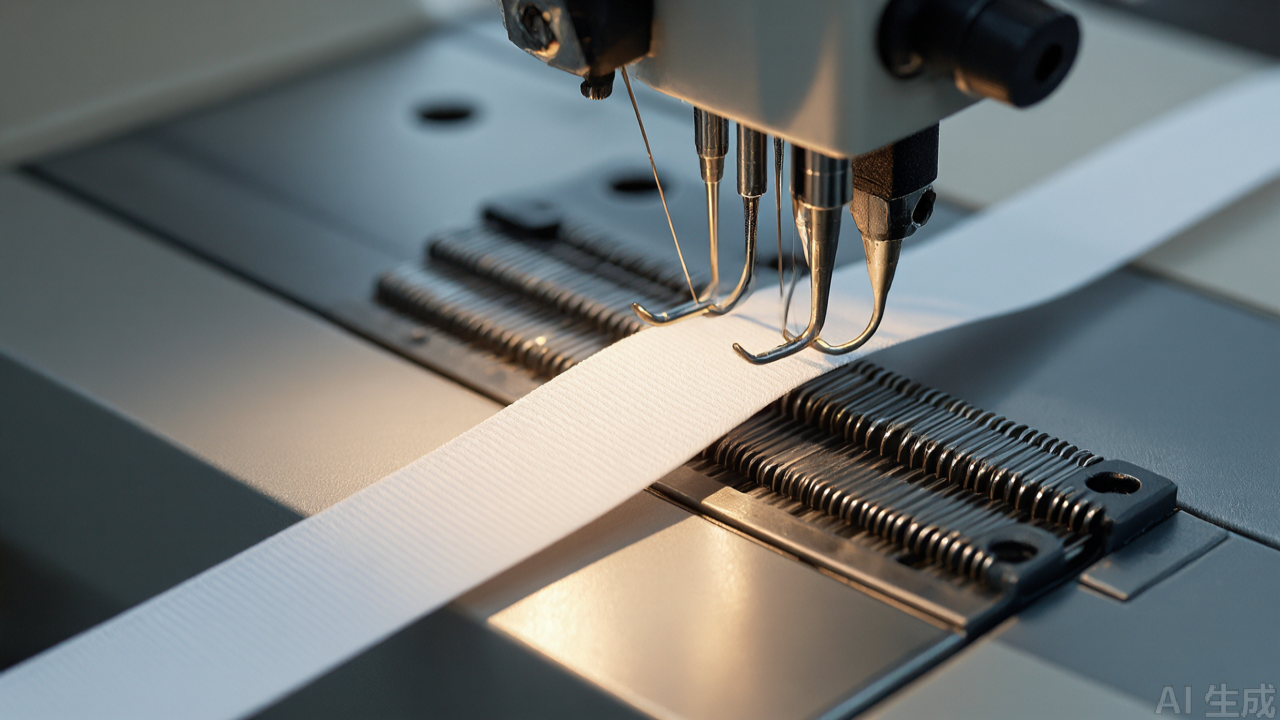
Installation takes a few minutes, but the sequence matters. Rushing the alignment step is the most common cause of a foot that appears fitted but still lets the strap drift.
Step 1: Isolate the machine
Switch off the machine and disconnect the power. On a multi-station line, lock out the station so no one restarts it while your hands are near the needle and loopers. Remove the needle if you need extra clearance.
Step 2: Remove the existing presser foot
Loosen the presser foot screw on the presser bar. On most overlock machines this is a single screw on the front or side of the bar. Slide the old foot down and off. Keep the screw — replacement feet rarely ship with one, and mismatched screws strip the thread in the bar.
Step 3: Clean the mounting surfaces
Wipe the presser bar and the foot mounting face. Lint, oil residue, or a burr on the bar will prevent the new foot from seating flat. A foot that sits fractionally off-axis will guide the strap off-line no matter how well the channel is cut. This step takes ten seconds and prevents hours of troubleshooting.
Step 4: Inspect the new foot before mounting
Run a fingertip through the guide channel. Any burr or rough edge left from machining will snag elastic and cause the material to bunch at entry. If you find one, dress it with fine abrasive paper — 600 grit or finer — and wipe the channel clean afterwards. Do not use a file; it removes too much material and changes the channel geometry.
Step 5: Mount and align the foot
Slide the new foot onto the presser bar and tighten the screw finger-tight first. Lower the foot onto the needle plate and check two things:
- The channel runs parallel to the direction of feed. Sight along the channel against the needle plate slot; any visible angle means the strap will drift to one side over a long run.
- The foot sits flat on the needle plate with no gap at the rear. A gap at the rear lifts the toe and reduces material control.
Once aligned, tighten the screw firmly. Do not overtighten — the screw seats against the bar, and excessive torque deforms the foot's mounting slot.
Step 6: Set presser foot pressure
Lower the pressure adjustment until the foot just holds the material without crushing it. This is the setting most operators get wrong. Too much pressure flattens elastic, changes its recovered width, and causes the strap to stretch as it passes under the foot. Too little pressure lets the material lift between feed dog strokes, which produces uneven stitch length.
A practical test: run a 300 mm length of your production strap through the machine by hand, with the feed engaged but the needle disengaged. The strap should move smoothly, without visible compression marks and without slipping.
Step 7: Synchronise the feed dog
Changing foot geometry changes how the material sits relative to the feed dog. Check that the feed dog rises above the needle plate by the correct amount for your material thickness, and that the differential feed setting matches the elasticity of the strap. For elastic that must not stretch during seaming, set differential feed slightly below 1.0; for elastic that must be gathered onto a garment, set it above 1.0.
Step 8: Test on production material
Run at least three metres of the actual strap and fabric combination at production speed. Check for lateral drift, edge curl, skipped stitches, and stitch length consistency. Adjust pressure or differential feed and repeat. Do not sign off on a setup tested only at low speed — problems with material control often appear only above 4,000 rpm.
Machine Compatibility and Fabric Considerations
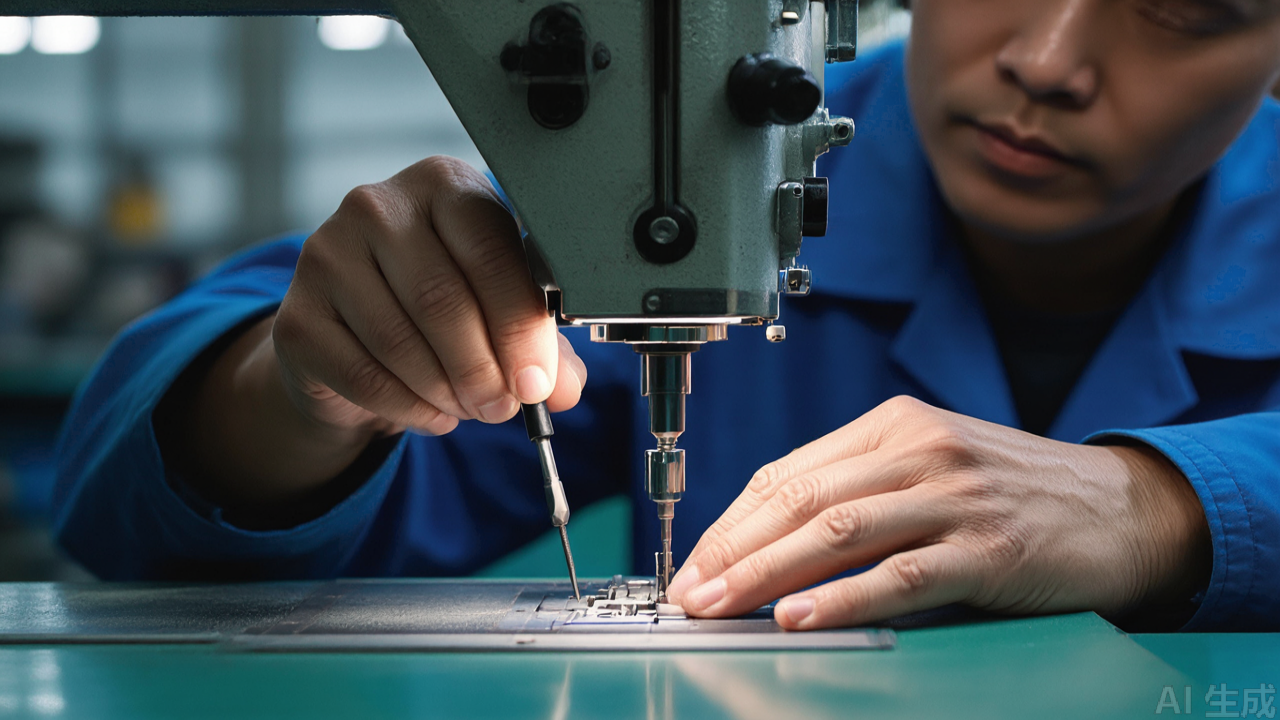
This type of foot is built for standard industrial overlock presser bar interfaces and is commonly used on three-thread, four-thread, and five-thread machines. It is not a universal fit. Before ordering, verify the presser bar diameter, the mounting screw position, and the foot's overall length against your machine model.
Where it performs best
- Shoulder straps and bra straps. The channel holds the strap on line while the overlock edge finishes it, which is the operation this foot was designed around.
- Elastic waistbands and cuffs. Running elastic and fabric together through the channel keeps the elastic from rolling and keeps the gather consistent.
- Webbing and cord. Bag straps, shoelaces, and decorative tape benefit from the same lateral constraint, provided the channel width matches.
- Knitted and stretch fabrics. Lycra, spandex, and jersey are where drift is worst on a flat foot, so the improvement is most visible here.
Where it does not help
The foot is not intended for wide flat seams or for general garment assembly. On wide panels, the channel offers no benefit and may restrict visibility of the seam line. It is also unsuitable for materials whose width varies along the length — a tapered strap will not track correctly in a fixed-width channel.
Common Mistakes and How to Correct Them
Strap still drifts after installation
Check three things in order: whether the foot is mounted square to the feed direction, whether the channel has worn wider than the material, and whether presser foot pressure is too low. A worn channel is the most common cause on a foot that has been in service for months. Measure the channel width against a new foot; if it has opened up by more than a fraction of a millimetre, replace it.
Skipped stitches appear after fitting the new foot
A new foot changes the clearance between the foot and the needle plate. If that clearance is too large, the material lifts during the stitch cycle and the needle fails to pick up the looper thread. Lower the foot or adjust the needle plate gap. Also confirm that the foot is not sitting so low that it deflects the needle.
Elastic stretches during seaming
This is almost always a pressure problem, not a foot problem. Reduce presser foot pressure and check differential feed. If the elastic still stretches, examine the channel surface for roughness — drag from a scored channel will elongate elastic even at correct pressure.
Material jams at the channel entry
A burr at the entry, an entry angle too steep for the material thickness, or lint packed into the channel. Clean the channel with a brush and compressed air, inspect the entry edge, and confirm the material thickness is within the foot's design range.
Maintenance Schedule for Strap Presser Feet
These parts are consumables, but their service life is largely determined by maintenance. A reasonable routine for a production environment:
- Every shift: brush lint and thread waste out of the guide channel. Packed lint changes the effective channel width and is a frequent cause of drift.
- Weekly: inspect the channel walls for scoring or a polished wear track. Light polishing is normal; a visible step or groove is not.
- Monthly: check the mounting screw torque and confirm the foot still sits square to the feed direction. Vibration loosens screws over time.
- Before storage: apply a light coat of anti-rust oil and store in a dry environment. Chrome and black oxide finishes resist corrosion but do not eliminate it.
When replacing the foot, replace the mounting screw at the same time if it shows any thread wear. A stripped screw that fails mid-run costs far more in downtime than the screw itself.
Selection Tips Before You Buy
Most returns and complaints on this category of sewing machine spare parts trace back to a specification mismatch rather than a quality problem. Work through these points before ordering:
- Measure your material, not your specification sheet. Take a sample of the strap or elastic you actually run, tension it as it would be under the foot, and measure the width. Order the channel size that matches that measurement.
- Confirm the machine interface. Presser bar diameter, mounting screw position, and foot length. Photograph your existing foot next to a ruler and compare against the supplier's drawing.
- Consider your speed range. Feet with a shallow entry angle load faster and suit high-volume lines. Feet with a deeper channel hold material more securely and suit difficult, slippery materials.
- Check the hardness specification. For abrasive elastic and webbing, a quenched and ground foot will outlast a soft one by a wide margin, even at a higher unit price.
- Buy a spare. Channel wear is gradual and easy to miss. Keeping a new foot on the shelf lets you compare channel width directly when drift symptoms appear.
For buyers sourcing industrial sewing machine parts from a China sewing parts supplier, request the channel tolerance and hardness value in writing. A supplier who can state these figures is working from a controlled process; one who cannot is a risk on a production line.
Closing Notes
A shoulder strap presser foot is a small, inexpensive component that addresses a specific and expensive production problem. The installation itself is straightforward, but the setup details — square mounting, correct pressure, feed dog synchronisation, and a clean channel — determine whether the part delivers its anti-drift function or simply replaces one set of faults with another. Treat the presser foot as a precision consumable, inspect it on a schedule, and replace it when the channel wears, and the operation will run at the speed the machine was built for.
Need this part for your workshop?
Get a Free Quote on WhatsApp: +86 137 3825 6697Browse the full catalog at pinseam.com · Free 2026 full catalog (PDF) · Related guide: presser foot
📢 New arrivals & factory updates on Telegram — join our channel
Edited by the technical team at PL (Professional Leader) — high-quality sewing machine accessories from China. About our factory | Catalog: pinseam.com | WhatsApp: +86 137 3825 6697 | Telegram: @plsewingparts
Explore Our Parts Guides
- multifunctional needle threader guide — how to use & choose
- jack multifunctional needle threader — one-second threading
- sewing machine accessories, needle threaders & thread guides
- industrial & magnetic seam guides
- presser foot guide: types & compatibility
- industrial presser feet for factory lines
- roller & rolled hemmer presser feet
- industrial sewing machine parts & spare parts
- wholesale sewing machine parts — PL (Professional Leader) factory direct
- about PL (Professional Leader)
Questions about a specific part? Chat with us on WhatsApp +86 137 3825 6697 — factory direct, reply within hours.


Comments
Post a Comment