How to Install and Use a Wide-Narrow Presser Foot for Shirt Collars
A left-right asymmetric presser foot lets a lockstitch machine sew topstitching at a fixed distance from a collar or placket edge without any marking. This guide covers how the CL and CR offset feet work, what the 0.3 mm and 0.5 mm edge widths actually control, and the installation, dial-in and maintenance steps that keep the stitch line consistent across a production run.
Related guide: presser foot — types, fitting and machine compatibility.
If you manage a shirt line, you already know where the bottleneck hides. It is rarely the body panels. It is the collar, the collar band, the placket and the cuff — the places where a topstitch has to run parallel to a folded edge at a distance the customer can see. A 0.5 mm drift on a collar band is invisible on the cutting table and obvious on the hanger. That is the job this presser foot was designed around.
What Problem the Offset Presser Foot Solves
On a standard lockstitch machine, the operator steers the fabric by eye. On long straight seams, that works reasonably well. On a shirt collar, it does not. The seam is short, the edge is curved, and the fabric is often a lightweight poplin or oxford that shifts under the needle. The result is a topstitch line that wanders: 1.2 mm at the point, 2.5 mm at the shoulder, 1.8 mm somewhere in between.
Buyers notice this immediately. A collar with an uneven edge stitch reads as a lower grade of garment, regardless of how good the fabric is. Factories handle it in one of three ways:
- Chalk or heat-erasable marking along the stitch path, then sew to the line. Slow, and the mark itself can be inconsistent.
- Magnetic or adhesive seam guides clamped to the needle plate. Better, but they sit away from the needle and the fabric can still drift between the guide and the needle.
- A dedicated edge-guide presser foot that physically traps the fabric edge at a fixed offset from the needle.
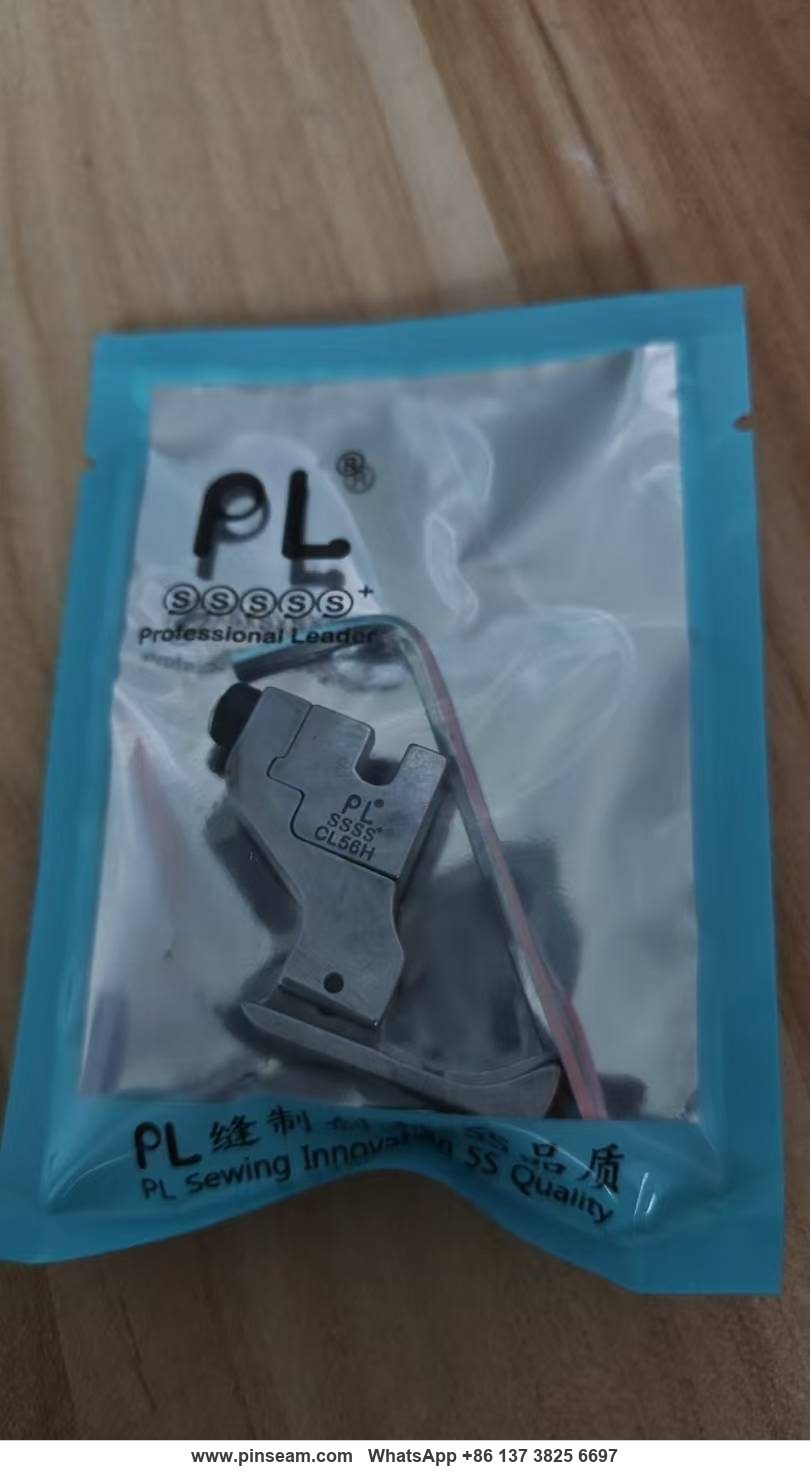
The third option is the most repeatable, because the guide is attached to the foot itself and moves with the fabric under the needle. The PL CL/CR series belongs to this category. It is a specialised presser foot for shirt collar attachment, edge topstitching and similar operations where the stitch must sit at a constant distance from a fold or a raw edge.
How the Left-Right Asymmetry Works
The defining feature is in the name: the foot is not symmetrical. One side of the sole is wide, the other is narrow, and a small machined guide — the "edge stop" or fence — runs along the narrow side.
When you sew, the folded edge of the collar or the seam allowance of the topstitched placket rides against that fence. Because the fence is a fixed distance from the needle, the stitch line is a fixed distance from the edge. The operator's only job is to keep the edge in contact with the fence. No marking, no eyeballing, no counting threads.
CL versus CR: which side is guided
CL and CR are mirror images of each other. The letters indicate which side carries the wide section:
- CL — left side wide, right side narrow. The edge guide sits on the right of the needle. Used when the fabric edge you are following runs along the right-hand side as you feed it.
- CR — left side narrow, right side wide. The edge guide sits on the left of the needle. Used when the edge runs along the left-hand side.
In practice, the choice depends on the operation and on which direction the part is fed. Attaching a collar band and then topstitching it are often two different passes with two different feet. Some factories keep both CL and CR loaded on adjacent machines so the operator can move the work without re-threading or swapping feet mid-bundle.
Getting this wrong is the single most common source of frustration with these feet. If the guide is on the wrong side, the operator ends up fighting the fabric instead of guiding it, and the stitch line drifts. Check the direction of feed against the drawing before you order, not after.
The edge stop and the stitch distance
The edge stop is machined, not adjustable. Its thickness sets the distance from the fabric edge to the needle — 0.3 mm or 0.5 mm in this series. That distance becomes the visible topstitch width.
This is worth stating plainly because operators sometimes try to "tune" the foot by bending the fence or shimming it. Do not. The fence is hardened and ground to size; bending it destroys the parallelism that makes the foot useful. If you need a different stitch distance, change to the correct foot.
Specifications and Materials
These are the numbers a parts buyer or line supervisor needs before ordering.
- Item reference: 1688-0763 (PL CL/CR series)
- Edge width options: 0.3 mm and 0.5 mm
- Orientation options: CL (left wide / right narrow) and CR (left narrow / right wide)
- Material: alloy steel, hardened and tempered
- Finish: polished sole and fence; the underside is smooth so it slides over light woven fabric without scuffing
- Shank: standard industrial lockstitch presser bar fitment
- Typical compatibility: Juki, Brother, Typical, Zoje and comparable single-needle lockstitch machines with a standard presser bar
Two notes on the material. First, the hardening matters more than the alloy grade on paper. A presser foot that is soft will wear at the fence, and as the fence wears the stitch distance opens up — gradually, so nobody notices until a buyer measures a shipment. Second, the polished sole is not cosmetic. On a lightweight cotton poplin, a rough sole drags and causes the fabric to pucker ahead of the needle. A smooth sole lets the fabric feed normally while the fence does the guiding.
The 0.3 mm and 0.5 mm widths are the two most common shirt-collar topstitch specifications, but they are not the only ones in use. If your spec sheet calls for 0.6 mm or 0.8 mm, confirm availability before committing a line to it. The standard sizes cover the bulk of shirt and light-woven work.
Installation: Step by Step
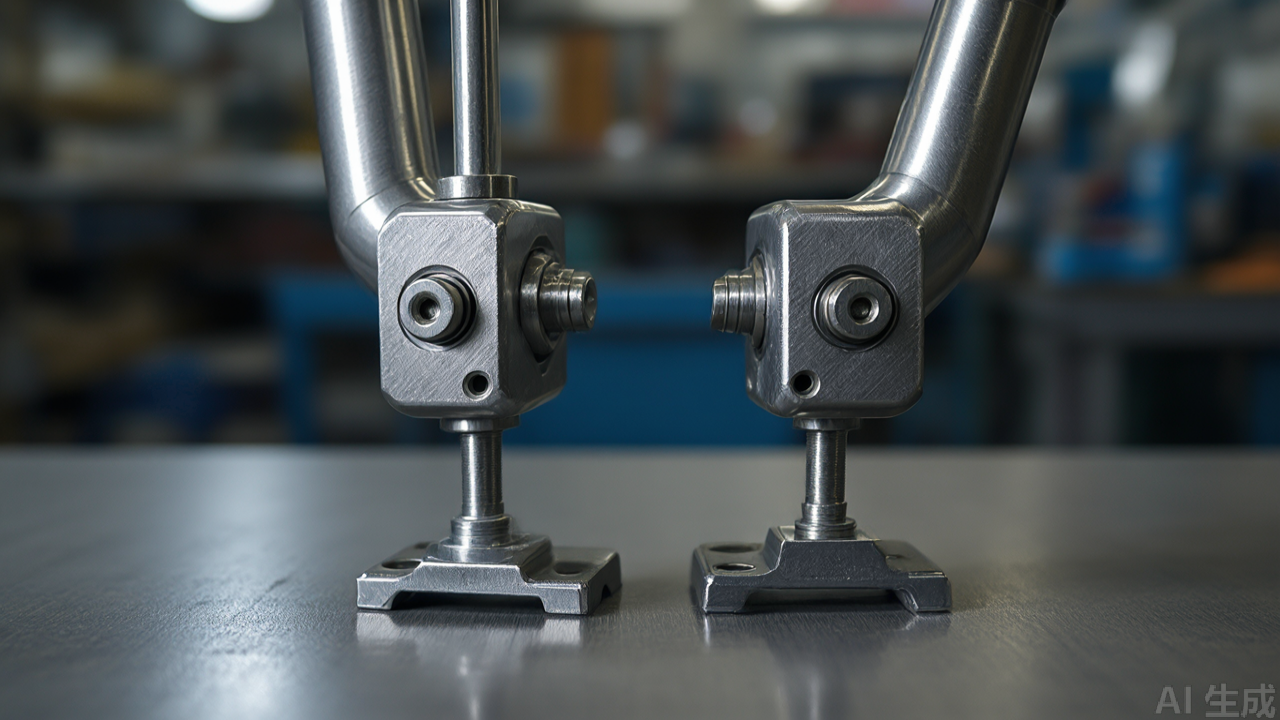
Installation is a five-minute job, but the order of steps matters. Rushing the alignment check is how needles get broken and how operators conclude that "these feet don't work."
Step 1 — Power down and lock out
Switch the machine off at the wall and press the pedal to confirm there is no residual run-on. On a clutch motor, wait for the machine to come to a complete stop before touching the presser bar. This is basic, but presser foot changes are exactly the kind of short task where people skip it.
Step 2 — Remove the existing foot
Raise the presser bar to its top position. Loosen the presser foot screw — usually a single screw on the bar — and slide the old foot off. Keep the screw; you will reuse it. Check the screw head and thread for wear while it is out. A stripped presser foot screw is a cheap part that causes expensive misalignment.
Step 3 — Identify CL versus CR before mounting
Hold the new foot with the sole facing you and confirm which side carries the fence. Match it to the direction you will feed the fabric. If you are setting up a collar-band topstitch where the folded edge runs on the operator's left as it passes the needle, you need the fence on the left — that is CR. Get this right now; it saves a re-install later.
Step 4 — Seat the foot on the presser bar
Slide the shank onto the presser bar and push it up until it seats fully. Tighten the screw firmly but do not over-torque it. The foot should sit flat on the needle plate with the needle centred in the foot's needle slot. If the foot sits tilted, the shank is not fully seated — loosen, reseat, retighten.
Step 5 — Check needle clearance by hand
This is the step that prevents broken needles. Turn the handwheel slowly through a full stitch cycle and watch the needle pass through the foot. It must pass cleanly through the centre of the slot without touching the fence or either side of the sole. If it contacts anything, stop and re-check the seating.
If the needle hits the fence, the most likely causes are: the foot is not seated flat, the presser bar is bent, or the needle is not centred in the needle bar clamp. Work through these in order. Do not "fix" it by moving the fence.
Step 6 — Set presser foot pressure
With the foot mounted, set the pressure for the fabric you are running. On light shirt-weight woven fabric, reduce pressure. Excess pressure flattens the fabric ahead of the needle, causes the fence to leave a mark on the fold, and can make the fabric creep. On heavier woven fabric, increase it enough to keep the fence in contact with the edge without the fabric slipping out from under it.
A practical starting point: set pressure so the foot holds the fabric firmly but you can still slide a single layer out from under it with light finger pressure. Adjust from there based on the first test seam.
Step 7 — Set stitch length and thread tension
The offset foot does not change your stitch formation, but it does change how the fabric feeds. Because the fence constrains lateral movement, the fabric can no longer spread sideways to absorb tension. If your top thread tension was set slightly loose to avoid puckering, you may find it needs a small increase. Set stitch length to the spec on the work ticket — typically 2.5 to 3.0 mm for shirt collar topstitching — and adjust tension on a scrap of the actual production fabric.
Setting Up and Sewing the First Seam
Do not start on a production collar. Cut three or four test pieces from the same fabric, folded the same way as the production part. Then work through the following sequence.
Hand-cycle the first stitch
Position the fabric so the folded edge sits against the fence. Lower the foot, then turn the handwheel by hand for the first two or three stitches. This confirms the fabric is feeding, the fence is engaging the edge, and nothing is binding. Only then move to power.
Run a low-speed test
Sew the first test piece at low speed. Watch the fabric edge, not the needle. The edge should stay in contact with the fence for the full length of the seam. If it drifts away, you are either feeding at an angle or the fence is not deep enough into the fold — check that the fabric is actually seated against the fence before you start, and that the fold is fully formed.
Measure the result
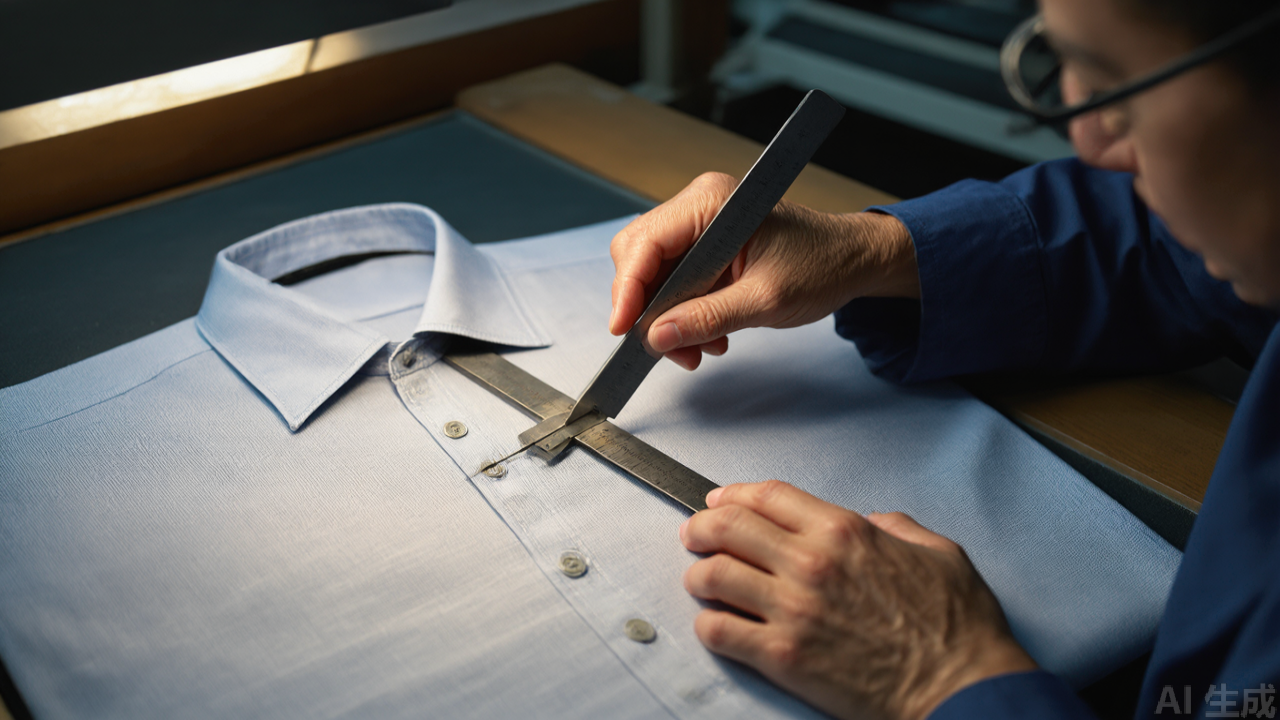
Take the test piece to the inspection table and measure the distance from the folded edge to the stitch line at three points: start, middle and end. On a correctly set-up foot, the variation should be within a few hundredths of a millimetre. If it is wider at one end, the operator is steering. If it is wider at the start only, the fabric was not seated against the fence at the beginning of the seam.
Check the underside
Turn the test piece over and inspect the underside. With a lightweight fabric and a fresh foot, you may see a faint impression from the fence along the fold. A light impression is normal and presses out. A deep groove means too much presser foot pressure — back it off.
Adjust and repeat
Change one variable at a time. Pressure first, then tension, then speed. Once you have a test seam that meets spec at three measurement points, run five more pieces and check them. Consistency across five pieces is a better indicator of a stable setup than one perfect seam.
Machine Compatibility and Fabric Suitability
These feet use the standard industrial lockstitch presser bar interface. In practice that means they fit the vast majority of single-needle lockstitch machines in shirt production: Juki, Brother, Typical, Zoje and the many machines built to the same bar dimensions. Before ordering, confirm the presser bar diameter and the shank width on your specific machine. Most are standard, but older or specialised machines occasionally differ.
These feet are for lockstitch machines. They are not for overlock machines or sergers, and they are not for coverstitch machines. The edge-guide principle depends on the needle moving up and down through a stationary foot on a flat bed, which is the lockstitch architecture.
Fabrics that suit this foot
- Shirt-weight wovens: poplin, oxford, twill, broadcloth — the primary application
- Light to medium woven fabrics: uniform and workwear shirting, dress shirt bodies
- Medium-weight wovens: suit and jacket components where an even edge topstitch is required
The common thread is woven fabric with a defined fold or edge that can be held against a fence. The foot works best when the edge is stable — a folded collar edge, a pressed placket, a fused cuff.
Fabrics and situations where it is less suitable
- Very stretchy knits: the edge deforms against the fence and the stitch distance wanders. A different guide system is usually better.
- Very heavy or coated fabrics: the fence cannot press deeply enough into the edge to hold it, and the foot may drag.
- Curves tighter than the foot can follow: on a tight curve, the operator has to pivot, which lifts the edge off the fence. These feet are at their best on gentle curves and straight runs.
Being honest about the limits matters. A factory that buys these feet expecting them to solve every topstitching problem will be disappointed. A factory that uses them on the collar, band, placket and cuff operations they were designed for will get a very consistent result.
Common Mistakes and How to Avoid Them
Most problems with offset feet trace back to a small number of causes. Here are the ones that show up most often on the floor.
Wrong orientation (CL versus CR)
Symptom: the operator has to twist the fabric to keep the edge on the fence, and the stitch line wanders. Cause: the fence is on the wrong side for the direction of feed. Fix: swap to the correct orientation. Do not attempt to compensate by changing the operator's feeding technique.
Excessive presser foot pressure
Symptom: fence marks on the fold, puckering ahead of the needle, fabric creep. Cause: pressure set for a heavier fabric and not re-adjusted. Fix: reduce pressure for light fabric and re-test. This is the most common setup error on shirt-weight material.
Fence not seated against the edge
Symptom: the first few centimetres of the seam are off-spec, then it corrects. Cause: the operator started sewing before seating the edge against the fence. Fix: build the habit of seating the edge, lowering the foot, then starting. On short collar seams this habit is worth more than any machine adjustment.
Using the wrong edge width for the spec
Symptom: the stitch distance is consistently wrong but perfectly parallel. Cause: a 0.3 mm foot on a 0.5 mm specification, or vice versa. Fix: check the work ticket against the foot in the machine. Because the fence is not adjustable, this is a parts-selection error, not a setup error.
Lint and thread accumulation at the fence
Symptom: stitch distance gradually opens up over a shift. Cause: lint packing into the corner where the fence meets the sole, effectively moving the guide surface. Fix: clean the fence and sole at each bobbin change. A small brush and a blast of compressed air take ten seconds.
Attempting to adjust the fence
Symptom: a foot that was accurate when new no longer holds a parallel line. Cause: the fence has been bent or filed in an attempt to change the stitch distance. Fix: none — replace the foot. Keep spare feet in the sizes you run so nobody is tempted to modify one.
Maintenance and Inspection
These are low-maintenance parts, but they are precision parts. Treat them accordingly.
- Daily: brush lint from the fence and sole. Check that the foot sits flat and the screw is tight.
- Weekly: inspect the fence under a loupe or with a strong light. Look for a rounded or polished edge where the fabric rubs. A slight shine is normal; a visible radius means the fence is wearing.
- Monthly: measure a test seam and compare it to the original specification. If the stitch distance has opened by more than your tolerance, replace the foot.
- On replacement: keep a log of which machine each foot is on and when it was installed. Wear is gradual, and a log is the only reliable way to catch it before a shipment does.
Store spare feet in their original packaging or in a compartmented tray. Two offset feet of the same size look nearly identical, and mixing CL and CR in an unlabelled bin guarantees a wrong-foot installation at some point.
Practical Selection Tips
When specifying these feet for a line, work backwards from the finished garment.
- Start with the spec sheet. The required topstitch distance tells you the edge width — 0.3 mm or 0.5 mm. Do not choose by feel.
- Then determine orientation from the operation. Sketch the part, mark the feed direction and the edge being followed, and see which side the fence needs to be on. That gives you CL or CR.
- Buy both orientations if the line runs both. Collar attachment and collar topstitching are frequently opposite orientations. Keeping both on hand avoids mid-run swaps.
- Standardise across machines. If several machines run the same operation, fit them all with the same foot size and orientation. Mixed setups produce mixed output.
- Keep a spare set per machine. Wear is gradual and replacement is quick. A spare on the shelf prevents a line stoppage and prevents the temptation to run a worn foot past its useful life.
For buyers sourcing sewing machine accessories at volume, the practical questions are consistency and documentation. Confirm that the edge width is held to a stated tolerance, that the material is hardened, and that CL and CR are clearly marked on the part or its packaging. These are the details that determine whether a batch of feet performs identically on machine 1 and machine 12.
It is also worth understanding where these parts sit in the wider range of industrial sewing machine parts. An offset edge-guide foot is a process-specific tool: it does one job, and it does that job very consistently. It does not replace a standard presser foot for general seaming, and it will not suit every fabric or every curve. Used within its design envelope — shirt collars, bands, plackets, cuffs, uniform edges on light to medium woven fabric — it removes a variable that operators otherwise control by eye, and that is where the value is.
For a shirt line, the payoff is straightforward. The topstitch distance on a collar stops depending on who is at the machine and how far into the shift they are. The measurement holds, the buyer's inspection passes, and the operator spends attention on feeding rather than on counting millimetres. That is the whole case for the tool, and it is a good one.
Need this part for your workshop?
Get a Free Quote on WhatsApp: +86 137 3825 6697Browse the full catalog at pinseam.com · Free 2026 full catalog (PDF) · Related guide: presser foot
📢 New arrivals & factory updates on Telegram — join our channel
Edited by the technical team at PL (Professional Leader) — high-quality sewing machine accessories from China. About our factory | Catalog: pinseam.com | WhatsApp: +86 137 3825 6697 | Telegram: @plsewingparts
Explore Our Parts Guides
- multifunctional needle threader guide — how to use & choose
- jack multifunctional needle threader — one-second threading
- sewing machine accessories, needle threaders & thread guides
- industrial & magnetic seam guides
- presser foot guide: types & compatibility
- industrial presser feet for factory lines
- roller & rolled hemmer presser feet
- industrial sewing machine parts & spare parts
- wholesale sewing machine parts — PL (Professional Leader) factory direct
- about PL (Professional Leader) — Hangzhou Fubang, sewing parts brand since 2018
Questions about a specific part? Chat with us on WhatsApp +86 137 3825 6697 — factory direct, reply within hours.


Comments
Post a Comment