How to Install and Use an Industrial Presser Foot Edge-Folding Guide
This article explains how to install, adjust, and operate a fifth-generation edge-folding and topstitching guide that mounts on a standard lockstitch machine. It covers the mechanism, the materials and tolerances involved, a step-by-step setup procedure, fabric-specific settings, and the mistakes that cause most rejects in production. The focus is on the placket, waistband, and collar work where an industrial presser foot alone cannot hold a consistent fold width.
Related guide: industrial presser foot — types, fitting and machine compatibility.
What Problem This Attachment Solves
On a plain lockstitch machine, the operator controls fold width by hand. For a placket run-out seam (a seam sewn twice with the raw edge enclosed) or a topstitched edge (a row of stitching that presses and secures a folded edge), that manual control is the weak point. Fold widths drift by 0.5 mm to 1 mm over a shift. On a shirt placket, that drift is visible. On a waistband, it shows up as a wavy topstitch line. On a collar stand, it produces an uneven finished edge that the inspector will flag.
The attachment described here is a mechanical edge-folding guide. It mounts near the needle plate and takes over two jobs: it folds the fabric edge to a set width before the needle reaches it, and it holds that fold against a guide face while the presser foot feeds the fabric. The operator's hands then only guide the panel, not the fold itself.
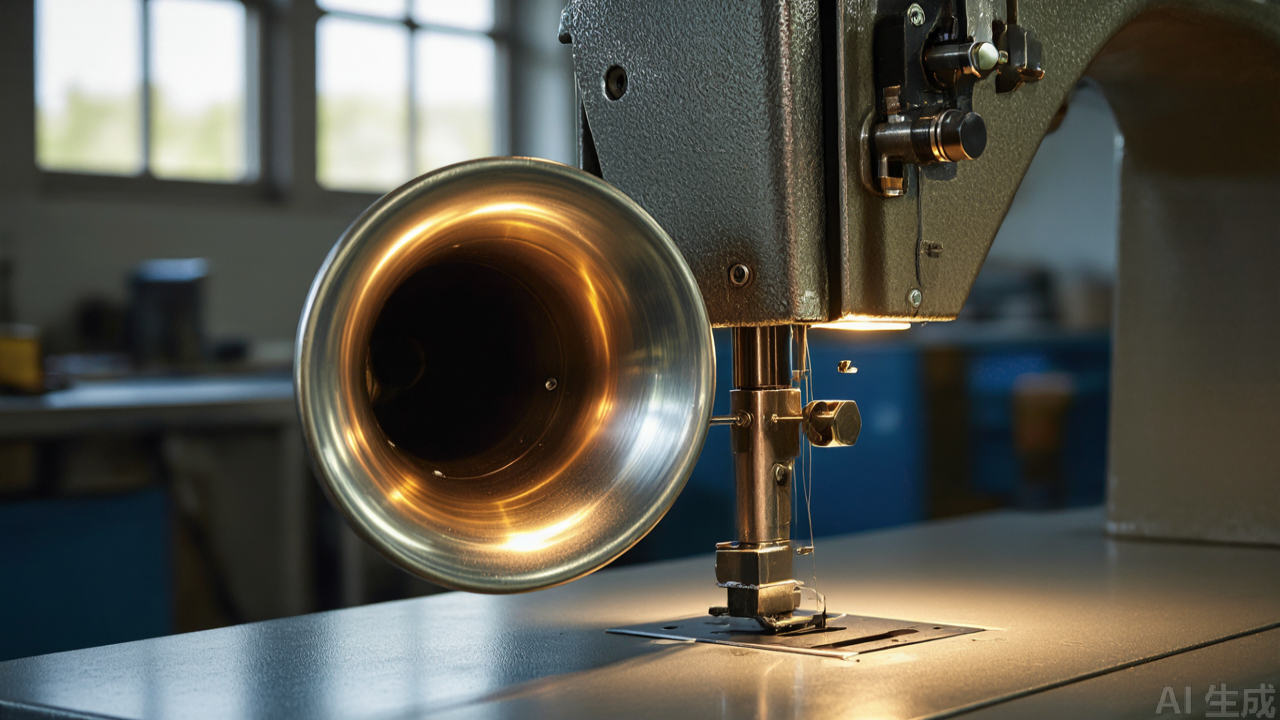
This is not a new category of tool. Folding guides have been used on industrial sewing machines for decades. What changed in the fifth generation is the shape of the entry. Earlier guides had a straight or slightly tapered entry that required the operator to pre-fold the edge by hand before feeding it. The current design uses a flared entry, sometimes called a trumpet mouth, that opens the fabric edge as it enters and forms the fold inside the guide. In practice this reduces the number of pieces that jam at the entry, which is the most common cause of downtime with this type of attachment.
How the Guide Works
The folding path
Fabric enters the guide at the flared mouth. The mouth is wider than the finished fold, typically by a factor of two to three, so the operator does not need to align the raw edge precisely. As the fabric moves forward, the guide walls converge. The raw edge is turned under and the fold is set before the fabric reaches the needle.
The fold width is determined by the position of the guide plate relative to the needle centerline, not by the entry width. This is an important distinction. Moving the guide plate changes the fold width. Changing the entry opening changes how easily the fabric feeds, but not the finished width.
Why it works with the presser foot, not against it
The guide does not replace the presser foot. It delivers a pre-formed fold to the point where the presser foot takes over. The presser foot then holds the fold flat against the feed dog and needle plate through the stitch formation. For this to work, the guide exit must sit flush with the front of the presser foot, with no gap that would let the fold open again, and no overlap that would push the presser foot sideways.
This is why the mounting position matters more than most operators expect. A guide that is 1 mm too far forward will let the fold relax before the needle arrives. A guide that is 1 mm too far back will interfere with the presser foot and cause skipped stitches or broken needles.
Topstitching versus run-out seam
The two operations use the same guide differently. For a topstitched edge, the guide folds the edge once and the needle stitches through the fold and the body fabric in one pass. For a run-out seam, the fabric is folded twice, or the seam is sewn, turned, and then topstitched. Some operators run the guide in two passes with a width change between them. Others set the guide for the second pass only and pre-close the seam on a separate machine. Both methods are used in production; the choice depends on the fabric weight and the seam specification.
Materials, Construction, and Tolerances
The body is a metal alloy casting with a machined or polished guide face. The guide face receives an electroplated coating. The plating serves two purposes: corrosion resistance in humid workshops, and reduced friction so that lightweight fabrics do not drag or stretch as they pass through.
Friction matters more than it first appears. On a thin polyester-cotton shirting, a rough guide face will stretch the fold edge by several percent. The result is a placket that looks flat on the machine and puckers after washing. A polished, plated face reduces this. It does not eliminate it, and operators running very light fabrics should still test a sample through a wash cycle before committing a production lot.
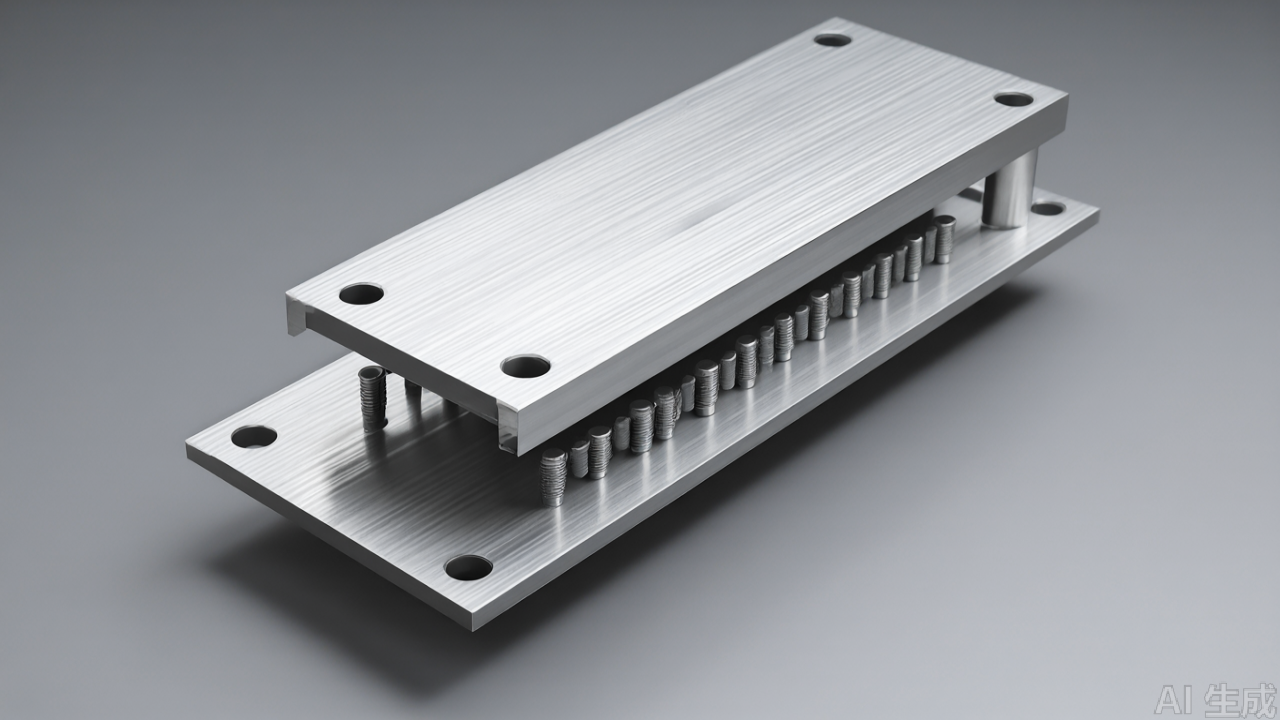
Adjustment is by screw. The guide plate has slotted mounting holes that allow movement in the direction perpendicular to the sewing line. The typical adjustment range covers fold widths from roughly 1 mm to 5 mm, depending on the machine and the position of the needle. Below 1 mm, the guide walls become too close to feed reliably. Above 5 mm, the fold tends to open before it reaches the presser foot on light fabrics.
- Body: metal alloy, electroplated
- Guide face: polished, low-friction
- Mounting: screw-fixed near the needle plate or machine table
- Adjustment: slotted plate, roughly 1–5 mm fold width
- Compatibility: standard single-needle lockstitch machines
Because the mounting is by screw to existing points, no machine modification is required. This matters for factories that run mixed machine brands across a line. A single guide can be moved between machines if the mounting geometry allows, though in practice most factories keep one guide per machine to avoid re-setting the fold width.
Step-by-Step Installation
Before you start
Switch off the machine and confirm the needle has stopped. Thread take-up and needle bar movement are the two hazards during setup. Do not adjust the guide with the machine running, even at low speed.
Remove the existing presser foot if it blocks access to the mounting area. On most lockstitch machines, the guide mounts to the needle plate area or to a bracket on the machine table. Check the mounting holes on your specific machine before ordering, because mounting geometry is the one specification that varies most between machine brands.
Positioning the guide
- Loosen the adjustment screw on the guide plate so the plate can slide in its slot.
- Place the guide so that its exit sits level with the front edge of the presser foot. The exit should not protrude past the presser foot, and it should not sit behind it.
- Align the centerline of the guide channel with the needle. The fold will form on one side of the channel; confirm which side matches your seam direction before tightening.
- Tighten the mounting screws finger-tight first, then check the alignment again before final tightening.
Setting the fold width
- Slide the guide plate to the position that gives the required fold width. Use a steel rule against the needle to measure, not visual estimation.
- Tighten the adjustment screw.
- Feed a scrap piece of the production fabric through by hand, turning the handwheel to advance the needle slowly. Do not use the motor for the first test.
- Measure the finished fold width on the scrap. Adjust and repeat until the width is within tolerance.
Two or three test pieces are usually enough. If the width changes between test pieces on the same setting, the problem is usually the entry opening, not the plate position. See the section on common mistakes below.
Checking the fold before stitching
Before running a production piece, feed a scrap through with the needle disengaged from the fabric path if your machine allows it, or with the presser foot raised. Watch the fold form inside the guide. It should form smoothly, without the fabric edge rolling back on itself or catching on the guide wall. If the edge catches, the entry opening is too narrow for the fabric weight.
Operating Procedure in Production
Feeding technique
The operator's job changes with the guide installed. Instead of controlling the fold, the operator controls the panel angle and the feed rate. The panel should enter the guide at a slight angle, with the raw edge leading into the flared mouth. Feeding the panel at too steep an angle will push the edge against the guide wall and cause it to fold unevenly.
Feed speed should be matched to the fabric. On thin fabrics, running the machine at full speed through a short placket section gives the fold less time to relax and often produces a cleaner result than a slow, hesitant feed. On heavy fabrics, the opposite is true: the guide needs time to turn the thicker edge, and forcing it will distort the fold.
Run-out seam sequence
For a run-out seam, the typical sequence is:
- First pass: sew the seam with the fabric wrong sides together, using the guide to control the first fold.
- Trim and turn the seam.
- Second pass: topstitch with the guide set to the finished width, enclosing the raw edge.
The guide can be used on both passes or only on the second. Using it on both passes gives more consistent results but requires a width change between passes, which costs time. Many factories set the guide for the second pass only and control the first pass by hand or with a separate folder.
Topstitching a collar or waistband
For collar stands and waistbands, the guide is usually set to a fixed width and the operator runs the panel edge through in one continuous pass. The critical point is the start and end of the run. At the start, the fold must be formed by hand for the first 10–15 mm until the guide takes over. At the end, the fold must be held until the panel clears the presser foot. These two zones are where most defects occur, and they are the reason operator training matters even with a guide installed.

Machine and Fabric Compatibility
Machines
The guide is designed for standard single-needle lockstitch machines. It is not intended for overlock machines (sergers) or coverstitch machines, where the feed and stitch formation work differently and the mounting points are not compatible. Within lockstitch machines, direct-drive and clutch-motor models both work, provided the mounting area allows the bracket to be fixed.
Machines with automatic thread trimmers, automatic presser foot lifters, or short remaining thread sensors may have less clearance around the needle plate. Check the clearance before installation. On some models, a different mounting bracket is needed to clear these mechanisms.
Fabrics
The guide is intended for woven fabrics from light to medium-heavy weight: cotton, polyester-cotton, synthetic blends, and similar. It is not intended for knits, because knit fabrics stretch and recover differently, and a mechanical guide cannot compensate for that. It is also not suitable for very heavy materials such as denim above 12 oz or coated fabrics, where the fold cannot be turned by the guide alone.
Within the suitable range, the main variable is thickness at the fold. A fabric that is light in the body but thick at the seam (for example, a placket with interfacing) behaves like a heavier fabric at the guide. Set the entry opening for the thickest point of the fold, not the average fabric weight.
Common Mistakes and Maintenance
Mistakes that cause defects
- Guide exit not flush with the presser foot. Causes the fold to open before the needle. Symptom: inconsistent fold width, especially at higher speeds.
- Entry opening too narrow. Causes the fabric edge to catch and roll. Symptom: jammed pieces, distorted fold at the entry point.
- Entry opening too wide. Causes the fold to form late and unevenly. Symptom: fold width varies from piece to piece on the same setting.
- Guide plate not parallel to the feed direction. Causes the fold to drift to one side over the length of the seam. Symptom: a placket that is correct at the start and off at the end.
- Mounting screws not fully tightened. Causes the guide to shift under vibration. Symptom: a setting that works for the first hour and then drifts.
- Running the machine before the fold is formed by hand at the start. Causes a bird's nest or an unfolded section at the beginning of the seam.
Maintenance
The guide face accumulates lint, dust, and thread fragments. On a production machine running eight hours a day, this buildup is enough to change the friction characteristics of the guide within a shift. Clean the guide face with a soft brush or compressed air at the start of each shift, and more often when running fabrics that shed heavily.
Do not use sharp tools to scrape the guide face. The plating is thin, and a scratch will increase friction permanently. If the plating is worn through and the base metal is exposed, the guide should be replaced, because the friction will no longer be uniform across the face.
Check the adjustment screw periodically. Vibration can loosen it over days of running. A screw that has backed off by a fraction of a millimeter will change the fold width by a visible amount.
Store spare guides in a dry place. The plating resists corrosion, but a guide that has been stored in a humid environment and shows surface rust on the body should be inspected before use, because rust on the guide face will damage fabric.
Selection Tips for Parts Buyers
When specifying a guide for a production line, the variables that matter most are mounting compatibility, fold width range, and guide face finish. Mounting compatibility is specific to the machine model, and it is the first thing to confirm. Fold width range should cover the widest and narrowest specifications your line runs; if it does not, you will need two guides or a different attachment type.
Guide face finish is harder to assess from a specification sheet. A polished, plated face is the minimum. If you are evaluating samples from different suppliers, run the same fabric through each guide under the same machine settings and compare the fold width consistency across ten pieces. The guide that produces the tightest spread is the one with the better face finish and entry geometry.
For factories running multiple machine brands, standardizing on one guide model reduces the number of spare parts kept in stock, but only if the mounting geometry is compatible across those brands. In practice, most factories end up with two or three guide models to cover their machine fleet. This is normal and should be planned for in the spare parts budget.
Finally, consider the operation the guide will be used for. A guide set up for run-out seams on shirt plackets is adjusted differently from one set up for waistband topstitching. If the same machine runs both operations, the guide will need to be re-set between them, which takes time. On high-volume lines, it is often more efficient to dedicate one machine to each operation than to change settings repeatedly.
Closing Notes
An edge-folding guide does not replace operator skill, but it removes the most variable part of the operation: manual fold control. The result is a more consistent fold width, fewer rejects at inspection, and less fatigue on the operator over a shift. The trade-off is setup time and the need to match the guide to the fabric and the machine. In a factory running a stable product mix, that trade-off is usually worth it. In a factory running short runs with frequent changeovers, the setup time may not pay back, and manual folding may remain the better choice. The PL (Professional Leader) fifth-generation guide (item 1688-0666) is one example of this attachment type, and the setup procedure described here applies to this class of industrial presser foot accessories generally.
Need this part for your workshop?
Get a Free Quote on WhatsApp: +86 137 3825 6697Browse the full catalog at pinseam.com · Free 2026 full catalog (PDF) · Related guide: industrial presser foot
📢 New arrivals & factory updates on Telegram — join our channel
Edited by the technical team at PL (Professional Leader) — high-quality sewing machine accessories from China. About our factory | Catalog: pinseam.com | WhatsApp: +86 137 3825 6697 | Telegram: @plsewingparts
Explore Our Parts Guides
- sewing machine accessories, needle threaders & thread guides
- industrial & magnetic seam guides
- presser foot guide: types & compatibility
- industrial presser feet for factory lines
- roller & rolled hemmer presser feet
- industrial sewing machine parts & spare parts
- wholesale sewing machine parts, factory direct
- about PL (Professional Leader)
Questions about a specific part? Chat with us on WhatsApp +86 137 3825 6697 — factory direct, reply within hours.


Comments
Post a Comment