How to Install and Use Fabric Clamps on Cutting Tables
Fabric clamps are among the most overlooked industrial sewing machine parts in a garment factory, yet they directly affect cutting accuracy and material waste. This article explains how thickened fabric clamps work, how to install and operate them correctly at the cutting table, and how to avoid the clamping mistakes that cause layer shift, distorted plies, and unnecessary re-cuts. It is written for cutting room supervisors, sewing technicians, and spare parts buyers who want a practical, workshop-level reference rather than a catalogue description.
Related guide: industrial sewing machine parts — types, fitting and machine compatibility.
If you manage a cutting room, you already know the failure mode: a 60-ply lay of cotton jersey looks perfectly aligned after spreading, the straight knife enters the lay, and by the third metre the bottom plies have crept sideways by 3–5 mm. The cut parts no longer match the marker. Some are recut, some are scrapped, and the spreading team gets blamed for something that was actually a holding problem. Fabric clamps — sometimes called lay holders, cloth clips, or fabric grippers — exist to solve exactly this. They are simple, unglamorous, and frequently under-specified.
Why Layer Shift Happens and What a Fabric Clamp Actually Does
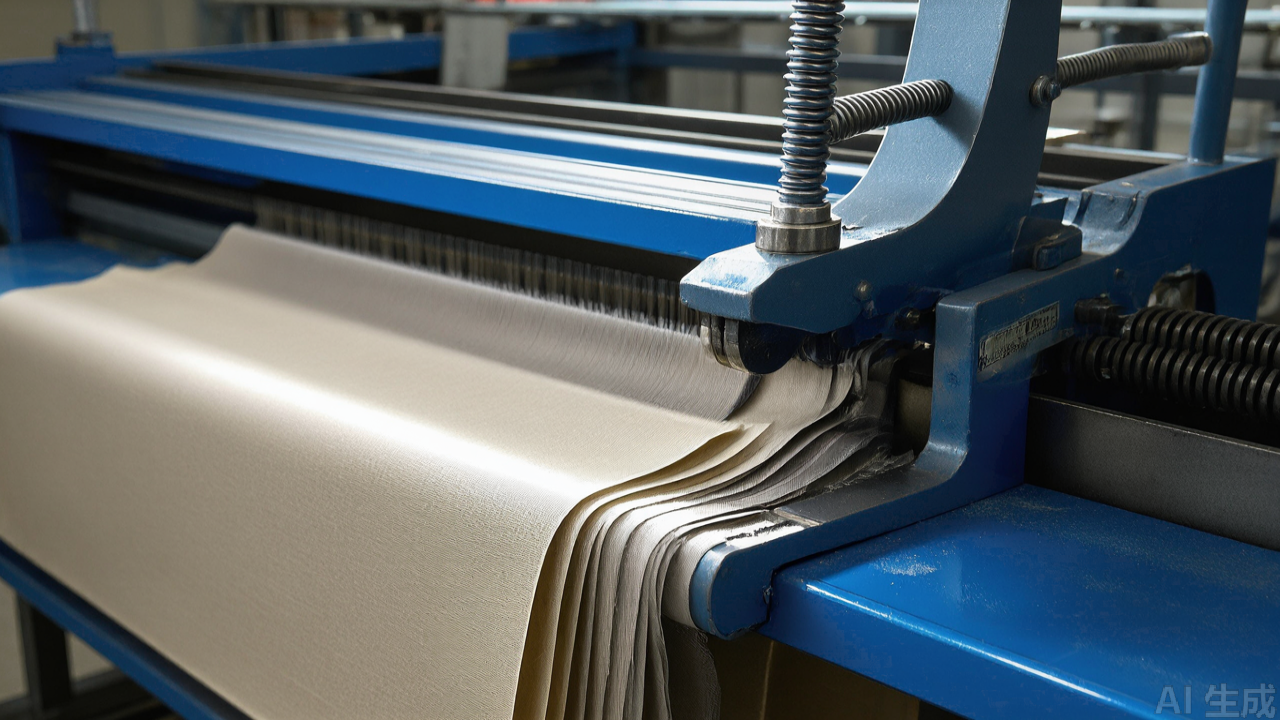
When a cutting knife moves through a lay, it does not just cut. It pushes. The blade has thickness, the reciprocating motion creates lateral force, and the fabric underneath has its own friction characteristics. Smooth filament fabrics such as polyester taffeta or nylon lining slide against each other with very little resistance. Even cotton, once compressed under the weight of 50 or more plies, can shift as a block if the lay is not restrained at the edges.
Traditional holding methods have known limits. Weights placed on top of the lay restrain the upper plies but do nothing for the bottom ones. Adhesive tape damages certain finishes and leaves residue on the cutting table surface. Vacuum tables work well but are capital-intensive and not every factory runs one. Clamps offer a low-cost mechanical solution: they grip the edge of the lay, transfer holding force through the full stack thickness, and can be repositioned in seconds.
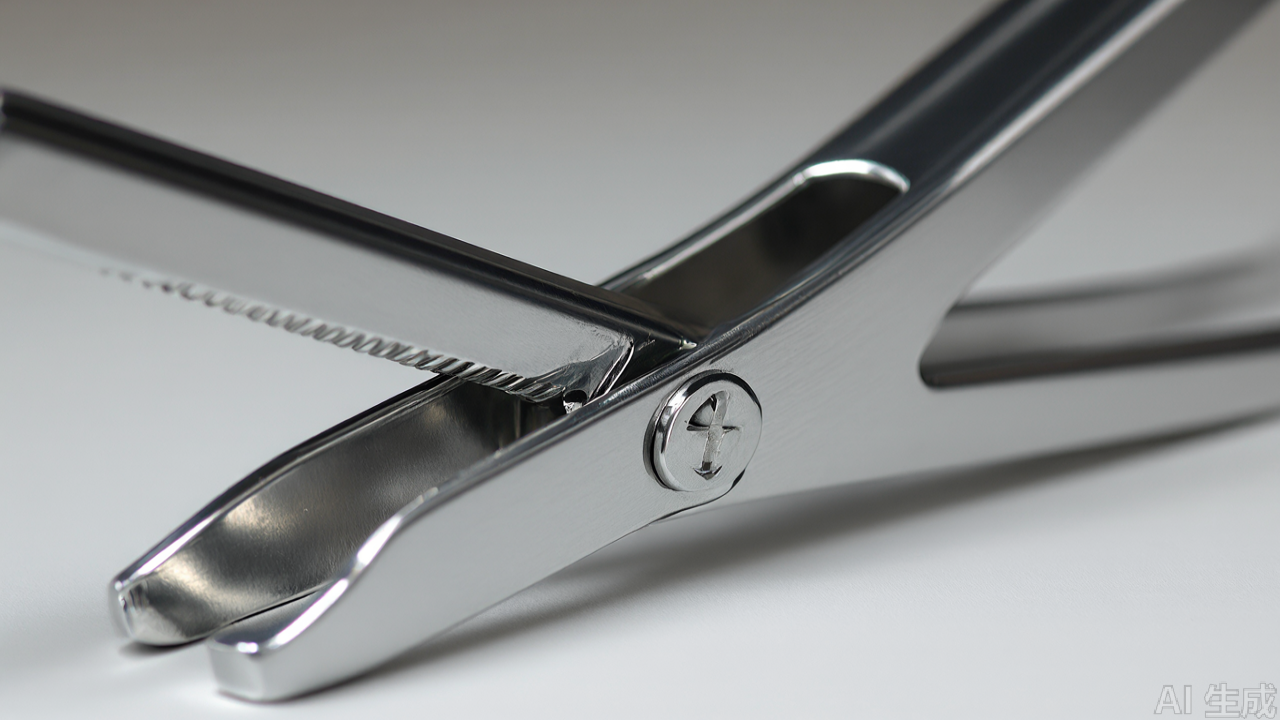
The mechanism is straightforward. A thickened fabric clamp consists of three functional elements:
- The clamp body — a folded or formed metal jaw that provides the structural rigidity. On thickened models, the plate gauge is increased so the jaw does not flex open under load.
- The spring — a torsion or compression spring that generates closing force. Spring preload determines how much grip the clamp delivers and how much hand force the operator needs to open it.
- The jaw mouth — the contact surface. A flat, deburred jaw mouth grips fabric without snagging yarns or leaving pressure marks on the face side.
There is no transmission, no linkage, no adjustment screw on a basic model. That is a feature, not a limitation. Fewer moving parts means fewer failure points in a cutting room where clamps are handled roughly, dropped on concrete floors, and used thousands of times per shift.
How Thickened Clamps Differ from Standard Cloth Clips
The distinction matters when you are specifying industrial sewing machine spare parts for a high-volume cutting room. Standard light-duty clips are typically stamped from thin sheet and intended for holding a few plies or a single garment panel during sewing. They work fine for that. They do not work fine on a 40-ply lay of denim.
Thickened clamps address three specific weaknesses:
- Jaw deflection. Under high spring load, a thin jaw bows outward and the grip concentrates at the hinge end rather than along the full jaw length. Increasing the plate thickness keeps the jaw parallel, so contact pressure is distributed.
- Spring fatigue. A heavier spring in a thin housing deforms the housing over time. The thickened body resists this, which is why these clamps hold their clamping force after months of daily use rather than weeks.
- Edge damage. Thicker material allows a properly radiused and polished jaw mouth. Cheap clips often have a sharp stamped edge that snags knit loops and leaves visible marks on face fabrics.
The trade-off is honest and worth stating: thickened clamps are heavier and require more hand force to open. Operators who open and close a clamp 500 times a day will notice the difference. In practice, most factories accept this because the alternative — recutting plies — costs far more than a slightly stiffer spring.
Specifications and Material Notes
Thickened fabric clamps are general-purpose hardware rather than machine-specific components. They are not tied to a particular lockstitch machine, overlock machine, or cutting system. That said, buyers should confirm a few parameters before ordering in volume. The tables below give the ranges normally seen across the category; treat them as a checklist for comparing quotations, not as a single supplier's catalogue.
Table 1 — Body and Jaw Parameters by Duty Class
- Light duty: body plate thickness 0.8–1.0 mm; jaw width 25–35 mm; jaw opening 8–12 mm; typical grip force 8–15 N; intended for single panels and sample room work.
- Medium duty: body plate thickness 1.2–1.5 mm; jaw width 35–50 mm; jaw opening 15–20 mm; typical grip force 20–35 N; intended for 10–25 ply lays of stable woven fabric.
- Heavy duty (thickened): body plate thickness 1.8–2.5 mm; jaw width 50–70 mm; jaw opening 25–40 mm; typical grip force 40–70 N; intended for 30–80 ply lays, knits, and slippery fabrics.
Grip force figures are approximate and depend on measurement method. Suppliers usually quote either the spring's initial closing force at the jaw tip or the force required to open the clamp fully. Ask which one is being quoted, because the two numbers differ by 30–50 percent on the same clamp.
Table 2 — Spring Parameters and What They Tell You
- Light duty spring: torsion spring, wire diameter 0.8–1.0 mm, 3–4 coils; opens with light finger pressure; loses force quickly if the housing flexes.
- Medium duty spring: torsion spring, wire diameter 1.2–1.5 mm, 4–5 coils; requires deliberate hand force to open; holds force well for 12–18 months of single-shift use.
- Heavy duty spring: torsion or double torsion spring, wire diameter 1.6–2.2 mm, 5–7 coils; requires two-hand or firm thumb pressure to open; holds force for 18–30 months depending on cycle count.
Spring wire diameter is the single most reliable indicator of a clamp's real capability. A supplier advertising "heavy duty" while shipping a 1.0 mm spring is selling a light-duty clip with a heavy-duty label. This is the fastest screening question you can ask before sampling.
Table 3 — Jaw Opening versus Maximum Lay Thickness
Compressed fabric does not behave like a solid block. A 30 mm jaw opening does not hold a 30 mm lay reliably, because the plies compress under spring load and the effective thickness at the jaw drops. Use the following working ratios:
- Stable woven fabric (cotton, twill, denim): jaw opening should be at least 1.2× the uncompressed lay thickness.
- Knits (jersey, rib, interlock): jaw opening should be at least 1.5× the uncompressed lay thickness, because knits compress more and recover against the jaw.
- Smooth filament fabric (lining, taffeta, satin): jaw opening should be at least 1.4× the uncompressed lay thickness, and clamp count should be increased rather than jaw size.
If the lay is thicker than any available clamp can hold, the correct answer is to split the lay, not to force a larger clamp. Forcing a clamp beyond its opening range pre-loads the spring permanently and it will not return to full closing force.
Table 4 — Clamp Spacing by Fabric Type
- Denim, canvas, heavy twill: one clamp every 500–600 mm of lay edge; corners and marker turns always clamped.
- Cotton and cotton blends (stable wovens): one clamp every 400–500 mm.
- Polyester-cotton, uniform fabrics: one clamp every 350–450 mm.
- Knits and elastic fabrics: one clamp every 250–350 mm.
- Satin, charmeuse, silk, lining: one clamp every 200–300 mm, with polished jaw mouths only.
These intervals assume a lay length under 8 m. For longer lays, reduce the interval by roughly 15 percent per additional 4 m, because accumulated ply movement grows with distance from the clamped corner.
Table 5 — Material and Finish Checklist
- Body material: carbon steel, typically 45# or equivalent, formed and heat-treated for spring retention.
- Plating: zinc or nickel, minimum 8–12 µm thickness. Below 8 µm, rust appears at the spring seat within one humid season.
- Jaw mouth finish: deburred, radiused edge of 0.3–0.5 mm; contact face flat within 0.1 mm across the jaw width.
- Spring material: spring steel (65Mn or stainless), not mild steel wire. Mild steel wire takes a set after a few thousand cycles.
- Hardware: rivet or pin at the hinge should be staked, not merely pressed, so it does not walk out under vibration.
Because these are generic accessories, they are also widely available as sewing machine spare parts from multiple sources. The practical implication is that quality varies considerably between suppliers at the same nominal specification. Sampling before committing to a container order is standard practice for a reason.
Installation and Step-by-Step Usage
Step 1: Inspect Before First Use
Open and close each clamp by hand before it goes to the cutting table. Check two things: that the spring returns the jaw to a fully closed position without hesitation, and that the jaw mouth closes evenly along its full width with no visible gap at one end. A clamp with a gap at the jaw tip will grip only at the hinge side and will slip on smooth fabrics.
Also run a finger along the jaw mouth — carefully — to check for burrs or a sharp stamped edge. If you find one, dress it with fine abrasive paper before use. This takes thirty seconds and prevents a whole lay of knit goods from being snagged.
Step 2: Prepare the Lay Edge
Clamps hold best when the fabric edge is straight and the plies are already reasonably aligned. If the spreader has left a wavy edge, the clamp will compress the high points and leave the low points unclamped. Square the edge with a ruler or a light pass of the straight knife before clamping.
For very slippery fabrics, a light mist of water or a temporary fabric adhesive at the edge can improve inter-ply friction. This is not a substitute for clamping, but it works with it.
Step 3: Position the Clamps
Placement follows a simple rule: clamp where the knife will not go, and clamp often enough that no span of lay edge is left unsupported.
- At the corners first. Corners are where shift begins. Place a clamp within 100–150 mm of each corner of the lay.
- Then along the long edges. Use the spacing table above as your starting interval, then adjust based on what the pull test tells you.
- Along the marker perimeter. If the marker has long straight runs close to the lay edge, add clamps there. If the marker pulls away from the edge, fewer clamps are needed.
Seat the clamp so the jaw mouth fully engages the fabric stack. The jaw should bite across the entire ply thickness, not just the top few layers. If the clamp cannot open wide enough to reach the bottom ply, the lay is too thick for that clamp model — use a larger-opening clamp or split the lay.
Step 4: Verify Grip Before Cutting
Before the knife starts, do a pull test. Grip the top ply near a clamp and try to slide it sideways relative to the bottom ply. If it moves, add clamps or reposition. This ten-second check catches most shift problems before they become recuts.
On very thick lays, it also helps to check the bottom ply directly. Lift the lay edge slightly at one corner and confirm the bottom layer is being held. Bottom-ply movement is the classic failure that goes unnoticed until the parts are inspected.
Step 5: Cut and Reposition as You Go
Clamps must be moved out of the knife path. In practice, cutting room teams either place clamps only outside the marker perimeter, or they remove and re-place clamps as the knife progresses. The second approach holds better but costs time.
A workable compromise: clamp the full perimeter before cutting begins, then remove only the clamps that block the knife's immediate path, repositioning them behind the cut line as the knife advances. This keeps the uncut portion of the lay restrained at all times.
Step 6: Remove and Inspect After Cutting
Release clamps by opening the jaw fully rather than pulling them off the fabric. Pulling twists the plies and can distort freshly cut edges. After removal, wipe the jaw mouth to clear lint and fabric dust.
Inspect the jaw mouth for wear every few weeks. A jaw that has worn smooth or developed a rounded edge will start slipping on smooth fabrics long before it visibly fails.
Which Machines and Fabrics These Clamps Suit
Thickened fabric clamps are not machine-specific. They are used at the cutting table, and in some workflows at the sewing station as temporary edge holders. That means they sit alongside the rest of your industrial sewing machine parts inventory rather than being tied to a particular machine model.
Typical applications:
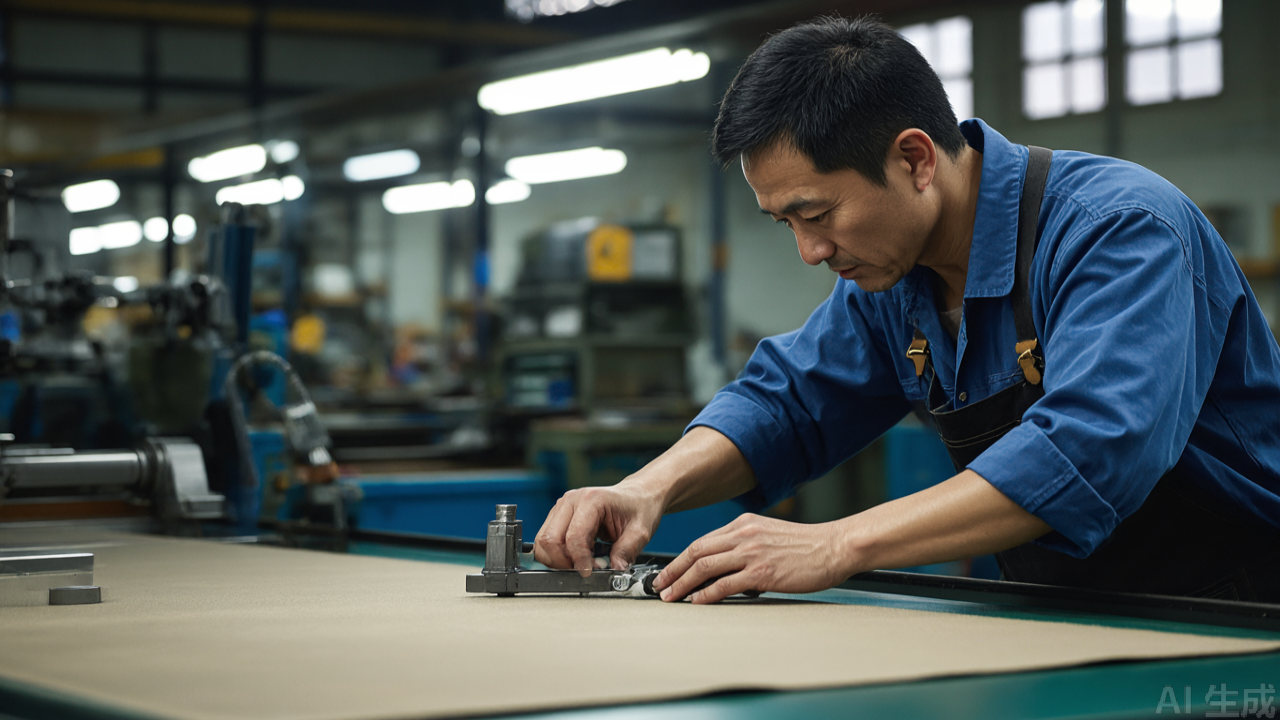
- Cutting room lay holding. The primary use. Clamps restrain the lay edge during straight knife, round knife, or band knife cutting.
- Marker and fabric alignment. Holding the top ply in position while the marker is checked or adjusted.
- Temporary edge holding at the sewing station. Useful when feeding long panels into a lockstitch machine or overlock machine and the operator needs both hands free.
- Sample room work. Holding small lays of expensive or unstable fabric where weights are awkward.
Fabric suitability is where buyers should be realistic:
- Well suited: cotton, cotton blends, denim, twill, canvas, polyester-cotton, most stable wovens.
- Suited with more clamps: jersey, rib knit, interlock, ponte, and other knits that compress and recover.
- Requires care: satin, charmeuse, silk, lining fabrics, and any smooth filament fabric. These have low inter-ply friction and mark easily. Use clamps with a polished, radiused jaw mouth and avoid over-clamping, which leaves pressure marks.
- Not recommended: delicate face fabrics where any jaw contact leaves a permanent impression, and coated or laminated fabrics where jaw pressure can delaminate the material. For these, vacuum holding or adhesive methods are safer.
Common Mistakes and Maintenance Practice
Most clamp failures in a cutting room are not manufacturing defects. They are application errors or maintenance neglect, and both are avoidable with a short checklist. The five mistakes below account for the majority of complaints that reach a parts supplier.
Mistake 1: Too Few Clamps
The most frequent error is under-clamping. Teams used to weights or tape often start with four clamps on a large lay and wonder why the middle still shifts. Clamp count should scale with lay length, lay thickness, and fabric slipperiness — not with habit. Use the spacing table earlier in this article as a baseline, then add clamps wherever the pull test shows movement.
Mistake 2: Clamping Only the Top Plies
If the jaw opening is smaller than the lay thickness, the clamp grips the top 10 plies and leaves the rest free. The lay looks held and is not. Match jaw opening to maximum lay thickness using the 1.2× to 1.5× ratios given above, and always verify grip at the bottom ply, not the top.
Mistake 3: Over-Clamping Thin or Delicate Fabric
A high-force spring on a single ply of silk will leave a visible jaw mark. For light or delicate work, use lighter clamps, reduce clamp count to the minimum that holds, or place a strip of scrap fabric between the jaw and the material to spread the pressure. Never use a 60 N heavy-duty clamp on face-side silk.
Mistake 4: Ignoring Spring Fatigue
Springs lose force gradually, and the loss is invisible until the clamp slips. A clamp that held 30 plies last year may only hold 20 now. Test clamps periodically by opening them fully and checking that they snap closed firmly and audibly. A simple field test: clamp a folded strip of the fabric you normally cut, hang a known weight from the fabric, and see whether it holds. Retire any clamp that closes sluggishly or fails the hang test.
Mistake 5: Skipping Cleaning
Lint, thread waste, and fabric dust accumulate in the jaw mouth and around the spring seat. A packed spring seat reduces travel and grip, and in extreme cases the clamp stops closing fully. Wipe clamps at the end of each shift and clear the spring area with compressed air weekly. Do not oil the spring seat — oil attracts lint and makes the problem worse.
Mistake 6: Using Clamps as General-Purpose Pliers
It happens in every factory. A clamp gets borrowed to hold a machine guard, bend a wire, or grip a metal fitting. The jaw deforms, the spring takes a set, and the clamp comes back to the cutting table with reduced force. Keep clamps in a designated bin at the cutting table and treat removal from the cutting room as a controlled exception.
Maintenance Schedule
- Daily: wipe jaw mouth; remove lint from the spring area; return clamps to the bin.
- Weekly: check jaw alignment; confirm the jaw closes evenly across its full width; clear the spring seat with compressed air.
- Monthly: inspect jaw mouth for wear and burrs; dress with fine abrasive paper if needed; check the hinge pin for movement.
- Quarterly: test spring force with the hang test; retire clamps that no longer close firmly; check plating for rust at the spring seat.
- Annually: review total clamp count against table count and fabric mix; order replacement stock before the busy season, not during it.
Quick Troubleshooting Table
- Symptom: lay still shifts in the middle. Likely cause: clamp spacing too wide for fabric type. Action: reduce interval by one step in the spacing table and re-run the pull test.
- Symptom: bottom plies move but top plies hold. Likely cause: jaw opening smaller than lay thickness. Action: switch to a larger-opening clamp or split the lay.
- Symptom: jaw marks visible on face fabric. Likely cause: over-clamping or sharp jaw mouth. Action: use a lighter clamp, reduce count, or dress the jaw mouth.
- Symptom: clamp slips on smooth fabric despite correct spacing. Likely cause: worn or polished-smooth jaw mouth. Action: replace the clamp; jaw mouth wear is not economically repairable.
- Symptom: clamp no longer closes fully. Likely cause: lint packed in the spring seat or a fatigued spring. Action: clean with compressed air; if still sluggish, retire the clamp.
- Symptom: rust stains appearing on fabric. Likely cause: plating failure at the jaw or spring seat. Action: remove the clamp from service immediately and inspect the batch for the same defect.
A simple workshop practice is to keep clamps in a designated bin rather than scattered on the table. Clamps that live on the floor get stepped on, and a bent jaw is not repairable in a way that restores even grip.
Practical Selection Tips for Buyers
When specifying thickened fabric clamps for a cutting room, work from the application backwards rather than from price forwards.
- Start with maximum lay thickness. Measure the thickest lay your cutting room runs, multiply by 1.2 for wovens or 1.5 for knits, and use that as the minimum jaw opening. This single number eliminates most unsuitable models.
- Match clamp count to fabric type. Use the spacing table to estimate total pieces per table, then multiply by the number of tables running simultaneously. Add 10 percent for corners and marker turns.
- Request spring wire diameter data. Suppliers who cannot or will not provide it are usually selling light-duty clips described as heavy-duty. Ask for wire diameter, coil count, and whether the quoted grip force is closing force or opening force.
- Sample before bulk ordering. Order 10–20 pieces, run them for two weeks on your most difficult fabric, and check jaw alignment and spring force afterwards. Two weeks of real use tells you more than any specification sheet.
- Check plating at the spring seat. This is the first place rust appears. A clamp that rusts at the spring seat will lose force within a season. Ask for plating thickness in micrometres.
- Standardise one model across the cutting room. Mixing clamp types makes it impossible to know whether a shift problem is a clamp shortage or a clamp mismatch. One model, one count, one replacement interval.
- Keep spares on the shelf. Clamps are consumable hardware. A cutting room running three tables should hold at least 10 percent spare stock so a bent clamp does not stop a lay.
- Confirm the jaw mouth finish on arrival. Spot-check ten pieces from each carton for burrs and jaw alignment. A single burred clamp can snag an entire lay of knit goods before anyone notices.
For factories already sourcing presser feet, feed dogs, needle plates, and other consumables from a presser foot manufacturer or general accessories supplier, clamps are a natural addition to the same order. The PL (Professional Leader) thickened fabric clamp (item reference 1688-0696) follows this general-purpose format: a thickened metal body, a reinforced spring, and a flat jaw mouth intended for cutting table use across cotton, synthetic, and blended fabrics. It is one example of the category rather than a special case, and the selection logic above applies to it as it would to any comparable model.
Closing Notes
Fabric clamps will not fix a badly spread lay, and they will not replace a vacuum table on high-value delicate work. What they do is remove one common and expensive variable — inter-ply movement during cutting — at very low cost per table. For cutting room managers, the practical takeaway is to treat clamps as specified industrial sewing machine parts rather than generic consumables: choose jaw opening from your maximum lay thickness using the 1.2× to 1.5× ratios, choose clamp count from your fabric type using the spacing table, verify spring wire diameter before ordering, and maintain them on the daily, weekly, and quarterly schedule above. Done properly, a set of thickened clamps outlasts several seasons of lay holding and pays for itself the first time it prevents a recut.
PL (Professional Leader) supplies sewing machine parts for industrial lockstitch, overlock and interlock machines, including the industrial presser foot range, needle plates, feed dogs and related presser foot accessories. The full sewing machine parts and presser foot catalogue is listed at pinseam.com.
Need this part for your workshop?
Get a Free Quote on WhatsApp: +86 137 3825 6697Browse the full catalog at pinseam.com · Free 2026 full catalog (PDF) · Related guide: industrial sewing machine parts
📢 New arrivals & factory updates on Telegram — join our channel
Edited by the technical team at PL (Professional Leader) — high-quality sewing machine accessories from China. About our factory | Catalog: pinseam.com | WhatsApp: +86 137 3825 6697 | Telegram: @plsewingparts
Explore Our Parts Guides
- sewing machine accessories, needle threaders & thread guides
- industrial & magnetic seam guides
- presser foot guide: types & compatibility
- industrial presser feet for factory lines
- roller & rolled hemmer presser feet
- industrial sewing machine parts & spare parts
- wholesale sewing machine parts, factory direct
- about PL (Professional Leader)
Questions about a specific part? Chat with us on WhatsApp +86 137 3825 6697 — factory direct, reply within hours.


Comments
Post a Comment