How to Install and Use Cloth Clamps on Cutting Tables: Industrial Sewing Machine Parts Guide
Cloth clamps are among the most overlooked items in a cutting room, yet they directly determine whether a lay stays aligned during cutting. This guide covers how these industrial sewing machine parts work, how to install them correctly, and how to maintain them in daily production. It is written for cutting room supervisors, sewing technicians, and maintenance staff who need practical answers rather than sales copy.
Related guide: industrial sewing machine parts — types, fitting and machine compatibility.
If you manage a cutting table, you already know the failure mode: the lay shifts, the blade pulls the top plies, and the bottom plies come out short. The result is mismatched panels at the sewing line, rework, and fabric waste. A clamp that holds the lay firmly — without crushing the fabric — removes most of that problem before it starts.
Why Cloth Clamps Matter in Industrial Sewing Machine Parts Planning
On a typical cutting table, fabric is held by three things: the weight of the lay itself, the vacuum system (if the table has one), and mechanical clamps. Vacuum tables are effective, but they are not universal. Many factories run manual or semi-automatic cutting tables where vacuum is unavailable, weak, or switched off for delicate fabrics. On those tables, clamps do the holding work.
The physics are simple. A cutting blade moving through a 60-ply lay generates lateral drag. The top plies are pushed sideways first, then the drag transfers downward. If nothing anchors the lay at the edges and across the spread, the plies slide against each other. The cut edge of the top ply and the cut edge of the bottom ply no longer line up.
Clamps address this by applying localized downward pressure at the perimeter and at intervals across the lay. The pressure increases friction between plies, which raises the force needed to make them slide. Done correctly, a clamp set can hold a lay as effectively as a weak vacuum system, at a fraction of the cost and with no power supply.
What a clamp does that weights cannot
- Concentrated pressure: a clamp focuses force on a small area, so a few kilograms of clamping force can hold a large lay.
- Repositionable: clamps can be moved as the cutter progresses, unlike sandbags or steel weights.
- Non-marking: a flat, smooth jaw presses fabric without the creasing that heavy weights can cause on piled fabric.
- No power requirement: they work on any table surface, including wooden and composite tops.
Note the trade-off honestly: clamps slow the cutter down slightly, because they must be moved along the perimeter as the blade advances. On very large lays, a vacuum table plus a few clamps at the corners is usually faster than clamps alone.
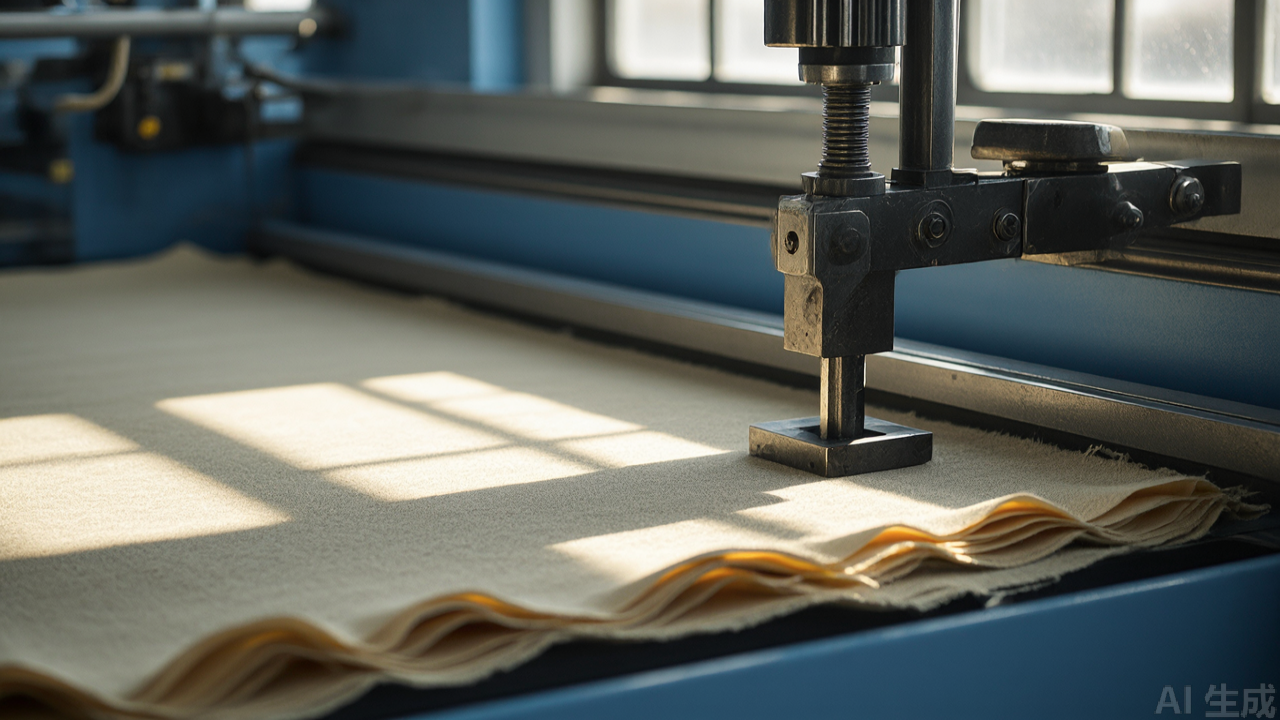
How a Cloth Clamp Works: Mechanism and Jaw Design
A cloth clamp is a spring-loaded or screw-driven jaw mechanism mounted on a base that sits on or attaches to the table. The operating principle is the same across sizes: a fixed lower jaw, a moving upper jaw, and a mechanism that converts hand force into clamping force.
The jaw interface
The jaw face is the part that touches the fabric, and it is where most cheap clamps fail. Three design details matter:
- Flatness: a flat jaw distributes pressure evenly. A jaw with a raised ridge or a rough cast surface concentrates force on one line, which can leave a permanent mark on the bottom ply.
- Edge radius: the leading edge of the jaw should be slightly rounded. A sharp edge cuts into the fabric under high clamping force, especially on coated or tightly woven materials.
- Surface finish: smooth, deburred metal. Any burr will snag fine knits and leave pulls that only show up after washing.
The clamping mechanism
Two mechanisms dominate the market. Spring clamps open and close with a squeeze and hold by spring tension. They are fast to operate and good for light to medium lays, but the clamping force is fixed by the spring and cannot be adjusted. Screw or toggle clamps give adjustable, higher force and hold more securely on thick lays, but they take longer to open and close.
For cutting room work, the practical choice is usually a toggle or screw mechanism on the perimeter of the lay, where holding force matters most, and spring clamps for quick temporary holds while spreading. Mixing types across a table is normal and not a problem.
Why the jaw opens parallel
On a well-made clamp, the moving jaw stays roughly parallel to the fixed jaw through the closing stroke. This matters because a jaw that closes at an angle contacts the fabric on one edge first, then rolls the fabric inward as it closes. The result is a small fold at the clamp point, which becomes a visible defect if it falls inside a pattern piece. Parallel closing jaws press the lay straight down with no rolling.
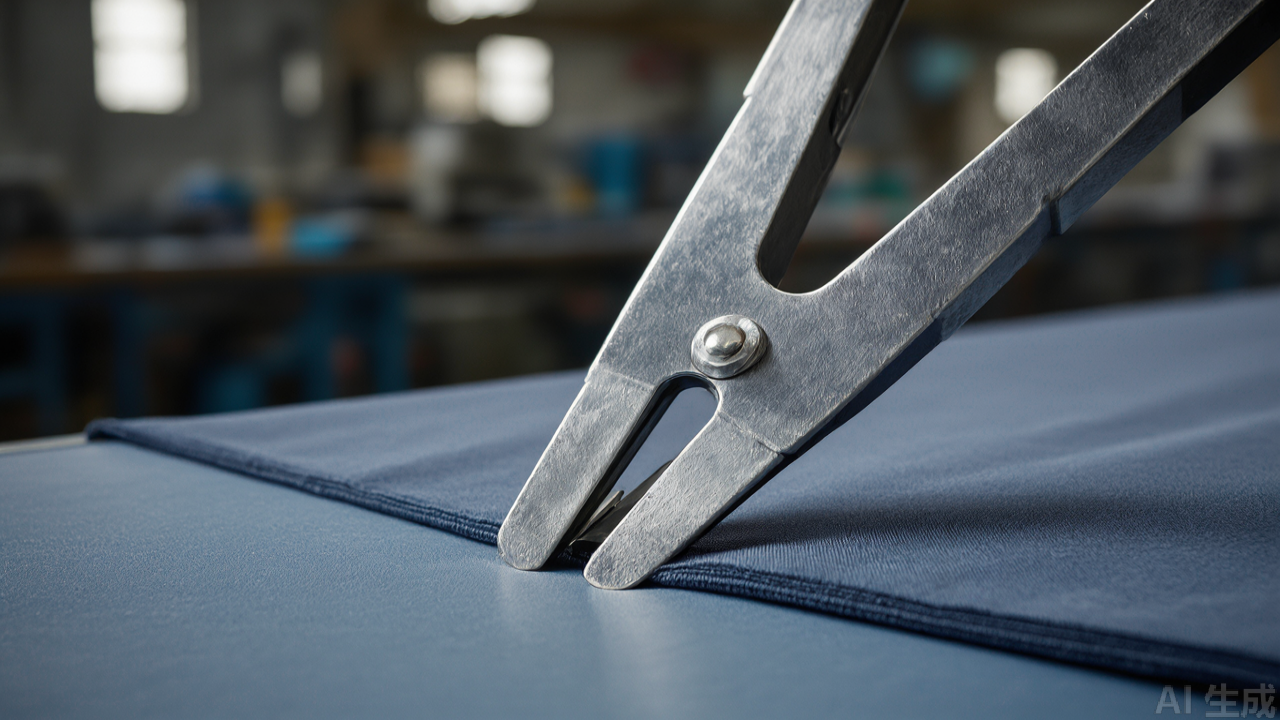
Specifications: Choosing Between 6, 8, 10, and 12 Inch Clamps
The four sizes in this range — 6, 8, 10, and 12 inch — are not interchangeable in practice. Size determines reach, clamping area, and the lay thickness the clamp can hold comfortably.
What the size actually measures
In most cutting room clamps, the nominal size refers to the jaw length or the reach from the mounting point to the jaw. A larger clamp has a longer jaw, which spreads pressure over a longer strip of fabric and reaches further across the lay from the table edge.
- 6 inch: short reach, light and fast to reposition. Suited to narrow lays, small pattern sets, and trimming operations where the cutter works close to the table edge.
- 8 inch: the general-purpose size. Handles most garment lays — shirts, trousers, dresses — with a reasonable balance of reach and weight.
- 10 inch: for wider lays and thicker stacks. Useful when the cutter needs to hold the lay well inside the table perimeter.
- 12 inch: for wide lays, heavy fabrics, and thick plies. Heavier to move, so it is normally used at fixed positions rather than carried along the cut.
Matching size to lay thickness
Thicker lays need more clamping force, and more force concentrated on a short jaw can mark the fabric. A longer jaw spreads the same force over more area, which is why thick lays usually call for the larger sizes. As a working rule:
- Under 20 plies, light to medium fabric: 6 or 8 inch.
- 20 to 50 plies, medium fabric: 8 or 10 inch.
- Over 50 plies, or any heavy fabric such as denim or canvas: 10 or 12 inch.
These are starting points, not rules. Fabric compressibility matters as much as ply count. A 40-ply lay of lofted knit behaves very differently from a 40-ply lay of tight woven cotton, and the knit will need lower clamping force to avoid compression marks.
Materials and finish
The body is metal, with a surface treatment to resist rust. In a cutting room, humidity, fabric dust, and occasional contact with lubricants from the cutting machine all promote corrosion. A plated or coated finish on the jaws and the mechanism is worth checking before purchase — bare cast iron will rust at the jaw edge within months in a humid plant.
Check three points on any clamp before committing to a bulk order:
- Jaw faces: smooth, flat, no visible machining marks or burrs.
- Pivot and spring: operates without grit or binding through the full stroke.
- Mounting base: flat and rigid, with a hole pattern that matches your table or standard T-slot hardware.
Installation: Step-by-Step
Installation is straightforward, but small errors in mounting and adjustment cause most of the problems users report. The sequence below applies to table-mounted clamps on a standard cutting table.
Step 1: Plan the clamp positions
Before drilling or bolting anything, lay out the positions. Clamps are needed at the corners and at intervals along the long edges. The interval depends on the fabric and the lay size:
- Corners: always clamp. The corners are where the blade starts and stops, and where the lay is most likely to lift.
- Long edges: clamp every 60 to 100 cm (24 to 40 inches) for stable woven fabric, closer for slippery or stretchy material.
- Interior: for wide lays, add one or two clamps inside the perimeter, positioned so they do not obstruct the cutter path.
Mark the positions with tape before mounting. Walk the intended cutting path and confirm no clamp sits where the blade or the machine body will pass.
Step 2: Mount the base
Confirm the base sits flat on the table surface. A base that rocks will lose clamping force as the clamp is loaded, and the rocking motion will work the fasteners loose over time.
- Clean the mounting area of fabric dust and lint.
- If using bolts, drill to the fastener diameter and deburr the hole. Do not oversize the hole; a loose fit lets the clamp shift under load.
- If using T-slot hardware or clamps with a sliding base, check that the slot is clear along its full length before assembly.
- Tighten fasteners evenly. On a four-bolt base, tighten in a cross pattern to avoid distorting the base plate.
Step 3: Check the jaw stroke
With the clamp mounted and no fabric in the jaws, operate it through a full open-close cycle several times. The motion should be smooth with no binding, no scraping, and no side-to-side play in the moving jaw. If the jaw rocks laterally, the pivot or the guide is worn or misassembled — fix it before use, because lateral play causes uneven pressure and fabric marking.
Step 4: Set the clamping force
This is the step most operators get wrong. The correct clamping force is the minimum that stops the lay from sliding, not the maximum the clamp can produce.
To set it: place a representative sample of the actual lay under the jaw, close the clamp, and try to slide the fabric by hand. Increase force gradually until the fabric no longer moves. Then stop. Any additional force only increases the risk of compression marks and jaw indentation.
For adjustable clamps, mark the setting on the screw or lever so operators can return to it. For fixed-force clamps, match the clamp model to the fabric — a heavy-duty clamp on a fine knit will mark it no matter how carefully it is used.
Step 5: Test on a scrap lay
Before running production, build a scrap lay of the same fabric and ply count and cut it with the clamps in position. Check three things:
- Whether the plies stayed aligned at the cut edge. Compare the top and bottom ply edges — the offset should be within your tolerance.
- Whether the clamps left marks. Inspect the plies directly under each jaw in good light.
- Whether the cutter could work without fighting the clamps. If the operator has to stop and move clamps constantly, reduce the number or reposition them.
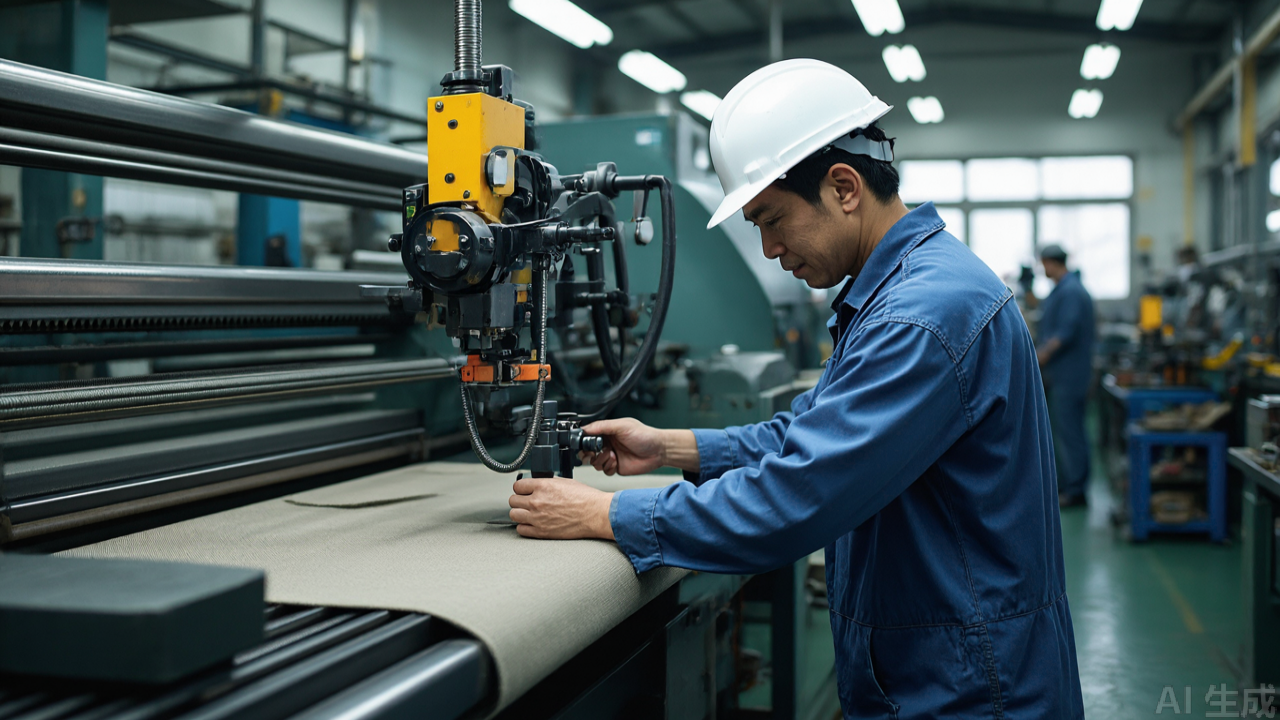
Using Clamps During Production
Once installed and set, clamps become part of the cutting routine. A few operating habits keep them effective.
Sequence the clamping with the cut
Clamp the perimeter before the cutter starts. As the blade advances, release and reposition clamps ahead of the cut path rather than behind it. On long straight cuts, this means leapfrogging clamps along the edge. On curved or intricate pattern sections, keep clamps at the corners of the section being cut and avoid placing them inside the pattern outline.
Adjust for fabric type
- Woven cotton and blends: tolerate moderate force and hold well. Standard settings work.
- Knits and stretch fabrics: compress easily and recover slowly. Use lower force and wider jaws to spread pressure. Check for compression marks after the first few plies.
- Slippery synthetics and coated fabrics: need higher force because friction between plies is low, but the surface marks easily. Use a flat, smooth jaw and test carefully.
- Pile fabrics such as fleece and velvet: the pile crushes under the jaw. Clamp only at the perimeter, outside the pattern pieces, and keep force low.
Coordinate with other holding methods
Clamps work best as part of a system. On tables with vacuum, use clamps at the corners and along the edges where vacuum leakage is highest. On tables with a fixed cutting mat, clamps hold the lay against the mat so the blade cuts against a stable surface. If the factory uses a spreading machine, clamp the lay immediately after spreading and before the machine is moved away, so the lay cannot relax and shift.
Common Mistakes and Maintenance
Most clamp failures in production trace back to a small number of habits. These are the ones seen most often.
Mistakes to avoid
- Over-clamping: the most common error. Excess force compresses the lay, marks fabric, and can bend the jaw or the pivot over time.
- Clamping inside pattern pieces: a clamp mark inside a cut panel is a defect. Position clamps in the waste area or outside the pattern outline.
- Clamping over pins or hard objects: this concentrates force on a point and dents the jaw face. A dented jaw then marks every subsequent lay.
- Using the wrong size: a 6 inch clamp on a 12 inch reach application forces the operator to over-tighten to get holding power, which damages fabric and the clamp.
- Ignoring loose fasteners: a base that has worked loose lets the clamp shift under load, which reduces holding force and enlarges the mounting holes.
Maintenance routine
Clamps are simple devices, and a short routine keeps them serviceable for years.
- Daily: wipe the jaw faces and the pivot area with a dry cloth to remove lint and fabric dust. Lint packed into the pivot is the main cause of stiff operation.
- Weekly: check mounting fasteners for tightness and inspect the jaw faces for dents, burrs, or rust spots. A light touch with a fine file removes a burr before it damages fabric.
- Monthly: lubricate the pivot and the screw thread (if fitted) with a light machine oil. Wipe off excess — oil that migrates to the jaw face will stain fabric.
- As needed: replace worn jaw pads or springs. On spring clamps, a weakened spring shows up as a clamp that no longer holds at its original setting.
Store clamps with the jaws slightly open when not in use. A spring clamp left closed for months loses tension, and a screw clamp left tight can seize.
Practical Selection Tips
When specifying clamps for a cutting room, work from the operation backward rather than from the catalogue forward.
Start with the lay, not the clamp
Write down the fabric type, the maximum ply count, the lay width, and the table surface. These four facts determine the size, the clamping force, and the mounting method. A supplier who asks for these before recommending a size is worth working with; one who quotes a single model for every application is not.
Buy a mixed set first
Rather than ordering one size in bulk, buy a small mixed set — two of each size — and run them on real production for a month. Different tables in the same plant often need different sizes, and the operators will tell you quickly which ones they reach for. Then order the sizes that earned their place.
Check the spare parts situation
Clamps are mechanical and will eventually need springs, jaw pads, or pivot pins. Before committing to a model, confirm that these small replacement parts are available as separate items. A clamp that must be discarded because a spring cannot be sourced is a false economy, especially for a cutting room running multiple tables. This is the same logic applied to any industrial sewing machine spare parts purchase — the consumable and repair path matters as much as the initial unit.
Set a marking standard
Define, in writing, the maximum acceptable clamp mark for each fabric family. Then verify it on the first lay of every new style. This turns a subjective judgement into a check that any operator can perform, and it prevents the argument that follows when a clamp mark is discovered at final inspection.
Closing Notes
Cloth clamps are a small line item in the cutting room budget, but they sit directly in the path of cut quality. Correct size selection, a mounting that stays rigid, and a clamping force set to the minimum that holds the lay will eliminate most ply-shift defects without marking fabric. Treat them as a system component of your industrial sewing machine parts inventory rather than an afterthought, and maintain them on the same schedule as the rest of the cutting equipment.
For teams standardizing across multiple tables, the practical approach is a short trial with a mixed set, a written clamping standard per fabric family, and a stock of jaw pads and springs on the shelf. That combination costs little and removes a recurring source of rework at the sewing line.
Need this part for your workshop?
Get a Free Quote on WhatsApp: +86 137 3825 6697Browse the full catalog at pinseam.com · Free 2026 full catalog (PDF) · Related guide: industrial sewing machine parts
📢 New arrivals & factory updates on Telegram — join our channel
PL (Professional Leader) supplies sewing machine parts for industrial lockstitch, overlock and interlock machines, including the industrial presser foot range, needle plates, feed dogs and related presser foot accessories.
Edited by the technical team at PL (Professional Leader) — high-quality sewing machine accessories from China. About our factory | Catalog: pinseam.com | WhatsApp: +86 137 3825 6697 | Telegram: @plsewingparts
Explore Our Parts Guides
- sewing machine accessories, needle threaders & thread guides
- industrial & magnetic seam guides
- presser foot guide: types & compatibility
- industrial presser feet for factory lines
- roller & rolled hemmer presser feet
- industrial sewing machine parts & spare parts
- wholesale sewing machine parts, factory direct
- about PL (Professional Leader)
Questions about a specific part? Chat with us on WhatsApp +86 137 3825 6697 — factory direct, reply within hours.


Comments
Post a Comment