How to Install and Adjust a Binding and Piping Presser Foot on an Overlock Machine
A binding and piping attachment for an overlock machine combines two jobs that are normally done in separate passes: feeding cord or piping into a seam while simultaneously folding and stitching binding tape. This article explains how the EX/700-type two-in-one binding and piping presser foot works, how to install it on a serger, how to thread cord and tape through the guide slots, and how to tune foot pressure and thread tension for different fabrics. It also covers the mistakes that cause skipped stitches, twisted tape, and broken needles, plus the maintenance routine that keeps the guide slots clear.
Related guide: presser foot — types, fitting and machine compatibility.
What Problem This Attachment Solves
On a standard overlock machine, piping and binding are two separate operations. An operator first stitches the cord into the seam allowance with a piping foot, then runs the garment through a second time with a binder to wrap the raw edge. Each pass adds handling time, and each re-alignment is a chance for the cord to drift out of position.
A combined binding and piping attachment eliminates the second pass. Cord and binding tape enter the same guide body, meet at the needle, and are locked into the overlock stitch in one movement. For a factory running hundreds of pieces per style, the saving is mostly in handling time and in the reduced risk of misaligned piping.
The trade-off is setup complexity. A single-purpose piping foot is quick to mount and forgiving. A two-in-one guide has more slots, more adjustment points, and a narrower window of correct alignment. The sections below cover that setup in detail.
Where this type of attachment is used
- Sportswear and activewear: piping along raglan seams, side panels, and hood edges.
- Underwear and lingerie: narrow cord binding on necklines, armholes, and leg openings.
- Children's wear: decorative piping on collars, cuffs, and hems.
- Home textiles: corded edges on curtains, cushions, and bed linens.
- Footwear and bags: heavier cord or tape on padded edges, where foot pressure must be adjusted for thickness changes.
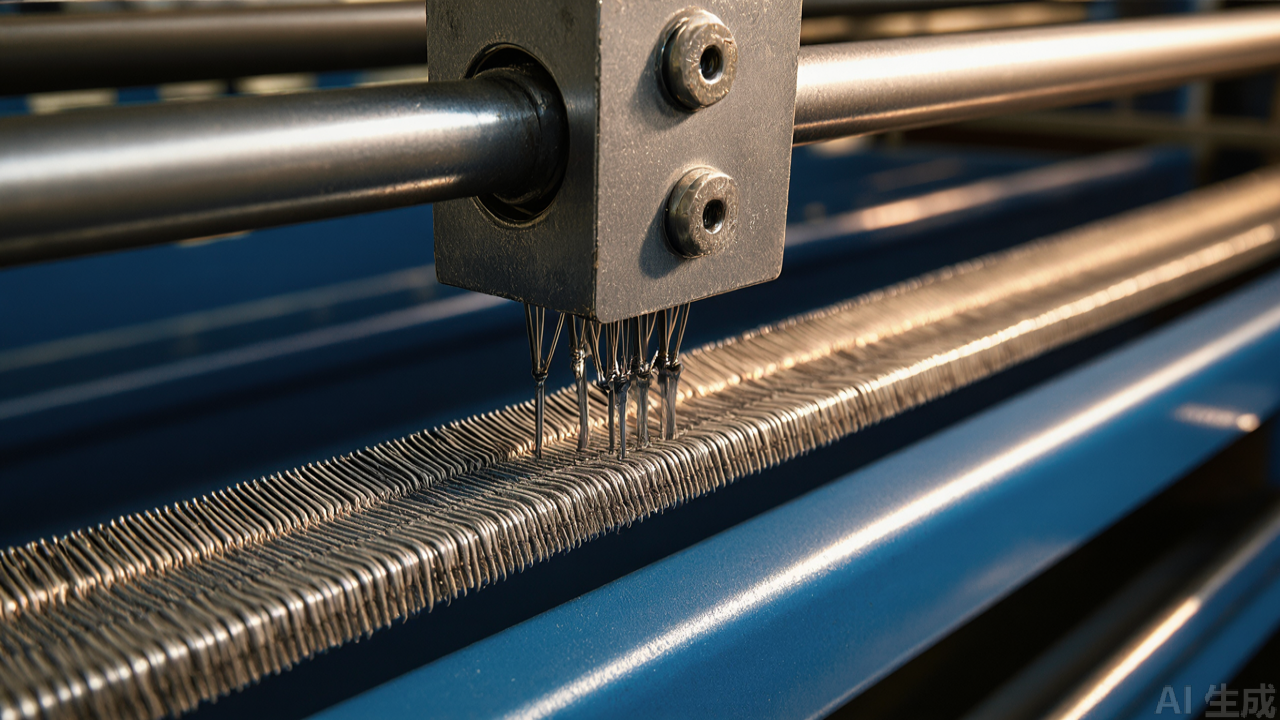
How the Two-in-One Guide Mechanism Works
The attachment consists of three functional parts: a mounting bracket that replaces the standard presser foot, a guide body with layered entry slots, and an adjustable foot that controls downward pressure on the fabric.
The guide body is the critical component. Its entry has separate channels — one for cord, one for the fabric edge or tape, and on some versions a third for lace or narrow elastic. These channels converge at the exit point directly in front of the needle. Because the channels are separated at entry, the cord cannot wrap around the tape before it reaches the stitch point.
The adjustable foot sits behind the guide exit. Its height and spring pressure can be changed with a screw or a knurled nut, depending on the model. Increasing pressure holds thick fabric flat against the needle plate; decreasing pressure prevents the foot from crushing foam, elastic, or thick cord.
Why layered slots matter
If cord and tape share a single channel, the tape tends to fold over the cord as it advances, producing a twisted or lumpy finish. Layered slots keep the two materials parallel until the last possible moment. This is the main mechanical difference between a combined guide and a simple piping foot with a groove.
The slot edges on a well-made guide are polished and rounded. Sharp edges abrade cord and thread, which shows up later as fuzz buildup and inconsistent tension. When inspecting a guide before purchase, run a fingernail along the inside of each slot. Any roughness will eventually cause problems.
Specifications and Materials
Most attachments in this class share a common construction. Exact dimensions vary by model, so the figures below describe the general pattern rather than one specific unit.
- Body material: machined or cast metal, usually steel or a zinc alloy, with a plated or anti-rust surface finish.
- Guide slots: two or three channels, sized for common cord diameters and tape widths.
- Mounting bracket: drilled to match the presser foot screw holes on EX/700-type overlock machines and compatible models.
- Foot adjustment: screw or nut with a spring, allowing pressure and height changes.
- Fasteners: typically one or two mounting screws plus a guide-position screw.
Cord diameter and tape width are the two numbers that matter most when matching an attachment to a job. A guide sized for 2 mm cord will not run 4 mm cord cleanly, regardless of how the pressure is adjusted. Measure the finished cord diameter, including the fabric wrap, before selecting a guide.
Checking compatibility before ordering
Mounting hole spacing is the usual source of fit problems. Two machines can both be described as "EX/700 type" and still differ in bracket geometry. The reliable approach is to compare the hole centre distance and the bracket thickness against the machine's existing presser foot, not against a model name.
On the PL version of this attachment, the bracket follows the EX/700 hole pattern, which covers a range of sergers and overlock machines sold under different brand names. Where the pattern matches, the guide body can also be swapped between machines without changing the bracket.
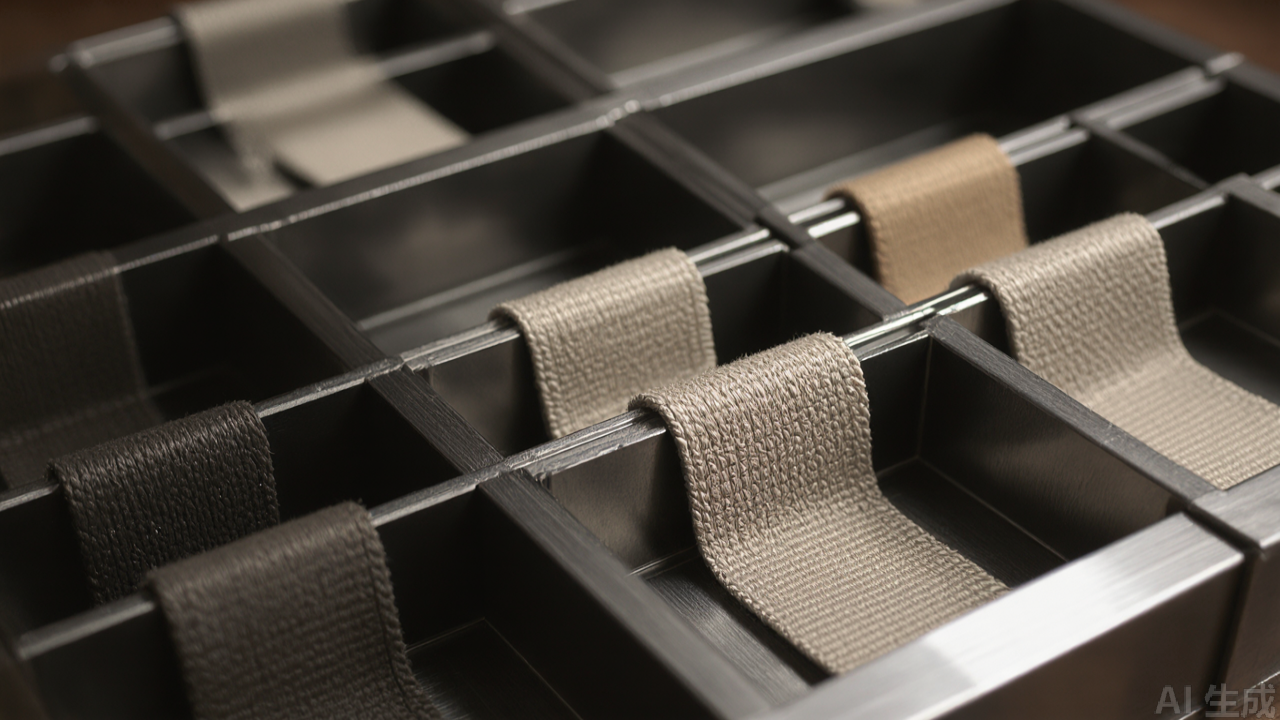
Step-by-Step Installation
Work with the machine switched off and the needle removed if you are not confident about clearance. A dropped guide body near the needle can bend the needle bar or chip the needle plate.
Step 1: Remove the standard foot and any existing guide
Raise the presser foot lever, loosen the foot screw, and slide the standard foot off. If a piping foot or binder is already fitted, remove it completely rather than stacking the new attachment on top. Stacked attachments change the foot height and make pressure adjustment meaningless.
Step 2: Mount the bracket
Slide the new bracket onto the presser bar and tighten the screw finger-tight first. Lower the foot onto the needle plate and check that the bracket sits flat, with no gap between the bracket and the bar. A tilted bracket will make the guide exit sit at an angle to the fabric, which pushes the cord to one side of the seam.
Step 3: Align the guide exit with the needle
This is the step that determines stitch quality. The exit point of the guide should sit directly in front of the needle, centred on the stitch line, with the cord channel aligned so the cord lands inside the seam allowance rather than on top of it.
- Turn the handwheel by hand to bring the needle to its lowest point.
- Check that the needle passes through the gap in the foot without contact.
- Confirm the guide exit is centred between the two needle threads on a two-needle overlock.
- Tighten the guide-position screw only after this alignment is correct.
Step 4: Thread the cord and tape before the machine thread
Feed the cord and tape through their respective slots by hand, pulling enough length past the exit to reach under the foot. Thread the machine afterwards. Threading the machine first and then trying to insert cord usually results in the cord catching on the loopers.
Step 5: Set initial foot pressure
Start with light pressure. Run a short test on scrap fabric and increase pressure gradually until the fabric advances without slipping and the cord stays seated in the fold. If the fabric marks or the feed dog stalls, the pressure is too high.
Step 6: Run a manual test cycle
Before running under power, turn the handwheel through several complete stitch cycles. Watch three things: whether the needle clears the foot, whether the cord advances at the same rate as the fabric, and whether the tape stays inside its channel. Any of these failing at hand speed will fail worse at machine speed.
Adjusting Thread Tension for Cord and Tape
Tension settings for binding and piping differ from plain overlocking. The cord adds bulk inside the seam, and the tape adds a second layer of fabric. Both change how the needle threads and loopers interlock.
- Cord too exposed: the needle thread is too loose, or the cord is sitting too far outside the seam allowance. Adjust the guide position before touching tension.
- Cord buried too deep: the needle thread is too tight, or the cord channel is feeding the cord too far inside the fold.
- Skipped stitches on thick sections: usually a foot pressure problem rather than a tension problem. Increase pressure slightly and reduce speed through the thick section.
- Wavy tape: the tape is being stretched as it feeds. Reduce tension on the tape path and check that the tape slot is not gripping too tightly.
Change one setting at a time and keep a labelled test sample for each change. On a production floor, a reference sample with the correct tension settings written on it saves far more time than trial and error on the machine.
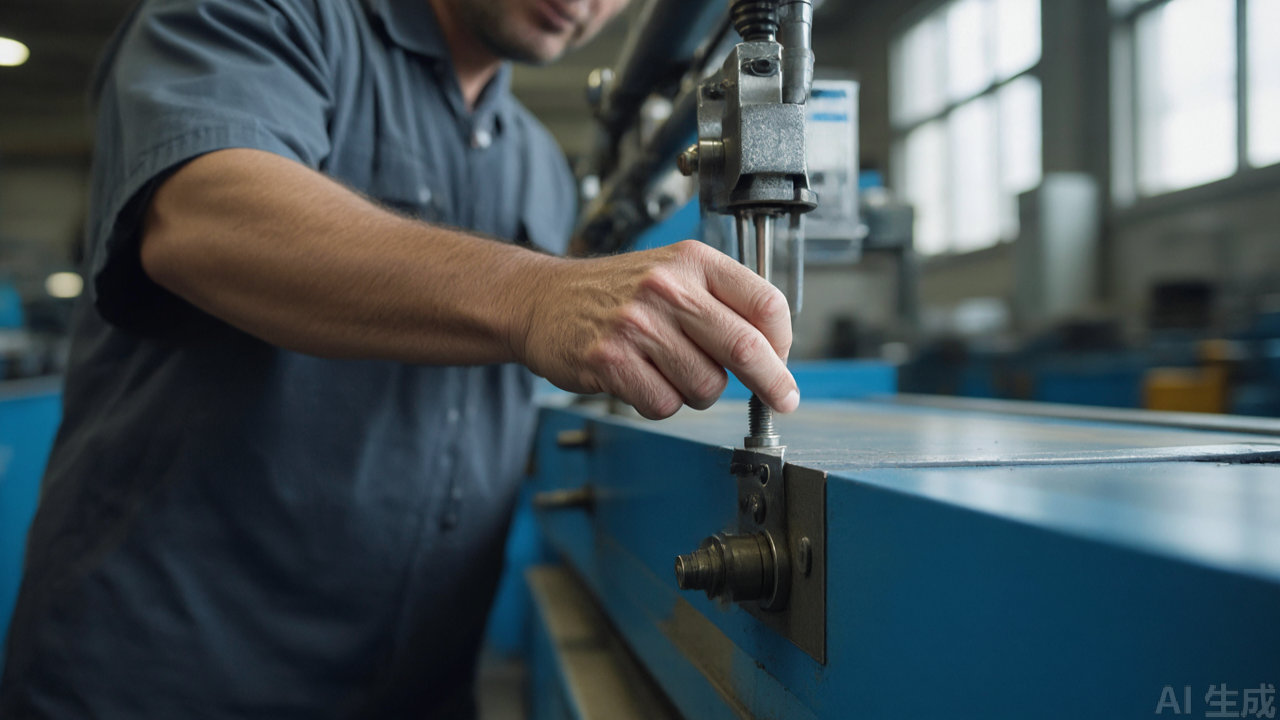
Suitable Machines and Fabrics
This class of attachment is built for overlock machines and sergers with a standard presser foot mounting. It is not intended for lockstitch machines or coverstitch machines, although similar guides exist for those platforms with different brackets.
Machine types
- EX/700-type overlock machines and compatible models with matching hole spacing.
- Three-thread and four-thread sergers with a standard presser bar.
- Machines with adjustable presser foot pressure already built in, which makes fine-tuning easier.
Fabric and material range
Light to medium fabrics — jersey, interlock, cotton knits, light wovens, and tricot — run cleanly with moderate pressure. Foam-backed fabrics and elastic trims need lighter pressure to avoid compression marks.
Heavy materials such as coated canvas, leather, and padded bag panels are possible but demanding. They require higher pressure, slower running speed, and a cord diameter well within the guide's rated range. Pushing a heavy cord through an undersized guide is the most common cause of broken needles with this type of attachment.
Common Mistakes and Maintenance
Mistakes seen most often
- Mounting without checking needle clearance. The needle strikes the foot, bends, and the timing goes out. Always hand-cycle before running.
- Threading the machine before the cord. Cord ends up trapped under the loopers and the first stitch jams.
- Setting pressure by feel alone. Pressure should be set by test seam, not by how tight the screw feels.
- Running full speed on the first piece. Start slow, confirm the cord is seated, then increase speed.
- Ignoring lint buildup. Guide slots collect fibre quickly on knit fabrics. A blocked slot misroutes the cord without any obvious external sign.
Maintenance routine
Clean the guide slots at every bobbin change or roughly every four hours of running, whichever comes first. A small brush and compressed air remove most lint. Do not use sharp tools to scrape the slots; a scratch on the slot wall will abrade cord permanently.
Check the mounting screws daily. Vibration loosens them gradually, and a slightly loose bracket changes the guide angle enough to affect seam quality before anyone notices the screw itself.
Inspect the foot sole for wear. A worn sole loses its flat contact with the fabric, which shows up as uneven feed on stretch materials. Replacement feet are inexpensive relative to the cost of reworking a production run.
Practical Selection Tips
When comparing guides for a specific job, work from the material backwards rather than from the machine model forwards.
- Measure the finished cord diameter first. That number, not the raw cord size, determines which guide will feed cleanly.
- Match tape width to the slot, not to the finished binding width. A slot that is too wide lets the tape rotate; too narrow and the tape drags.
- Confirm hole spacing against the existing foot. Model names are less reliable than measurements.
- Prefer adjustable foot pressure if the factory runs more than one fabric weight on the same machine.
- Check slot finish. Polished, rounded slot edges extend cord and thread life noticeably.
For buyers sourcing sewing machine spare parts across multiple lines, it is worth standardising on one guide family where possible. Operators learn the adjustment sequence once, and spare feet and brackets stay interchangeable between machines. A presser foot manufacturer that publishes slot dimensions and hole spacing makes this kind of standardisation practical rather than a guessing game.
Where a factory runs both light knits and heavy bag panels, keeping two guides — one sized for narrow cord, one for heavy cord — is more efficient than repeatedly re-adjusting a single unit between styles.
Frequently Asked Questions
Can this attachment be used for binding without cord?
Yes. Leaving the cord channel empty turns the guide into a plain binder. The tape path and foot pressure settings remain the same, though tension may need slight adjustment because the seam is thinner.
Why does the cord keep escaping the fold?
Three usual causes: the guide exit is not centred on the stitch line, foot pressure is too low, or the cord diameter is smaller than the slot is designed for. Check alignment first, then pressure, then cord size.
Does foot pressure affect stitch quality or only feeding?
Both. Pressure that is too low lets the fabric lift between stitches, which produces skipped stitches on knits. Pressure that is too high compresses the fabric and can mark foam or pile surfaces.
How often should the guide be replaced?
The body itself lasts a long time if the slots are cleaned and not scraped. The foot sole and the mounting screws are the parts that wear or loosen, and both are replaceable without changing the whole guide.
Summary
A two-in-one binding and piping attachment is a handling-time saver, but only when it is installed and adjusted correctly. The sequence that works is consistent: mount the bracket flat, align the guide exit to the needle by hand, thread cord and tape before machine thread, set pressure by test seam rather than by feel, and clean the slots on a fixed schedule. Get those five steps right and the attachment will run cord, tape, and lace through an overlock machine in a single pass with repeatable results. Get them wrong and the same attachment will produce twisted binding and skipped stitches regardless of how good the presser foot itself is.
Need this part for your workshop?
Get a Free Quote on WhatsApp: +86 137 3825 6697Browse the full catalog at pinseam.com · Free 2026 full catalog (PDF) · Related guide: presser foot
📢 New arrivals & factory updates on Telegram — join our channel
Edited by the technical team at PL (Professional Leader) — high-quality sewing machine accessories from China. About our factory | Catalog: pinseam.com | WhatsApp: +86 137 3825 6697 | Telegram: @plsewingparts
Explore Our Parts Guides
- sewing machine accessories, needle threaders & thread guides
- industrial & magnetic seam guides
- presser foot guide: types & compatibility
- industrial presser feet for factory lines
- roller & rolled hemmer presser feet
- industrial sewing machine parts & spare parts
- wholesale sewing machine parts, factory direct
- about PL (Professional Leader)
Questions about a specific part? Chat with us on WhatsApp +86 137 3825 6697 — factory direct, reply within hours.


Comments
Post a Comment