How a Three-Roller Industrial Presser Foot Solves Thick-Material Feeding
Thick leather, quilted padding, and multi-layer composites are among the hardest materials to feed through a lockstitch machine, and the standard flat presser foot is usually the first component to fail at the job. This article explains how a three-roller industrial presser foot works, what is inside it, how to install and adjust it, and where it realistically helps — and where it does not. It is written for garment factory managers, sewing technicians, and parts buyers who need to understand the mechanism before specifying the part.
Related guide: industrial presser foot — types, fitting and machine compatibility.
Why Flat Presser Feet Stall on Thick Work
On a standard lockstitch machine, the material is advanced by three elements working in sequence: the feed dog rising through the needle plate slots, the presser foot clamping the material down onto the feed dog, and the needle feeding as it enters and exits the fabric. The presser foot does not push the work forward — it only holds it against the feed dog so the dog's teeth can grip and move it.
That arrangement works well on shirting, lining, and other light to medium woven goods. It breaks down when the material gets thick, dense, or coated.
The three failure modes on heavy material
- Excessive friction: A flat foot presents a fixed contact surface against the top ply. On leather, PU, or coated fabric, that surface drags. The operator instinctively pulls the work to keep it moving, which stretches the stitch, distorts the seam line, and shortens stitch length on one side of the seam.
- Rising and stalling at cross seams: When the foot meets a seam intersection, a zipper tape, or a folded edge, the leading edge of the foot rides up over the bump. Contact pressure drops, the feed dog loses grip, and the machine stalls or takes a short stitch. On a flat foot this is a mechanical certainty, not an operator error.
- Material compression and marking: Holding a flat steel face against thick leather under spring pressure compresses the grain and leaves a visible track along the seam. On finished leather goods this is a reject, not a rework.
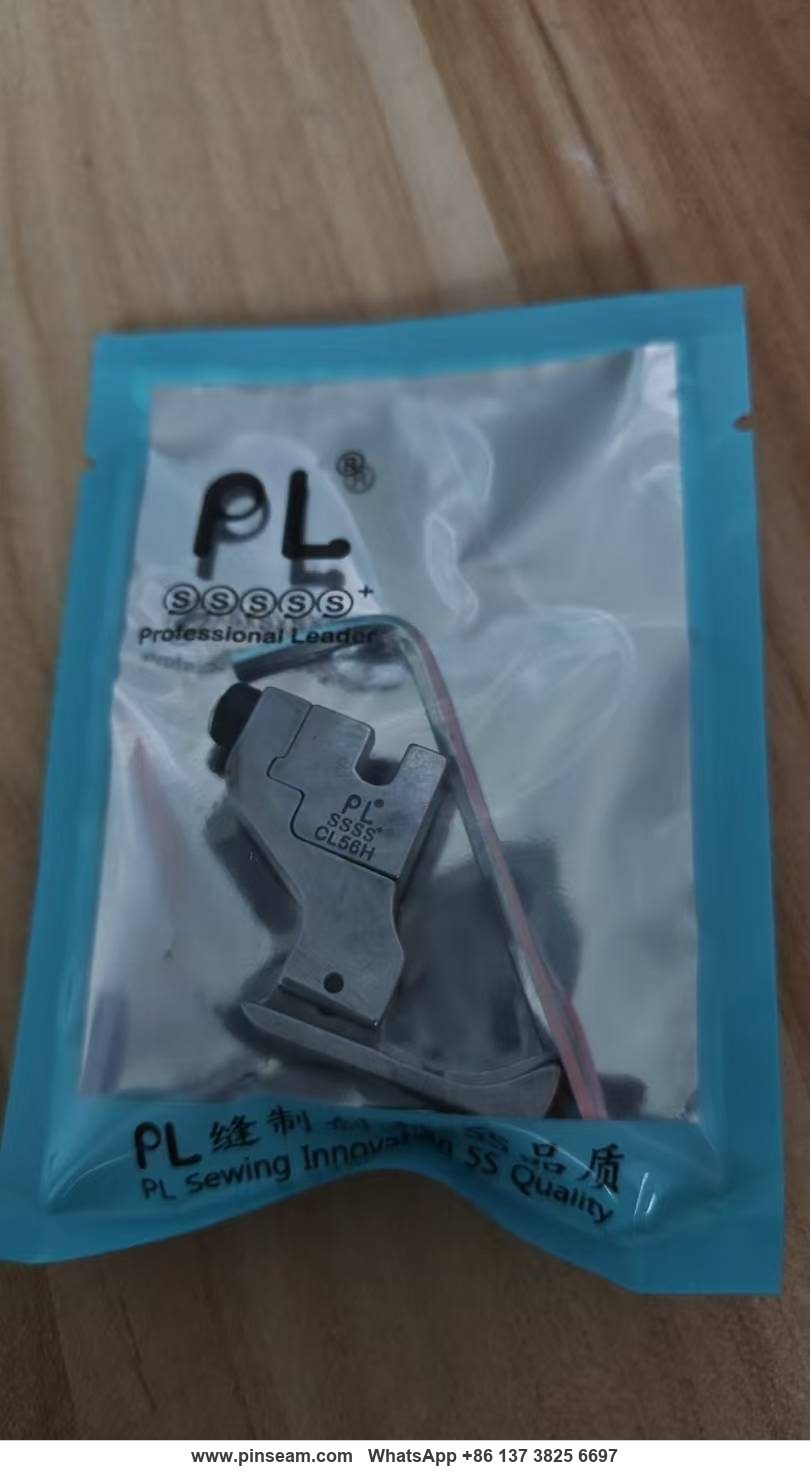
Roller feet exist to attack the first two problems directly. Instead of a sliding contact, the foot rolls. The three-roller variant adds a third point of contact so the foot stays level over uneven material rather than pivoting on a single roller.
How the Three-Roller Mechanism Actually Works
The principle is straightforward: replace sliding friction with rolling friction, and distribute the clamping load across multiple contact points.
Rolling contact versus sliding contact
A flat foot's underside is in continuous sliding contact with the top ply. The friction force resisting feed is proportional to the normal force — the spring pressure you set — multiplied by the coefficient of friction between steel and the material surface. On smooth PU or coated canvas that coefficient is high, and increasing foot pressure to improve feed grip makes the drag worse, not better.
A roller converts that interface into rolling contact. The resisting force drops substantially because the roller rotates with the material rather than scraping across it. In practice this means the operator can maintain correct foot pressure for stitch formation without fighting the material, and the feed dog does the advancing work it was designed to do.
Why three rollers rather than one
A single-roller foot has a well-known drawback: it contacts the material along one narrow line. Over a cross seam the foot tips forward or backward around that line, and the front or rear of the foot lifts off the work. Contact pressure becomes uneven and the seam wanders.
Three rollers arranged around the needle opening give the foot a stable three-point support pattern. The practical consequences:
- The foot stays roughly parallel to the material surface as it crosses a step in thickness, so contact pressure stays even through the transition.
- The load is spread over a larger area, which reduces the pressure per unit area on the material surface and lowers the risk of grain marking on leather.
- Turning and cornering become smoother because the rollers can rotate in slightly different directions as the material pivots under the needle.
What the foot does not do
It is worth being clear about the limits, because roller feet are frequently oversold. The presser foot is a holding element, not a feeding element. A three-roller foot will not compensate for a worn feed dog, a mis-timed machine, or a needle and thread combination that is wrong for the material. It reduces the resistance the feed system has to overcome — it does not add feeding force. If a machine cannot feed a given leather at all, changing the foot alone will not fix it; you also need to look at feed dog height, tooth pattern, and in some cases a walking foot or unison feed machine.
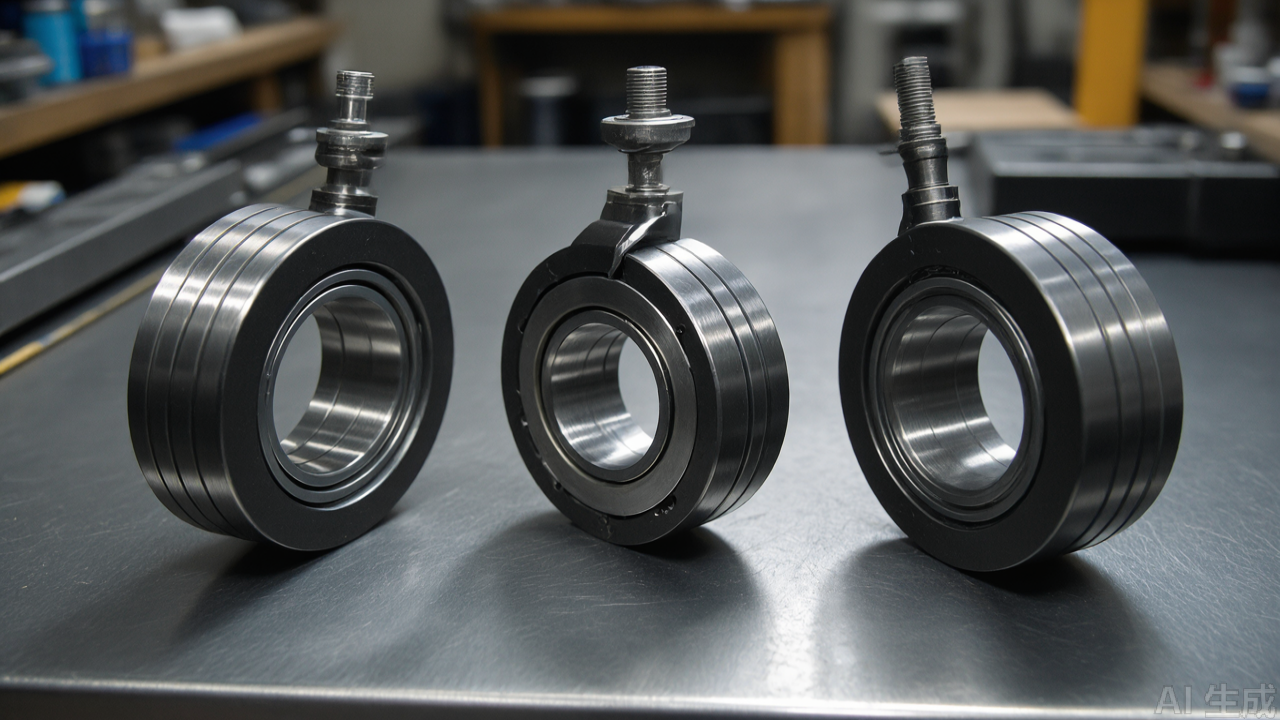
Internal Construction: What Is Inside the Foot
Understanding the internal structure matters for two reasons: it determines how the foot performs on heavy work, and it tells you what to inspect when a foot starts behaving badly.
Body and shank
The body of the foot is machined or cast from carbon steel or alloy steel, then surface-treated for corrosion resistance. The shank — the vertical portion that clamps to the presser bar — carries the mounting slot and screw hole. On most industrial flat feet the shank is a separate piece welded or riveted to the body, or the whole foot is machined from one billet. A one-piece machined body is stiffer and holds alignment better under load, which matters on thick material where the foot is under continuous side load.
Rollers and bearings
The rollers are the functional heart of the part. Each roller runs on an internal bearing — in better-quality feet, a small precision bearing rather than a plain bushing. The distinction is not cosmetic:
- Precision bearing: low starting torque, so the roller begins turning under very light material contact. Consistent rotation speed across the full seam. Tolerates the lateral load of cornering without binding.
- Plain bushing: higher starting torque, so the roller tends to skid on light or slippery material until enough force builds up to turn it. Skidding is functionally the same as a flat foot — you get drag and marking back again.
The rollers are typically arranged with two forward and one rear, or one forward and two rear, depending on the specific design. The arrangement determines where the pivot point sits relative to the needle. A two-forward configuration gives better stability entering a cross seam; a two-rear configuration gives better stability exiting one. For general thick-material work — leather panels, quilted outerwear, upholstery — either works, but technicians who sew a lot of heavy cross seams tend to prefer the two-forward layout.
Clearance and the needle slot
The gap between the rollers and the needle slot is a wear-critical dimension. Material and thread debris accumulate in this gap. Once packed, the rollers stop rotating freely and the foot reverts to behaving like a flat foot — often without the operator noticing until seams start puckering. This is the single most common cause of "the roller foot stopped working" complaints in a workshop, and it is a cleaning issue, not a parts failure.
Materials, Finishes, and Specifications
When specifying a presser foot for industrial sewing machine use, three specification points matter more than the rest.
Substrate material
Carbon steel is the standard choice. It offers good stiffness and wear resistance at reasonable cost. Alloy steel is used where the foot is expected to see continuous heavy load — upholstery, automotive interior work, heavy bag and case manufacturing — because it holds its geometry longer before the mounting slot and shank begin to deform. For a factory running leather goods at high volume, the alloy version usually pays for itself in reduced replacement frequency, though the unit price is higher.
Surface treatment
Anti-rust treatment is standard. It matters more than it appears, because presser feet live in an environment of fabric dust, leather oils, and in humid climates, condensation. An untreated steel foot will show surface corrosion on the underside within months, and corrosion on the roller raceways is a direct cause of rough rotation.
Mounting interface
Most industrial flat feet use a screw-clamp interface at the presser bar. The two dimensions to verify before ordering are the presser bar diameter and the screw hole position. These are not universal across machine brands and generations. A foot that fits a current-model single-needle lockstitch may not fit an older machine still in service on the same floor, and the difference is often a few tenths of a millimetre in bar diameter. Measure the bar, do not assume.
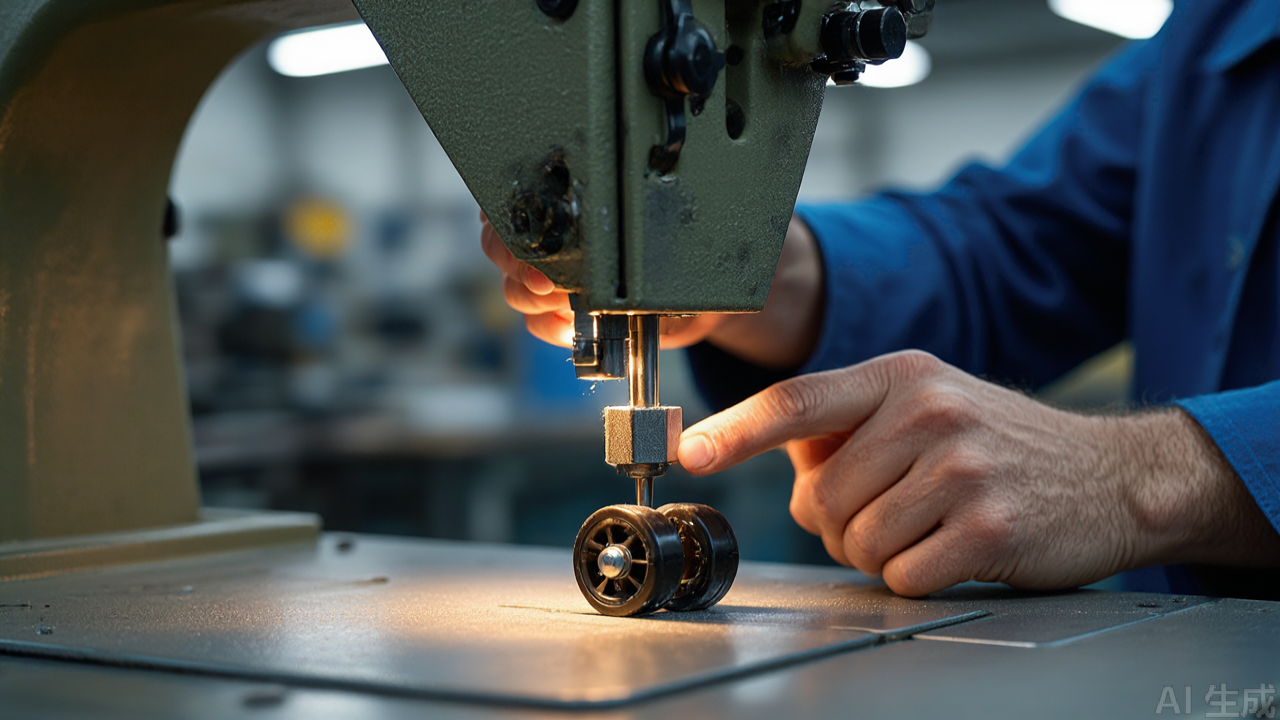
Installation and Adjustment Procedure
The installation is not complicated, but the adjustment afterwards determines whether the part delivers any benefit at all.
Step-by-step installation
- Power off. Isolate the machine. On a servo-driven lockstitch machine, confirm the motor is de-energised, not just at zero speed.
- Remove the existing foot. Loosen the presser bar screw and slide the old foot off. Keep the screw — most roller feet reuse the original clamp screw, though some ship with their own.
- Check the presser bar. Wipe the bar clean. Any burr or dried oil film on the bar will prevent the new foot from seating squarely.
- Fit the roller foot. Slide it onto the bar and align the screw hole. Tighten the clamp screw firmly but do not overtighten — the shank can distort and the foot will sit skewed.
- Verify alignment. Lower the foot onto the needle plate. It should sit flat and parallel, with the needle centred in the slot and no contact between the rollers and the needle plate or feed dog.
- Check roller rotation. Turn each roller by hand. All three should rotate freely with minimal resistance and no lateral play.
Adjustment after fitting
Foot pressure is the main variable. The general rule is to set the minimum pressure that still produces a clean stitch. On thick leather or multi-layer quilted material you will need more pressure than on a single ply, but more pressure than necessary increases roller load and accelerates bearing wear. Start at a moderate setting, run a test seam, and reduce pressure until stitch formation begins to suffer, then back up slightly.
Also check stitch length against the feed dog. A roller foot changes the friction balance between the top and bottom of the material stack. If the top ply was previously dragging behind the bottom ply, the roller foot may correct it — or, if the foot pressure is set too high, overcorrect and cause the top ply to advance faster than the bottom. On multi-layer work, always test on an offcut of the actual production material stack, not on a single layer.
Machine and Material Compatibility
This type of foot is designed for standard industrial single-needle lockstitch machines — the flat-bed "computer flat car" class widely used in garment and leather workshops. It is not intended for overlock machines or coverstitch machines, which use entirely different foot and feed systems, and it is not a drop-in fit on post-bed or cylinder-bed machines without checking the mounting geometry.
Where it performs well
- Leather goods: genuine leather, PU, and synthetic leather in panel joining, topstitching, and edge binding. The rolling contact reduces grain marking and the three-point support helps over panel thickness steps.
- Quilted outerwear and down jackets: multi-layer padded composites where the stack is thick and compressible. The foot holds the layers without crushing them.
- Upholstery and bags: canvas, oxford cloth, heavy woven synthetics, and coated fabrics.
- Automotive interiors: seat covers and trim panels in leather and heavy coated material.
- Footwear and headwear: thick uppers and brims, where the foot must cross multiple thickness transitions.
Where it is the wrong choice
On light and medium woven goods — shirting, lining, thin knits — a roller foot offers little benefit and can be counterproductive. The reduced contact area means less control over thin, slippery material, and the material can shift laterally under the rollers on tight curves. For those applications a standard flat foot or a Teflon foot is the better tool. Matching the foot to the material class matters more than buying the most specialised foot available.
Common Mistakes and Maintenance
Most problems with roller presser feet trace back to four causes, and all four are preventable.
Mistake 1: Never cleaning the roller gaps
Thread lint, leather dust, and adhesive residue pack into the spaces between the rollers and the body. Rotation degrades gradually, so the operator adapts without realising performance has dropped. Clean the roller area with a brush and compressed air at every bobbin change on heavy-material work, and inspect rotation by hand. This single habit extends roller life more than any other practice.
Mistake 2: Running excessive foot pressure
Operators compensate for poor feeding by increasing pressure. With a roller foot this is counterproductive — it loads the bearings, increases rolling resistance, and on leather increases the risk of marking. Fix the feed problem at its source: feed dog height, tooth condition, needle size, and thread tension.
Mistake 3: Forcing the foot through material beyond its design range
Roller feet handle thick material well, but there is a limit. Forcing the machine through extremely hard or extremely thick stacks — multiple layers of heavy bridle leather, for example — overloads the rollers laterally and can deform the bearing seats. If the material will not feed at reasonable pressure, the correct answer is a different machine class, such as a walking foot or unison feed machine, not more force on the foot.
Mistake 4: Ignoring bearing wear
Rollers develop lateral play before they seize. Check for side-to-side movement by hand during routine maintenance. A roller with visible play will not track straight and will pull seams off line. At that point the foot is a consumable and should be replaced — attempting to re-tighten or re-rivet a worn roller assembly rarely restores the original geometry.
Maintenance schedule that works in practice
- Every bobbin change: brush out roller gaps, confirm free rotation.
- Weekly: check for lateral play in each roller; check the clamp screw for loosening.
- Monthly: inspect the underside for corrosion or material build-up; verify the foot still sits parallel to the needle plate.
- On any change of material class: re-test foot pressure and stitch length on an offcut before running production.
Selection Tips for Parts Buyers
If you are specifying this class of part for a production floor, a few practical criteria will separate usable stock from returns.
Verify the mounting interface first
Confirm presser bar diameter and screw hole position against the actual machines in service. If the floor runs a mix of machine generations, order samples and fit them before committing to a bulk purchase. A foot that fits 80 percent of the machines is a stocking problem, not a solution.
Check roller rotation by hand before acceptance
On a sample, rotate each roller. It should turn with light finger pressure and no perceptible lateral play. A roller that requires noticeable force to start turning, or that rocks side to side, indicates a plain bushing or a loose bearing seat. On a production line running heavy material all day, that difference shows up as inconsistent stitch length within weeks.
Match the material class to the foot class
Do not standardise on one presser foot across the whole floor. Thin woven goods, medium knits, and heavy leather each want a different foot geometry. Standardising on a roller foot for everything reduces performance on light work and wastes money on parts that add nothing there.
Treat the foot as a consumable with a service life
Roller feet wear out. Budget for replacement on a cycle tied to production volume rather than waiting for visible failure. A foot with worn rollers produces seams that pass inspection but sit slightly off line, and that kind of defect is expensive to catch downstream. In this class of industrial sewing machine spare parts, the cost of the foot is trivial against the cost of reworking a leather panel.
Among the options available from China sewing parts suppliers, the three-roller configuration — such as the one catalogued under the PL presser foot line — is a well-established design for thick-material lockstitch work, and the mechanism described here applies to any correctly built example of the type.
Summary
A three-roller industrial presser foot changes the contact between the foot and the material from sliding to rolling, and distributes clamping load across three points instead of a single flat face. That combination reduces feeding resistance, keeps the foot level over thickness steps, and lowers the risk of surface marking on leather and coated fabrics. It is a genuine improvement for thick and multi-layer work on a standard lockstitch machine, and it is the wrong tool for light woven goods. The part rewards correct pressure setting and regular cleaning of the roller gaps far more than it rewards any other practice, and it should be treated as a consumable with a defined replacement cycle rather than a permanent fixture. Buyers who verify the mounting interface and test roller rotation before accepting stock will get consistent results; those who do not will spend their time chasing seam defects that originate in a part costing a fraction of the material it is ruining.
Need this part for your workshop?
Get a Free Quote on WhatsApp: +86 137 3825 6697Browse the full catalog at pinseam.com · Free 2026 full catalog (PDF) · Related guide: industrial presser foot
📢 New arrivals & factory updates on Telegram — join our channel
Edited by the technical team at PL (Professional Leader) — high-quality sewing machine accessories from China. About our factory | Catalog: pinseam.com | WhatsApp: +86 137 3825 6697 | Telegram: @plsewingparts
Explore Our Parts Guides
- multifunctional needle threader guide — how to use & choose
- jack multifunctional needle threader — one-second threading
- sewing machine accessories, needle threaders & thread guides
- industrial & magnetic seam guides
- presser foot guide: types & compatibility
- industrial presser feet for factory lines
- roller & rolled hemmer presser feet
- industrial sewing machine parts & spare parts
- wholesale sewing machine parts — PL (Professional Leader) factory direct
- about PL (Professional Leader) — Hangzhou Fubang, sewing parts brand since 2018
Questions about a specific part? Chat with us on WhatsApp +86 137 3825 6697 — factory direct, reply within hours.


Comments
Post a Comment