How a Roller Presser Foot Solves Thick-Seam Feeding on Lockstitch Machines
A roller presser foot is the accessory that keeps fabric moving when a standard foot stalls at a thick seam, a denim cross-seam, or a folded hem edge. This article explains the internal structure of roller feet and other specialty presser feet, how the rolling contact changes feeding behaviour, and where these parts fit within a wider set of sewing machine accessories. It covers mechanism, materials, installation, machine compatibility, and the failure patterns that show up most often on the factory floor.
Related guide: roller presser foot — types, fitting and machine compatibility.
Why the Standard Presser Foot Fails at Thick Seams
A lockstitch machine feeds fabric through the combined action of the feed dog below the needle plate and the presser foot above it. The feed dog rises through slots in the needle plate, grips the fabric, and carries it forward by one stitch length. The presser foot applies downward pressure so the fabric stays in contact with the feed dog rather than lifting away from it.
That arrangement works well on flat, uniform material. It breaks down the moment the fabric stack changes height. When the front edge of a denim cross-seam reaches the presser foot, the foot has to climb a step that may be three to five times the thickness of the base fabric. Two things happen at once: the foot tilts, and the contact pressure at the needle point spikes.
The consequences are predictable and expensive:
- Stitch length collapse. The foot lifts off the feed dog as it rides up the seam, so the feed dog loses grip and the machine takes short, uneven stitches across the thick section.
- Needle deflection and breakage. The needle is pushed sideways by the increased resistance. On a size 90/14 needle running at 4,000 rpm, deflection of even a few tenths of a millimetre is enough to cause a strike against the needle plate or the hook.
- Seam pucker and skipped stitches. When the fabric does not advance at a constant rate, thread take-up and loop formation go out of phase. Skipped stitches cluster exactly where the seam is thickest.
- Operator fatigue and rework. The common workaround is to hand-crank through the seam or lift the foot slightly, which slows the line and introduces variation between operators.
The roller presser foot addresses this by replacing sliding contact with rolling contact. Instead of the foot skidding across the fabric surface, a small wheel rotates as the material moves underneath. The wheel maintains a more consistent grip on uneven surfaces and, critically, it can be set to follow the contour of a seam rather than being forced over it as a rigid block.
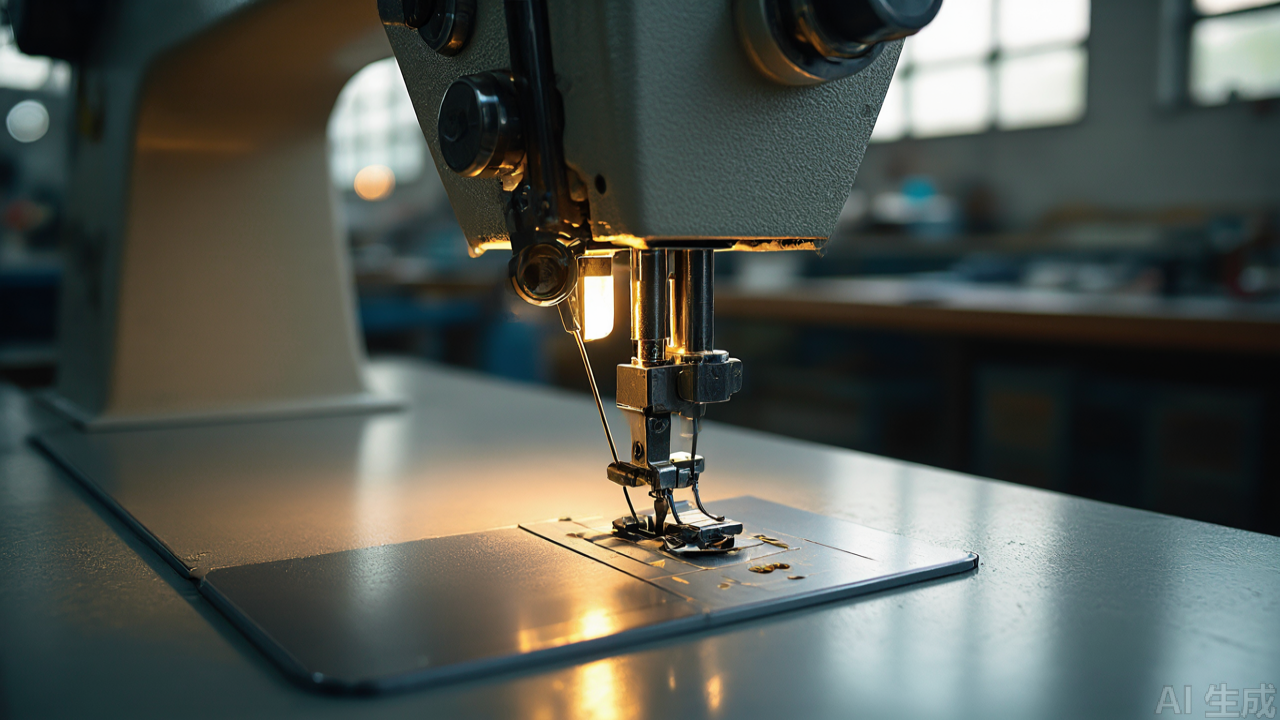
Internal Structure: What Is Inside a Roller Presser Foot
The outward appearance of these parts is simple, but the internal geometry determines whether they work or cause problems. A typical roller foot consists of five functional elements.
The roller wheel
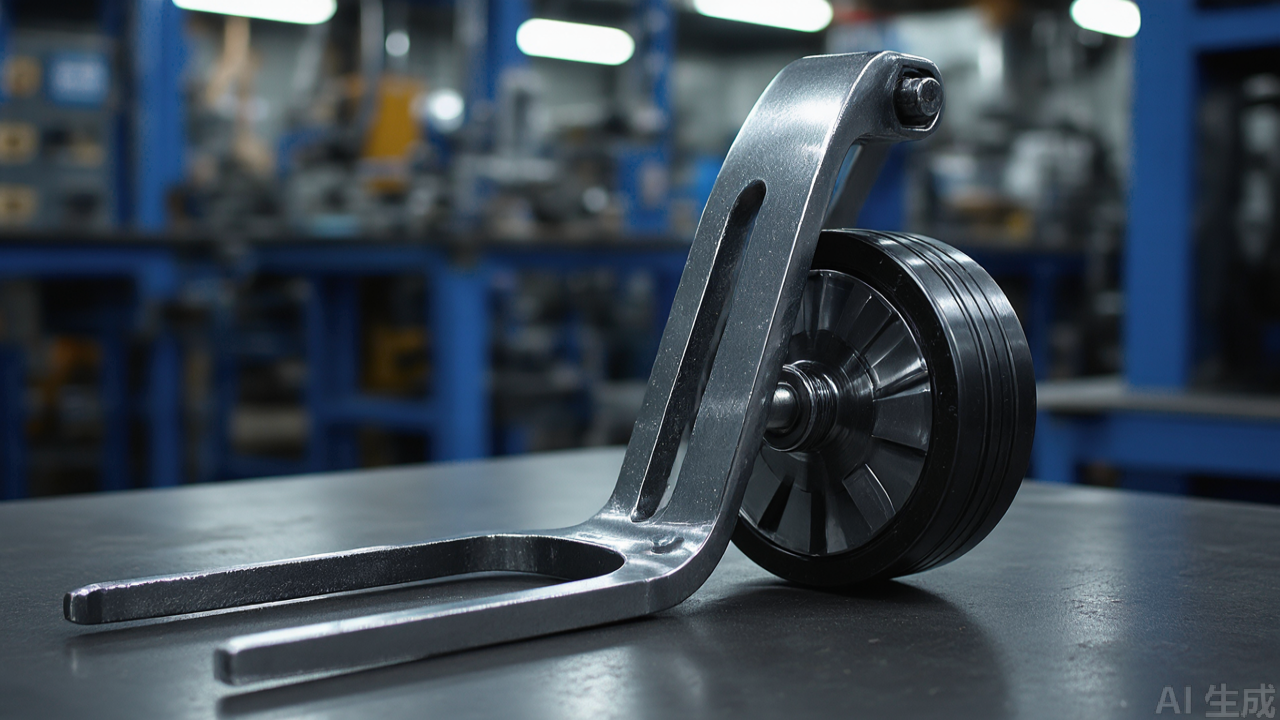
The wheel is the working surface. On most industrial versions it is a hardened steel disc, sometimes with a lightly knurled or grooved circumference to improve traction on coated and synthetic fabrics. Diameters generally range from 5 mm to 12 mm. A smaller wheel turns faster for a given fabric speed and follows tight curves better; a larger wheel distributes pressure over a longer contact patch and is more stable on straight runs at high speed.
Some wheels are fitted with a sealed miniature ball bearing; others run on a plain bushing. Bearing-mounted wheels hold up better at high rpm but are more sensitive to lint ingress. Bushing-mounted wheels are cheaper, quieter at low speed, and easier to clean, which is why they remain common in general garment work.
The fork or yoke
The wheel is held by a two-pronged fork machined or stamped from the same steel as the shank. The fork must hold the wheel with minimal lateral play — typically under 0.05 mm — because any side-to-side movement translates directly into stitch wander. The gap between the fork prongs and the wheel sides is a common wear point; once lint and abrasive dust work into that gap, the wheel begins to wobble and the stitch line drifts.
The shank and mounting slot
The shank is the vertical section that clamps into the presser bar. Industrial machines use either a low shank or a high shank, and the slot geometry differs between them. A correctly matched shank seats fully against the bar with no shimming. If the shank is too short, the foot sits too high and the machine loses presser pressure; if the slot is too wide, the foot can rotate out of alignment under load.
The spring or relief element
Many roller designs — and almost all over-seam (thick-seam) feet — incorporate a spring-loaded or hinged section that allows the front of the foot to lift independently. This is the mechanism that lets the foot climb a seam step gradually rather than jamming against it. The spring rate matters: too stiff and the foot behaves like a rigid one; too soft and presser pressure at the needle is inconsistent, causing skipped stitches on thin fabric.
The base plate and needle clearance
On combination feet that include a flat base plate alongside the roller, the plate must sit parallel to the needle plate. A base plate that is bent or unevenly ground will rock as it passes over the feed dog slots, producing a rhythmic stitch variation that operators often misdiagnose as a tension problem.
How Rolling Contact Changes Feeding Behaviour
To understand why a roller foot works where a flat foot does not, it helps to separate the two forces acting on the fabric: the horizontal force from the feed dog that moves the material forward, and the vertical pressure from the presser foot that holds it down.
On a flat foot, the entire sole is in sliding contact with the fabric. Friction between the sole and the fabric opposes the feed dog's motion. On smooth or coated fabrics, that friction is low and the fabric slips; on textured fabrics, the friction is high and the fabric drags, which can stretch knits and distort the seam line.
A roller foot replaces sliding friction with rolling resistance. The wheel rotates with the fabric instead of resisting it, so the horizontal force needed to move the material drops sharply. The feed dog does not have to overcome the foot's drag, which means the stitch length stays closer to the set value even when the fabric surface changes.
Three practical effects follow from this:
- Better seam climbing. Because the wheel can rotate up and over an obstruction, the foot does not need to be lifted manually. On denim and canvas, this alone can remove the need for a dedicated seam-jumping technique.
- More consistent stitch density. The reduced drag keeps the fabric moving at a rate closer to the feed dog's nominal advance, so stitch length variation across a seam is smaller.
- Less surface marking. The contact patch of a wheel is a line rather than an area. On leather, coated fabric, and pile fabrics, this reduces the pressure marks that a flat foot leaves behind.
There is a trade-off worth stating plainly. A roller foot grips less than a flat foot on very slick, lightweight fabrics such as lining nylon or coated taffeta. On those materials, the wheel may fail to hold the fabric against the feed dog, and stitch quality can actually get worse. Roller feet are a solution for uneven thickness and surface marking, not a universal upgrade.
Materials and Manufacturing Tolerances
Presser feet are consumable tooling, and the material spec determines how long they hold tolerance. The parts in this category are typically made from one of three steel grades.
- High-carbon steel, hardened and tempered. The most common choice for the roller wheel and fork. Hardness in the range of 45–55 HRC gives a good balance between wear resistance and resistance to chipping. Wheels that are too hard crack when they hit a needle strike; wheels that are too soft develop flat spots.
- Alloy steel. Used where the foot body needs to resist bending as well as wear. The shank and base plate benefit from alloy steel because they see bending loads rather than pure abrasion.
- Stainless steel. Less common for the working surfaces because it is harder to harden to the same level, but used on some feet intended for wet or corrosive environments.
Surface treatment matters as much as the base material. Nickel or chrome plating on the body resists rust and reduces friction against the fabric. On the roller itself, plating thickness must be controlled: an uneven plate on a small wheel changes its effective diameter and can introduce runout. A wheel with visible runout will produce a rhythmic stitch deviation that no amount of tension adjustment will fix.
The tolerances that matter most in practice are:
- Base plate flatness. Should be within a few hundredths of a millimetre across the sole. A warped plate rocks on the feed dog slots.
- Needle slot alignment. The slot must be centred so the needle passes without contact at any stitch width.
- Shank squareness. The shank must be perpendicular to the base plate, or the foot will sit at an angle and the wheel will track off-line.
- Wheel concentricity. Runout should be minimal; this is the single most common quality difference between low-cost and mid-range parts.
For buyers sourcing industrial sewing machine parts, the practical test is straightforward: mount the foot, lower it onto a glass or granite surface, and check for rocking. Then rotate the wheel by hand and feel for tight spots or lateral play. These two checks catch most manufacturing defects before the part reaches a machine.
Installation and Setup
Fitting a roller foot takes a few minutes, but the setup steps are where most performance problems originate. The procedure below applies to both home multi-function machines and industrial lockstitch machines, with the differences noted.
Step 1: Isolate power and raise the presser bar
Switch off the machine and, on industrial heads, disengage the motor or lock out the clutch. Raise the presser bar to its top position. This gives clearance to remove the existing foot without risking a needle strike.
Step 2: Remove the existing foot
Loosen the presser foot screw — usually a single screw on the front of the bar — and slide the old foot out of the slot. Keep the screw; on many machines it is a specific length and a substitute may not clamp properly.
Step 3: Seat the new foot
Slide the shank of the roller foot into the bar slot, aligning the needle slot with the needle. Push it up until it seats fully against the bar. On high-shank machines, confirm the foot is the correct shank height before tightening; a mismatch will leave the foot hanging below the needle plate.
Step 4: Check alignment before tightening
With the screw snug but not fully tight, lower the needle by hand and confirm it passes through the centre of the foot's needle slot without touching either side. Rotate the handwheel through a full stitch cycle. Only then tighten the screw firmly.
Step 5: Set presser pressure
Adjust the presser pressure regulator so the foot holds the fabric against the feed dog without crushing it. As a starting point, thin fabrics need less pressure and thick fabrics more, but the roller foot generally needs less pressure than a flat foot because it does not rely on friction to control the fabric. Excess pressure on a roller foot causes the wheel to dig in and mark the material.
Step 6: Test on scrap
Run a test seam on the actual fabric and thickness combination, including a representative thick section. Check stitch length consistency across the transition, look for skipped stitches, and inspect the fabric surface for wheel marks. Adjust pressure and, if the machine allows, stitch length before committing to production.
Machine Compatibility and Fabric Matching
Roller feet and related specialty presser feet are available in the two main shank standards plus a range of machine-specific mounts. The table below summarises the common pairings.
- Industrial lockstitch (single needle). The primary application. Low-shank and high-shank variants cover most Juki, Brother, Singer, and generic Chinese industrial heads. These machines have the presser bar rigidity and feed dog authority to take full advantage of a roller foot.
- Home multi-function machines. Compatible feet are available, but the lower presser pressure and lighter feed mechanism limit the benefit on very thick seams. On these machines, roller feet are most useful for surface marking control and for medium-weight folded edges.
- Overlock machines and sergers. Roller feet exist for some serger models, mainly for handling thick seam transitions on knit and woven edges. Fitment is model-specific and the range is narrower than for lockstitch.
- Coverstitch machines. Fewer options still. Check the specific machine model before assuming a foot will fit.
Fabric matching follows a similar logic. Roller feet perform best on:
- Denim, canvas, and other heavy woven fabrics with cross-seams and thick folds.
- Leather and coated fabrics, where surface marking is a concern.
- Upholstery and bag-making materials, including multi-layer stacks.
- Medium-weight wovens where seam transitions cause stitch length variation.
They are a poor match for very lightweight, slick fabrics and for delicate knits that need broad, low-pressure contact to avoid distortion.
Common Mistakes and Maintenance
Most roller foot problems trace back to one of a small number of causes. The list below covers the failures that appear most often in garment and bag workshops.
Mistake 1: Running full speed through a thick seam
Even with a roller foot, the needle is under higher load at a thick section. Reducing speed through the transition lowers needle deflection and reduces the chance of a strike. This is a habit issue rather than a hardware issue, but it prevents more breakage than any accessory.
Mistake 2: Over-tightening presser pressure
Operators often increase pressure to solve skipped stitches. On a roller foot this is counterproductive: excess pressure flattens the fabric ahead of the needle and can lift the feed dog out of engagement on the return stroke. Set pressure by testing, not by feel.
Mistake 3: Ignoring wheel play
Lateral play in the wheel is the earliest sign of wear. Once it appears, stitch wander follows. On bushing-mounted wheels, a small amount of play can sometimes be taken up by adjusting the fork; on bearing-mounted wheels, the assembly usually needs replacement.
Mistake 4: Skipping lint removal
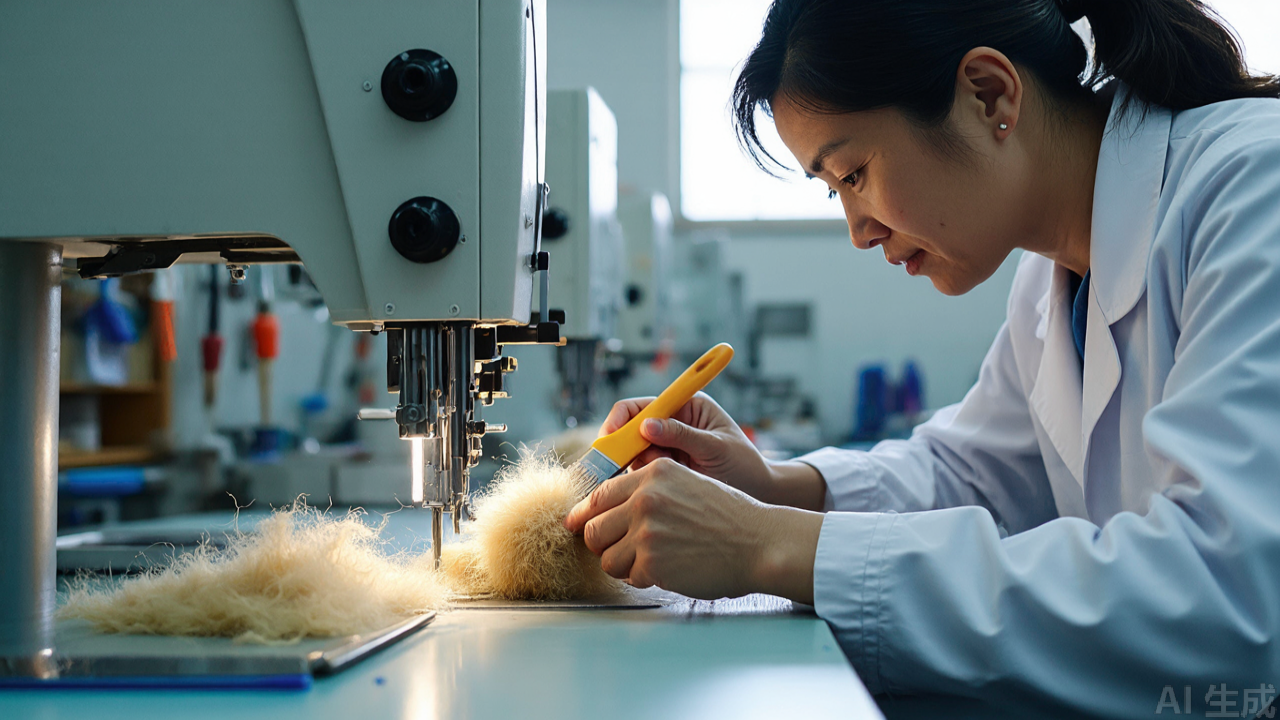
Lint and thread fragments pack into the fork gap and around the wheel axle. This increases rolling resistance and, over time, accelerates wear. A few seconds with a brush at each bobbin change is enough to prevent most of it.
Mistake 5: Using the wrong foot for the operation
A roller foot is not a substitute for a rolled hemmer foot or a folding foot. Each has a specific geometry — the rolled hemmer foot has a scroll that turns the fabric edge, the folding foot has a guide plate that sets the fold width. Using a roller foot for a rolled hem operation produces an uneven edge and inconsistent hem width.
Maintenance routine
- Daily: Brush lint from the wheel, fork, and base plate. Check for thread wraps around the axle.
- Weekly: Check wheel play and base plate flatness. Confirm the presser foot screw is tight.
- Monthly: Inspect the needle slot for wear or burrs. A burr will fray thread and cause skipped stitches.
- Storage: Coat unpainted surfaces with a light anti-rust oil and store in a dry place. Do not stack feet loosely in a drawer — impact can bend the base plate or the fork.
Selecting the Right Foot for the Operation
Because these parts are usually bought in sets or as mixed orders, it helps to think in terms of the operation rather than the part name. The following decision path covers the most common cases in garment, home textile, and bag production.
- Thick seam transitions on denim, canvas, or multi-layer stacks: roller foot or a dedicated over-seam foot with a hinged front section.
- Narrow rolled hems on shirts, scarves, and light home textiles: rolled hemmer foot in the width matching the finished hem. These come in fixed sizes, so the hem width must be known before ordering.
- Straight folded edges on curtains, table linen, and trouser bottoms: folding foot with a guide plate set to the fold width.
- Surface-marking-sensitive work on leather and coated fabric: roller foot, or a Teflon-soled foot if the fabric is also slick.
- General-purpose sewing on flat, uniform fabric: a standard flat foot remains the best choice. It grips better and is cheaper to replace.
When ordering, the details that determine whether a foot will work are the shank standard, the needle slot offset, the roller diameter, and the finished fold or hem width for forming feet. For buyers consolidating orders from a China sewing parts supplier, specifying these four parameters is more useful than specifying a machine brand alone, because the same machine model can be supplied with different presser bar configurations in different markets.
It is also worth keeping a small stock of the highest-wear items rather than a large stock of everything. In most workshops, the roller foot and the most-used rolled hemmer sizes account for the majority of replacements, while the less common forming feet sit on the shelf for months.
For reference, the PL (Professional Leader) presser foot range covers roller, over-seam, rolled hemmer, and folding types in the common shank standards, which allows a workshop to standardise on one supplier for these consumables. The more important point for buyers is that the internal structure and tolerances described above are what separate a foot that holds its stitch line for a full production run from one that needs replacing after a week.
Closing Notes for Workshop Planning
Understanding the mechanism behind a roller presser foot changes how these parts are specified and maintained. The rolling contact reduces drag, which improves feed consistency at thick seams and reduces surface marking, but it also reduces grip, which makes it the wrong choice for slick lightweight fabrics. The internal tolerances — wheel concentricity, base plate flatness, shank squareness — determine service life more than the outward finish does.
For garment factory managers and parts buyers, the practical takeaway is to match the foot to the operation, verify the four critical dimensions at ordering, and treat these parts as consumables with a defined inspection routine rather than as permanent machine components. That approach keeps stitch quality stable across a production run and keeps unplanned machine stops to a minimum.
PL (Professional Leader) supplies sewing machine parts for industrial lockstitch, overlock and interlock machines, including the industrial presser foot range, needle plates, feed dogs and related presser foot accessories. The full sewing machine parts and presser foot catalogue is listed at pinseam.com.
Need this part for your workshop?
Get a Free Quote on WhatsApp: +86 137 3825 6697Browse the full catalog at pinseam.com · Free 2026 full catalog (PDF) · Related guide: roller presser foot
📢 New arrivals & factory updates on Telegram — join our channel
Edited by the technical team at PL (Professional Leader) — high-quality sewing machine accessories from China. About our factory | Catalog: pinseam.com | WhatsApp: +86 137 3825 6697 | Telegram: @plsewingparts
Explore Our Parts Guides
- sewing machine accessories, needle threaders & thread guides
- industrial & magnetic seam guides
- presser foot guide: types & compatibility
- industrial presser feet for factory lines
- roller & rolled hemmer presser feet
- industrial sewing machine parts & spare parts
- wholesale sewing machine parts, factory direct
- about PL (Professional Leader)
Questions about a specific part? Chat with us on WhatsApp +86 137 3825 6697 — factory direct, reply within hours.


Comments
Post a Comment