How a Double-Spring High-Low Presser Foot Works on Lockstitch Machines
A double-spring high-low presser foot is a specialised sewing machine accessory used on industrial lockstitch machines for collar attaching, waistband setting, and topstitching operations. This article explains how the two-spring floating mechanism distributes pressure across uneven fabric layers, how the ES collar-following geometry is built, and what factory technicians should check during installation and maintenance. It is written for garment factory managers, sewing technicians, and spare parts buyers who specify presser foot types for production lines.
Related guide: presser foot — types, fitting and machine compatibility.
Why Standard Presser Feet Fail on Collar and Waistband Operations
On a standard lockstitch machine, the presser foot is a single rigid body. It applies one pressure value across its entire sole. That works well on flat, uniform panels such as pocket bags or side seams. It does not work well when the fabric stack changes thickness mid-seam.
Collar attaching is the classic failure case. The collar stand may be four or five layers thick at the fold, while the adjacent neckline edge is only two layers. When a rigid foot crosses that transition, one of two things happens: the foot tilts and the front edge lifts, releasing contact with the fabric, or the spring-loaded pressure rod bottoms out and crushes the thinner section. Either way the result is the same — skipped stitches, uneven seam density, and puckering along the collar roll.
Waistband setting has a similar problem in reverse. The waistband itself is a folded, interlined strip — often eight to ten layers at the side seam where the band meets the trouser panel. A rigid foot riding over that junction will either stall the feed or ride up onto the thick section, causing the needle to deflect and the stitch line to wander off the seam allowance.
Operators compensate in the usual ways: slowing the machine, hand-lifting the foot at the transition, or sewing the thick section in a separate pass. All three reduce output and introduce variation between operators on the same line. The high-low presser foot exists to remove that manual compensation.
The Mechanism: How Two Independent Springs Share the Load
Split sole, split pressure
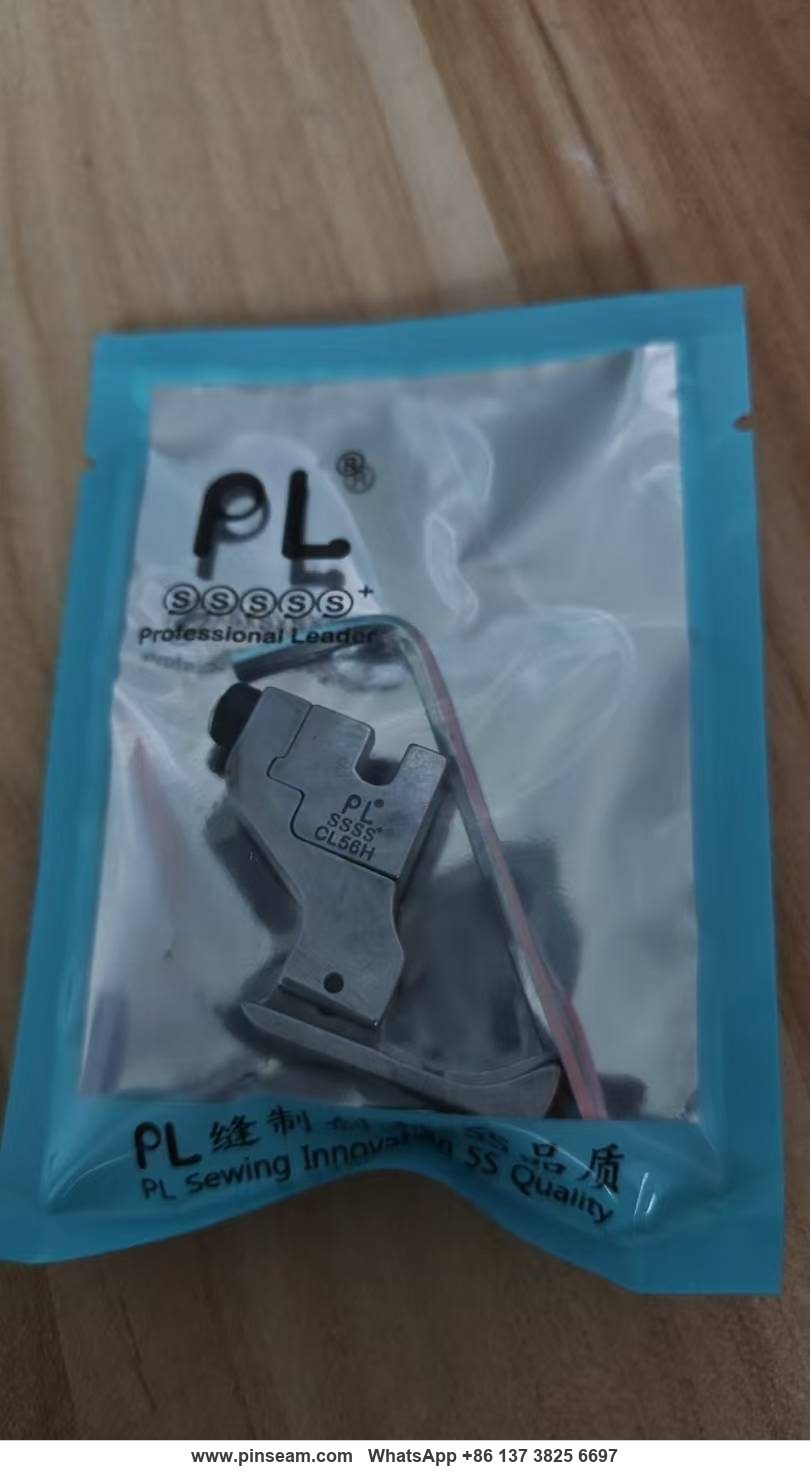
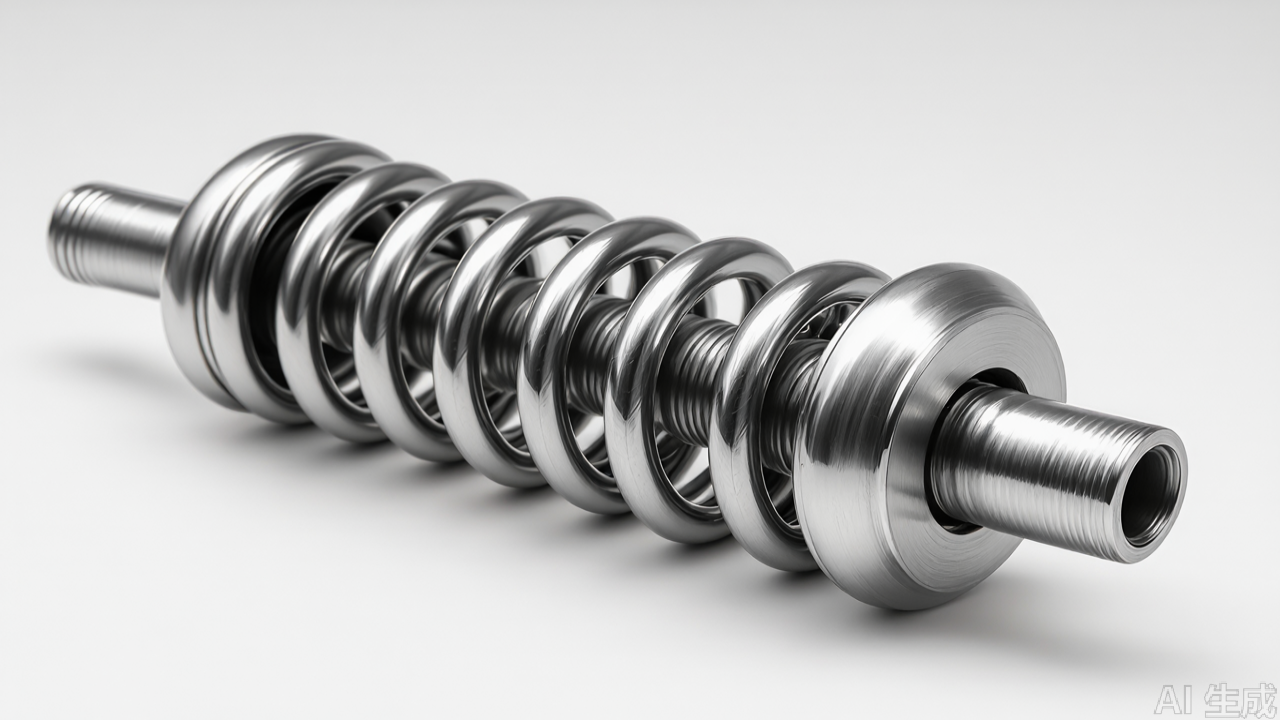
The defining feature of this presser foot is that the sole is divided into two sections — typically a left toe and a right toe — each mounted on its own spring-loaded plunger. The two halves are mechanically independent within a limited vertical travel range, usually 2 to 4 mm depending on the model.
When the foot descends onto the fabric, each half settles at whatever height the material beneath it allows. Over a collar fold, the thick side compresses its spring fully and rides high; the thin side extends its spring and drops down to maintain contact with the neckline panel. Both halves stay in contact with the fabric simultaneously, and the total downward force is shared between them rather than concentrated on the high point.
This is the core principle: independent spring suspension converts a single rigid contact into two adaptive contacts. The practical effect is that the fabric stack stays flat under the needle regardless of thickness variation, and the feed dog can advance the material at a consistent rate.
Why two springs rather than one
A single central spring with a pivoting foot can handle some thickness variation, but it introduces a torque problem. When one side of a pivoting foot rides up, the pivot point transfers a rotational force that tends to lift the opposite side. On narrow collars and curved waistbands, that lift is enough to break contact.
Two separate springs eliminate the pivot entirely. Each half moves vertically only — no rotation — so lifting one side has no mechanical effect on the other. This matters most on curved seams, where the fabric edge passes diagonally under the foot and the thickness boundary does not run parallel to the foot's centreline.
The ES collar-following geometry
The "ES" designation in this part refers to the sole profile. The front section of the sole is shaped to match the curvature of a collar roll rather than being a flat rectangle. The toe is narrower and the sole is relieved on the inner edge, which lets the foot sit down into the collar curve without the outer corner digging into the fabric.
On a flat sole, pressing down on a curved collar produces a contact line rather than a contact area — the foot touches the collar at one tangent point and the rest of the sole floats. The ES profile increases the contact area across the curve, which improves both feed consistency and stitch formation on the roll line.
Construction and Materials
The body is machined from steel rather than cast zinc alloy or stamped sheet. This matters for two reasons. First, the spring plungers need bores with tight tolerances to keep the two halves aligned; steel holds those tolerances through repeated heat cycles better than softer alloys. Second, the sole wears against the feed dog and fabric continuously — a steel sole keeps its edge geometry far longer than a plated casting.
The 4K-grade surface treatment referenced in the part specification is a hardening and finishing process applied to the working surfaces. In practical terms it produces a sole face with high hardness and low friction, which reduces fabric drag and helps prevent the foot from marking light-coloured or coated materials.
Key construction points to verify when inspecting this type of part:
- Spring rate consistency. Both plungers should require roughly equal force to compress. Unequal springs cause the foot to favour one side and defeat the purpose of the design.
- Plunger bore clearance. Excessive clearance lets the halves wobble laterally, which shows up as stitch wander on curved seams.
- Sole flatness. The two halves should sit coplanar at rest. A visible step between them will imprint on thin fabric.
- Shank fit. The mounting slot must match the presser bar diameter without play. A loose foot rotates under load.
- Spring preload. There should be light preload at rest so the halves do not rattle when the foot is lifted.
Installation on an Industrial Lockstitch Machine
Before mounting
Power down the machine and confirm the presser bar is fully raised. Check the presser bar diameter against the foot's mounting slot — most industrial lockstitch machines use a standard bar size, but older or specialised heads can differ. Also confirm the needle plate and feed dog are the correct set for the operation; a presser foot cannot compensate for a mismatched feed dog.
Mounting and height setting
Slide the foot onto the presser bar and tighten the screw finger-tight first, then set the foot height. With the foot down on the needle plate, the sole should sit flat with no gap. Raise the presser bar and check that both halves drop freely under their own spring pressure — if either side sticks, the plunger bore is contaminated or the foot is misaligned on the bar.
Set the presser foot pressure using the machine's pressure regulating screw. Start lower than you would for a standard foot. Because the load is split across two springs, the effective pressure per unit area is already higher than a single-spring foot at the same setting. Over-pressure is the most common installation error with this type of part.
Thread tension and feed timing
After mounting, re-check thread tension. The change in foot contact geometry alters how the fabric is held during stitch formation, and existing tension settings often need a small adjustment — usually a slight reduction in upper tension. Sew a test sample that reproduces the actual production stack, including the thickness transition, before releasing the machine to the line.
Operating technique
The main behavioural change for operators is that they no longer need to hand-lift the foot at thickness transitions. The foot handles the transition automatically within its travel range. Operators should be trained to feed at a steady rate through the transition rather than slowing down, because inconsistent feed speed is now the primary cause of stitch irregularity on these operations.
Machine and Fabric Compatibility
This category of presser foot is designed for single-needle industrial lockstitch machines — the standard flat-bed platform used across garment production. It is not intended for overlock machines, coverstitch machines, or post-bed and cylinder-bed machines, which use entirely different foot mounting systems.
Fabric suitability breaks down as follows:
- Woven medium-weight: shirting, trouser fabric, suitings. This is the primary design target. The foot performs best where the thickness transition is between two and eight layers.
- Knits: usable on stable knits for collar and waistband operations, but the reduced foot pressure needed on knits means the spring preload should be checked carefully. Very stretchy or unstable knits are better handled with a walking foot or a dedicated knit foot.
- Lightweight fabrics: workable, but the sole must be in good condition. Any burr or edge wear will mark fine fabric.
- Heavy and very thick materials: not recommended. Leather, heavy canvas, and multi-layer denim stacks exceed the plunger travel range, and forcing them through will fatigue the springs.
One honest limitation: because the two halves float independently, this foot is not ideal for operations requiring a perfectly flat, uniform pressure across a wide seam — for example, long straight topstitching on a flat panel. A standard rigid foot or a compensating foot is a better choice there. The high-low design trades flat-panel uniformity for thickness-transition capability.
Common Mistakes and Maintenance
Mistakes seen on the production floor
- Over-tightening the mounting screw. This distorts the shank slot and prevents the foot from seating flat. Tighten to snug, not maximum.
- Setting pressure by feel alone. Use the test-seam method: sew the thickest and thinnest sections of the actual garment and check for both feed marks on the thick side and skipped stitches on the thin side.
- Mixing feed dogs. Fitting a high-low foot without checking feed dog height and tooth condition leads to inconsistent feed that gets blamed on the foot.
- Using the foot past its travel limit. When the thickness step exceeds the plunger travel, one half bottoms out and the foot behaves like a rigid foot — with none of the benefits.
- Ignoring lateral play. A foot that has developed side-to-side movement on the bar will produce curved seams that drift. Replace the foot rather than trying to compensate with operator technique.
Maintenance routine
Clean the plunger bores and spring area at every machine service interval. Lint, thread fragments, and fabric dust accumulate in the gap between the two halves and progressively restrict their independent movement. A stiff plunger is the first sign of contamination.
Inspect the sole edges under magnification during scheduled maintenance. Any nick or rolled edge will mark fabric and should be dressed with a fine stone or the foot replaced. Check spring return by lifting each half with a finger and releasing — both should snap back to the coplanar rest position without sticking.
Do not lubricate the plunger bores. Oil attracts lint and turns the bore into a paste trap. These parts are designed to run dry.
Selection Tips for Parts Buyers
When specifying a presser foot for collar and waistband operations, work from the operation rather than the machine model. The questions that determine the right part are: what is the maximum thickness step in the seam, what is the radius of the collar or waistband curve, and what fabric weight range will run on that station.
For thickness steps under roughly 3 mm, a standard double-spring high-low foot covers most collar and waistband work. For larger steps or heavily curved collars, the ES-profile sole is the better match because it maintains contact area across the curve. Where the operation is flat topstitching with no thickness variation, a compensating foot or a standard rigid foot will give better results and cost less.
On sourcing, the variables that separate a serviceable part from a problem part are spring consistency between the two halves, plunger bore tolerance, and sole hardness. These are not visible in a product photo. Buy a sample, measure the spring force on both halves with a small scale, and run a production-representative test seam before committing to a line quantity. A presser foot that fails on spring balance will generate rework across every operator on the station, which costs far more than the part itself.
Keep a small stock of spare feet per station. These are wear parts. Once the sole edges round over or the plungers develop play, no amount of adjustment will restore stitch quality, and the cost of replacing the foot is trivial against the cost of a rejected collar run. For factories running multiple collar and waistband lines, standardising on one presser foot specification across stations also simplifies training and spare parts inventory.
Used correctly, a double-spring high-low presser foot removes the manual compensation that operators otherwise apply at every thickness transition. That is its entire value proposition — and it only delivers when the part is matched to the operation, installed at the correct pressure, and maintained as a wear item.
PL (Professional Leader) supplies sewing machine parts for industrial lockstitch, overlock and interlock machines, including the industrial presser foot range, needle plates, feed dogs and related presser foot accessories. The full sewing machine parts and presser foot catalogue is listed at pinseam.com.
Need this part for your workshop?
Get a Free Quote on WhatsApp: +86 137 3825 6697Browse the full catalog at pinseam.com · Free 2026 full catalog (PDF) · Related guide: presser foot
📢 New arrivals & factory updates on Telegram — join our channel
Edited by the technical team at PL (Professional Leader) — high-quality sewing machine accessories from China. About our factory | Catalog: pinseam.com | WhatsApp: +86 137 3825 6697 | Telegram: @plsewingparts
Explore Our Parts Guides
- sewing machine accessories, needle threaders & thread guides
- industrial & magnetic seam guides
- presser foot guide: types & compatibility
- industrial presser feet for factory lines
- roller & rolled hemmer presser feet
- industrial sewing machine parts & spare parts
- wholesale sewing machine parts, factory direct
- about PL (Professional Leader)
Questions about a specific part? Chat with us on WhatsApp +86 137 3825 6697 — factory direct, reply within hours.


Comments
Post a Comment