Cutting Table Weight Installation: Industrial Sewing Machine Parts Guide
The cutting table weight — also called a fabric weight, cloth press, or pattern weight — is one of the least glamorous items in a garment factory, and one of the most frequently misused. This article explains how a stainless steel cutting weight holds layered fabric in place, how to install and deploy it correctly around a cutting table, and which mistakes cause shifted plies, damaged knife edges, and rejected cut panels. It is written for cutting room supervisors, sewing technicians, and buyers sourcing industrial sewing machine parts and cutting room accessories.
Related guide: industrial sewing machine parts — types, fitting and machine compatibility.
If your cutting room deals with slippery linings, stretch knits, or high-ply lay-ups, the way you position and maintain these weights directly affects your cut piece accuracy. Nothing here is theoretical; every point below comes from standard cutting room practice.
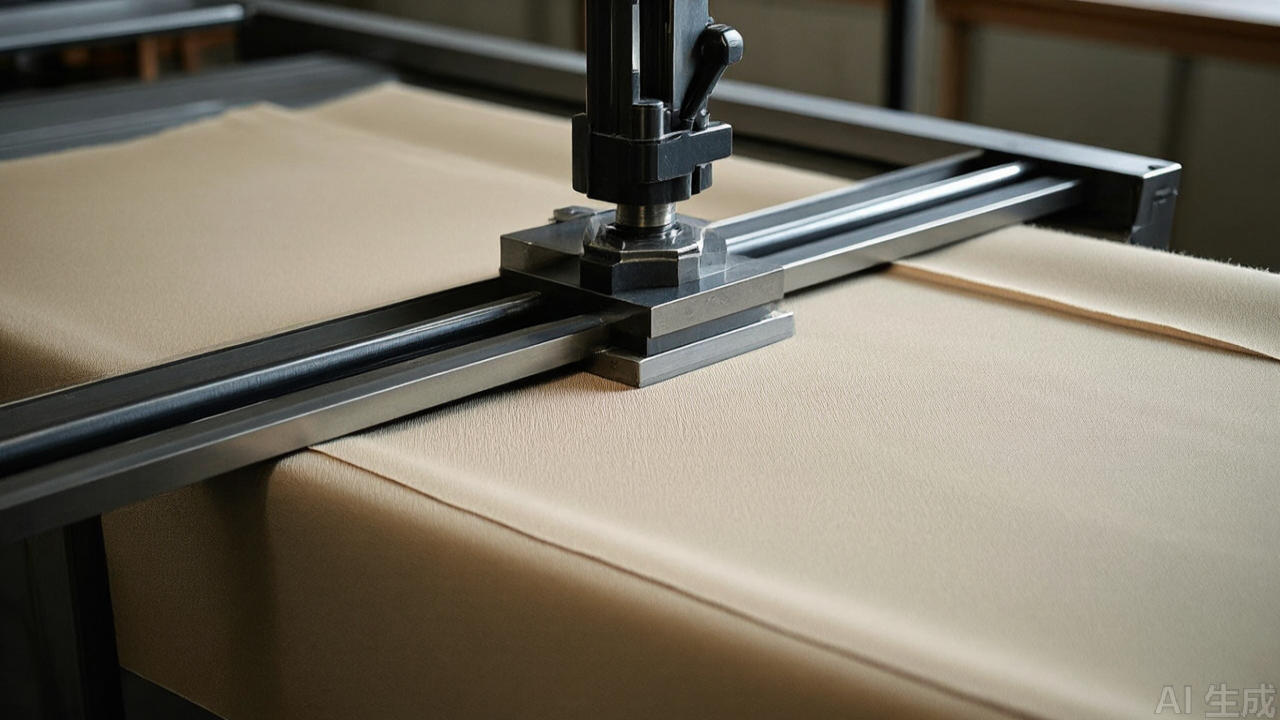
Why Fabric Moves During Cutting — and What Industrial Sewing Machine Parts Have to Do With It
Cutting is a mechanical process applied to a stack of soft material. The moment a straight knife or round knife enters the lay, it pushes fabric sideways before it actually severs it. On a 60-ply lay of woven cotton the displacement is small. On a 20-ply lay of polyester lining or a 6-ply lay of single jersey, the bottom plies can shift several millimetres by the time the operator reaches the end of a long marker.
The result is familiar to anyone who has worked a cutting table: the top ply matches the marker, the bottom ply does not. Panels come out short on one side, and the sewing floor rejects them at the join. The usual culprits are:
- Low inter-ply friction. Smooth filament fabrics slide against each other with almost no resistance.
- Static charge. Synthetic fabrics cling to the table surface and to each other, then release suddenly.
- Knife drag. The blade pulls the lay forward in the direction of travel.
- Table vibration. Motorised cutting equipment and nearby machinery transmit small movements into the lay.
- Air movement. Open doors, fans, and overhead ducts lift light fabrics at the edges.
Clamps and vacuum tables solve part of this, but they are not universal. Many cutting rooms run on simple tables with no vacuum system, and manual cutting stations have nothing at all. This is where a weighted hold-down tool earns its place. It is a passive device: it adds mass and friction at specific points so the lay behaves as a single sheet rather than a stack of loose plies.
How a Cutting Weight Works: Mechanism, Not Magic
A cutting table weight is a flat, dense metal block placed directly on top of the lay. Its function comes from three physical effects working together.
1. Normal force increases friction
Friction between two surfaces is proportional to the force pressing them together. A weight of a given mass adds a known downward force at its footprint. That force multiplies through the plies beneath it, raising the friction between adjacent layers. The effect is local — a weight 300 mm away contributes almost nothing — which is why distribution matters more than total mass.
2. Low centre of gravity resists tipping
A flat profile with the mass concentrated near the base sits stably on an uneven lay. Tall, narrow weights tip when the knife passes close or when an operator brushes against them, and a tipped weight can drag the top ply with it. Flat geometry avoids this failure mode entirely.
3. Smooth, polished surfaces prevent snagging
The contact face must slide slightly as the lay settles, and the edges must not catch on fabric. A polished stainless surface with rounded edges glides over fine denier fabrics without pulling yarns. Rough cast iron or unfinished steel will snag delicate material and leave permanent marks on the top ply.
Note what a weight does not do. It does not flatten a badly spread lay, it does not compensate for incorrect ply tension, and it does not replace proper table preparation. It is a supplement to good spreading practice, not a substitute.
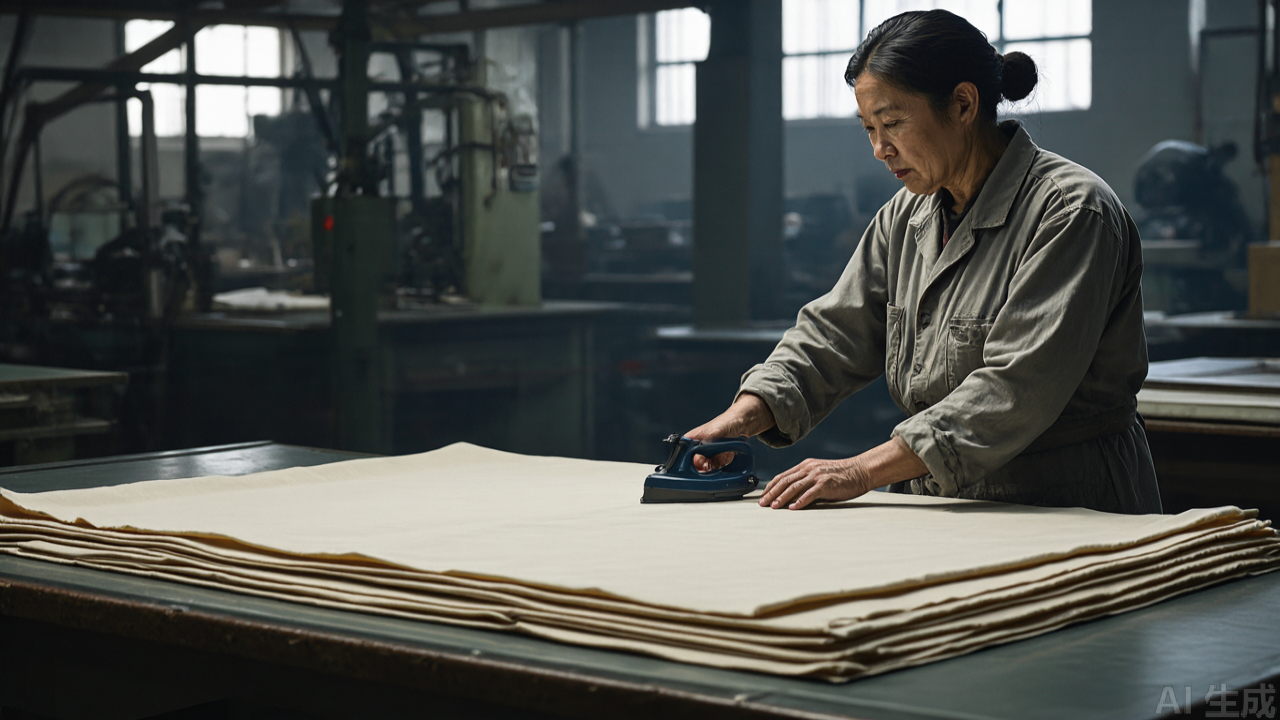
Specifications and Materials: What to Check Before Buying
Cutting weights are simple products, and that simplicity is exactly why quality varies so much between suppliers. When evaluating industrial sewing machine spare parts and cutting room tooling, these are the points that matter.
Material
Stainless steel is the standard for professional use. It resists corrosion in humid cutting rooms, does not shed rust particles onto light-coloured fabric, and holds its shape under repeated handling. Lower-grade carbon steel with a painted finish is cheaper but chips, and any exposed rust will transfer to the lay.
Surface finish
The product should be polished on all faces, not just the top. Check the underside and the edges specifically. Sharp edges, burrs, or weld spatter will damage fabric and cut operators' hands. A properly finished weight has a uniformly rounded edge profile.
Flatness
Place the weight on a granite surface plate or a glass sheet and check for rocking. A warped base contacts the fabric at only one or two points, which drastically reduces the effective friction area. Flatness is the single most important quality characteristic and the one most often skipped during incoming inspection.
Mass and footprint
Heavier is not automatically better. A very heavy weight is difficult to reposition dozens of times per shift and can crush pile fabrics or emboss the top ply of delicate material. Practical workshop practice is to keep a mixed set: lighter weights for fine and pile fabrics, heavier weights for dense wovens and high-ply lays. Total mass matters less than how evenly the weights are distributed across the lay.
Geometry
Flat rectangular or disc shapes suit most cutting tables. Low-profile designs let the straight knife pass over or beside them without obstruction. Avoid any design with a raised handle or knob on the top face if the knife will travel near it.
Step-by-Step Installation and Usage on the Cutting Table
There is no permanent installation for this tool — it is placed and removed by hand. What follows is the correct sequence for a production cutting operation.
Step 1: Prepare the table surface
Clean the table and check the underlay. A worn or wrinkled cutting mat, felt, or kraft paper layer will let the whole lay slide regardless of how many weights you place. Replace the underlay when it no longer holds the bottom ply.
Step 2: Complete spreading before placing any weight
Place weights only after the full lay is spread and the marker is positioned. Placing them during spreading interferes with the spreading machine and creates uneven tension from ply to ply.
Step 3: Map the weight positions
Work from the marker. Identify the long, unsupported spans — usually the outer edges, the ends of the lay, and any large panel area with no internal cut lines. These are where displacement starts. Corners and mid-edge points are the priority positions.
Step 4: Place weights evenly, not in a cluster
Distribute weights along the perimeter at roughly equal intervals, then add extra units at the ends of the lay where the knife exits. A common mistake is to pile several weights in one convenient spot near the operator. That concentrates force in one area and leaves the rest of the lay free to move.
Step 5: Keep the knife path clear
- Position every weight at least a hand's width clear of the marked cut line.
- Never place a weight where the blade will pass. Contact between a straight knife and a stainless weight will dull or chip the blade and can cause kickback.
- For round knife and electric shear work, keep weights behind the direction of travel.
Step 6: Cut in sequence, repositioning as you go
On long markers, lift and reposition weights ahead of the knife as the cut progresses. Do not drag them across the lay — lift vertically, move, and set down. Dragging pulls the top ply and defeats the purpose.
Step 7: Remove weights before bundling
Take weights off before separating plies and bundling cut pieces. Leaving them in place while pulling panels out distorts the remaining lay.
Step 8: Clean and store after each shift
Wipe off lint, fibre, and dust. Store in a dry location. Stacking weights directly on a damp floor is the fastest way to develop surface corrosion, even on stainless grades.
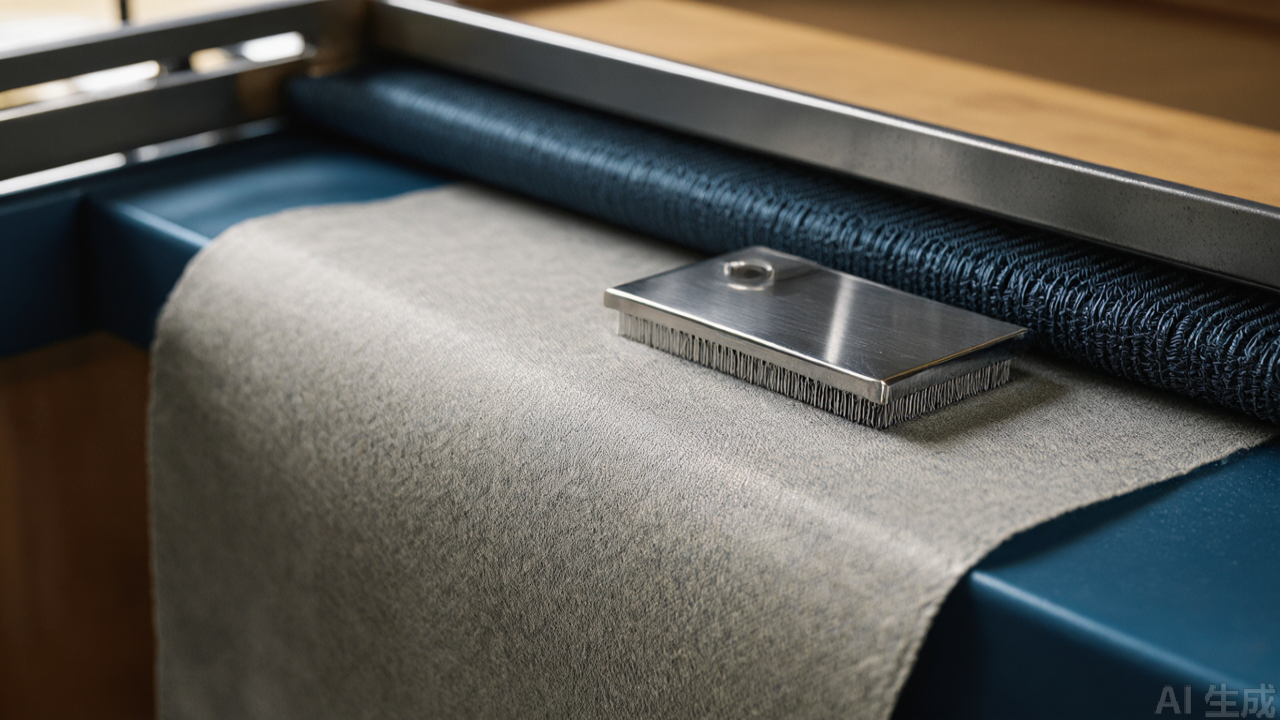
Which Machines, Tables, and Fabrics This Tool Suits
Cutting weights are universal cutting room tooling. They are not machine-specific, but their usefulness varies strongly by fabric and cutting method.
Cutting methods
- Straight knife cutting. The primary application. Weights along the perimeter and at the lay ends reduce drag-induced displacement.
- Round knife and electric shear. Useful for holding short lays and curved sections where the cutter changes direction frequently.
- Manual cutting and pattern making. Indispensable for single-ply and low-ply work, where nothing else holds the fabric.
- Die cutting and sample rooms. Small weights hold single plies and paper patterns during tracing.
Fabric types
- Slippery synthetics — polyester lining, nylon, satin, and coated fabrics. These benefit most; without weights the bottom plies drift badly.
- Stretch knits — single jersey, rib, and interlock. Weights help, but use lighter units to avoid compressing the fabric and creating false measurements.
- Dense wovens — denim, canvas, twill. Higher friction between plies means fewer weights are needed, but heavier units work better.
- Pile fabrics — velvet, fleece, corduroy. Use light weights only. Heavy weights crush the pile and leave permanent marks.
- Lightweight and sheer fabrics — chiffon, georgette, voile. Low mass is essential; even a modest weight can distort the lay.
One caution on pile and napped fabrics: any weight left in position for a long period will leave a compression mark. Move weights periodically on these materials, or accept that the marked area must fall inside a seam allowance or waste zone.
Common Mistakes, Maintenance, and Replacement Criteria
Mistakes seen most often on the cutting floor
- Clustering instead of distributing. The most common error. Force concentrated in one area leaves the rest of the lay unprotected.
- Placing weights after cutting has started. Once the knife has entered the lay, adding weights to one section can shift plies in another. Position everything before the first cut.
- Weights in the knife path. Causes blade damage, inaccurate cuts, and safety risk from kickback.
- Using one weight size for every fabric. A single heavy set will crush fine and pile fabrics. Keep a mixed set.
- Dragging weights across the lay. Lifting is slower but preserves ply alignment.
- Ignoring the underlay. No number of weights will hold a lay on a worn, slippery table covering.
- Leaving weights on the lay overnight. Compression marks, especially on napped fabrics and foam-backed materials.
Maintenance routine
- Wipe the contact face after every shift to remove fibre and dust. Contamination reduces friction and can transfer to the next fabric lot.
- Inspect edges monthly for burrs or dents. A single raised burr will snag fine fabrics.
- Check flatness periodically against a reference surface. Any rocking means the weight should be retired.
- Store dry. Do not leave weights in damp cutting rooms or on concrete floors.
- Do not use weights as hammers, wedges, or clamping blocks for other tasks. Impact damage is the main cause of warping.
When to replace
Retire a weight when the base no longer sits flat, when the edges develop burrs that cannot be dressed out, or when corrosion has pitted the contact surface. These are inexpensive items, and a warped weight is worse than no weight — it contacts the fabric at one point, provides almost no friction, and gives operators a false sense of security.
Practical Selection Tips for Buyers and Cutting Room Managers
If you are specifying cutting room tooling alongside your regular industrial sewing machine parts orders, these points will save rework.
- Buy a set, not a single weight. A functional set for a standard cutting table is typically 8 to 16 units, depending on table length and lay width. Ordering two or three units per table is a false economy.
- Match mass to your fabric mix. If your production is mostly knits and lightweight wovens, specify lighter units. If it is denim and outerwear, specify heavier ones. Most factories need both.
- Inspect incoming stock for flatness. This is the one check that separates usable from unusable. A surface plate, a glass sheet, or even a granite countertop will do.
- Confirm edge finish. Run a finger along the edges and inspect for burrs. If a supplier cannot guarantee a deburred, polished edge, the product is not suitable for fine fabrics.
- Standardise the size across your cutting room. Mixed sizes from multiple suppliers make it hard to know how many units a given table needs.
- Check corrosion resistance claims. Ask for the stainless grade. In humid climates and coastal regions, the difference between grades shows up within months.
- Keep a small number of spares. Weights get dropped and damaged. A handful of spares avoids workarounds during a production run.
For buyers consolidating suppliers, cutting weights are usually ordered alongside presser feet, feed dogs, needle plates, and other consumables. The PL (Professional Leader) stainless steel cutting weight (item code 1688-0710) is one example of this product category, manufactured to the same specification level as the rest of the PL (Professional Leader) presser foot and accessory range. Treat it as a commodity item and apply normal incoming inspection.
Summary
A cutting table weight is a simple tool with a specific job: increase inter-ply friction at the points where a lay is most likely to move. It works through normal force, low centre of gravity, and smooth contact surfaces — nothing more. Its effectiveness depends almost entirely on how it is used: distributed evenly around the lay perimeter, kept clear of the knife path, matched in mass to the fabric, and inspected regularly for flatness and edge condition. For cutting rooms running industrial sewing machine parts and cutting room consumables, a properly specified set of stainless weights is a low-cost way to reduce cut piece rejection, particularly on slippery synthetics and stretch knits.
PL (Professional Leader) supplies sewing machine parts for industrial lockstitch, overlock and interlock machines, including the industrial presser foot range, needle plates, feed dogs and related presser foot accessories. The full sewing machine parts and presser foot catalogue is listed at pinseam.com.
Need this part for your workshop?
Get a Free Quote on WhatsApp: +86 137 3825 6697Browse the full catalog at pinseam.com · Free 2026 full catalog (PDF) · Related guide: industrial sewing machine parts
📢 New arrivals & factory updates on Telegram — join our channel
Edited by the technical team at PL (Professional Leader) — high-quality sewing machine accessories from China. About our factory | Catalog: pinseam.com | WhatsApp: +86 137 3825 6697 | Telegram: @plsewingparts
Explore Our Parts Guides
- sewing machine accessories, needle threaders & thread guides
- industrial & magnetic seam guides
- presser foot guide: types & compatibility
- industrial presser feet for factory lines
- roller & rolled hemmer presser feet
- industrial sewing machine parts & spare parts
- wholesale sewing machine parts, factory direct
- about PL (Professional Leader)
Questions about a specific part? Chat with us on WhatsApp +86 137 3825 6697 — factory direct, reply within hours.


Comments
Post a Comment