Adjustable Lap-Seam Binder Attachment: Setup, Troubleshooting, and Fabric Selection
Adjustable Lap-Seam Binder Attachment: Setup, Troubleshooting, and Fabric Selection
Adjustable Lap-Seam Binder Attachment Setup: Settings, Troubleshooting, and Fabric Selection
Related guide: industrial presser foot — types, fitting and machine compatibility.
Garment factories often face inconsistent seam allowances and slow manual folding when joining cut pieces edge-to-edge. The adjustable lap-seam binder attachment solves this problem by automatically overlapping the edges of two fabric layers and feeding them under the needle in a single pass. This article explains how this sewing machine attachment works, provides a step-by-step troubleshooting guide for common issues, and offers a practical reference table to help you match binder settings to fabric weight.
The Production Challenge: Manual Edge Alignment Is Slow and Inconsistent
When two cut pieces need to be joined with overlapping edges, operators typically align the fabric manually and guide it under the presser foot. This method works for small batches but has its limits. Over long production runs, manual lap guiding leads to inconsistent seam widths, wavy edges, and occasional skipped stitches. Rework rates climb, and line efficiency drops.
For factories sewing denim, canvas, upholstery fabric, or coated fabrics, the problem is worse. Heavyweight fabric is difficult to fold by hand, and the top and bottom layers tend to shift during feeding. Using a mechanical guide to fold and align the fabric before it reaches the needle eliminates most of these variables.
The adjustable lap-seam binder attachment is the device that performs this task. It folds the edges of two fabric layers into a controlled overlap, maintains alignment, and delivers them under the needle at a consistent position. The result is a uniform lap seam with straight stitching, produced at a steady rate.
How the Binder Works: Folding, Guiding, and Stitching in One Pass
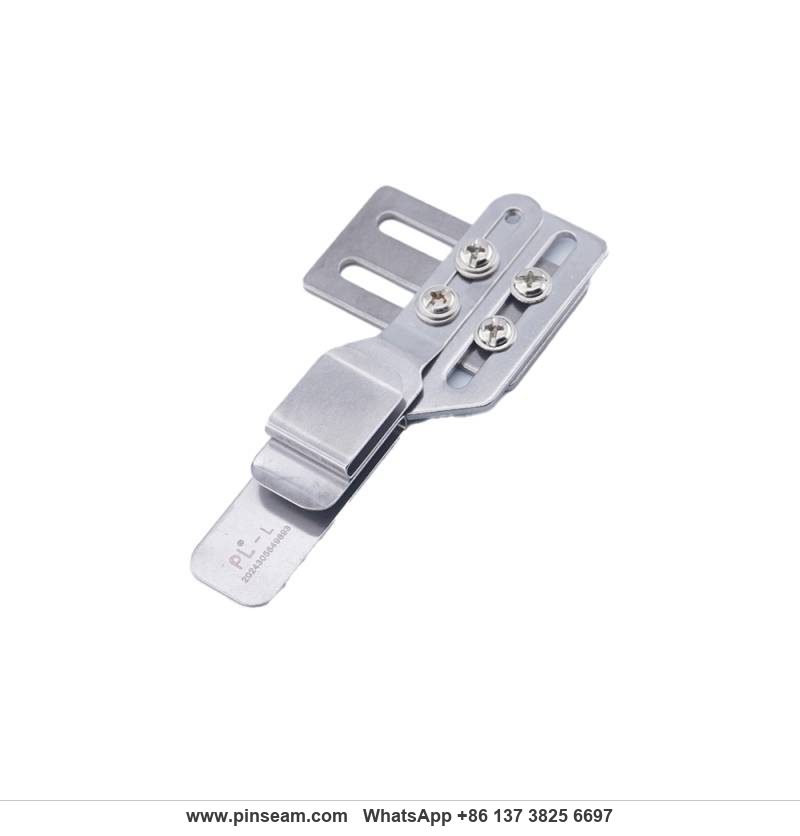
The lap-seam binder is a formed metal channel that mounts on the machine table or head. It has two entry slots — one for each fabric layer — and a single exit that positions the overlapped edges directly under the needle. As the machine feeds, the operator inserts the two cut edges into their respective slots. The binder does the alignment work.
The "adjustable" designation refers to three mechanical settings found on newer models:
- Overlap width: The amount by which the two fabric edges overlap, typically adjustable from 5 mm to 15 mm.
- Stitch offset: The distance from the overlapped edge to the needle line, controlling where the reinforcing stitch lands.
- Vertical clearance: The height of the exit channel, adjustable to suit fabric thickness and ensure smooth release onto the needle plate.
These adjustments distinguish modern binders from fixed-specification models. A fixed binder works for one fabric weight and one seam specification. An adjustable binder can be reset when styles change, making it a more versatile investment for factories running mixed production.
Understanding the "Topstitching" Function
Some product descriptions mention "topstitching" — a reinforcing or decorative line of stitching sewn along the lap seam. This is achieved through the exit geometry of the binder. After the two fabric edges are joined, the binder can be set to allow a second pass, or in some configurations, a twin-needle setup sews two parallel lines at a fixed distance from the seam edge.
For single-needle machines, the operator can adjust the binder to guide the sewn edge along a fence for a second pass, placing the new stitch line at the desired offset. This is common in shirt plackets and waistband seams where topstitching is part of the design.
Material and Construction: Why All-Steel Matters
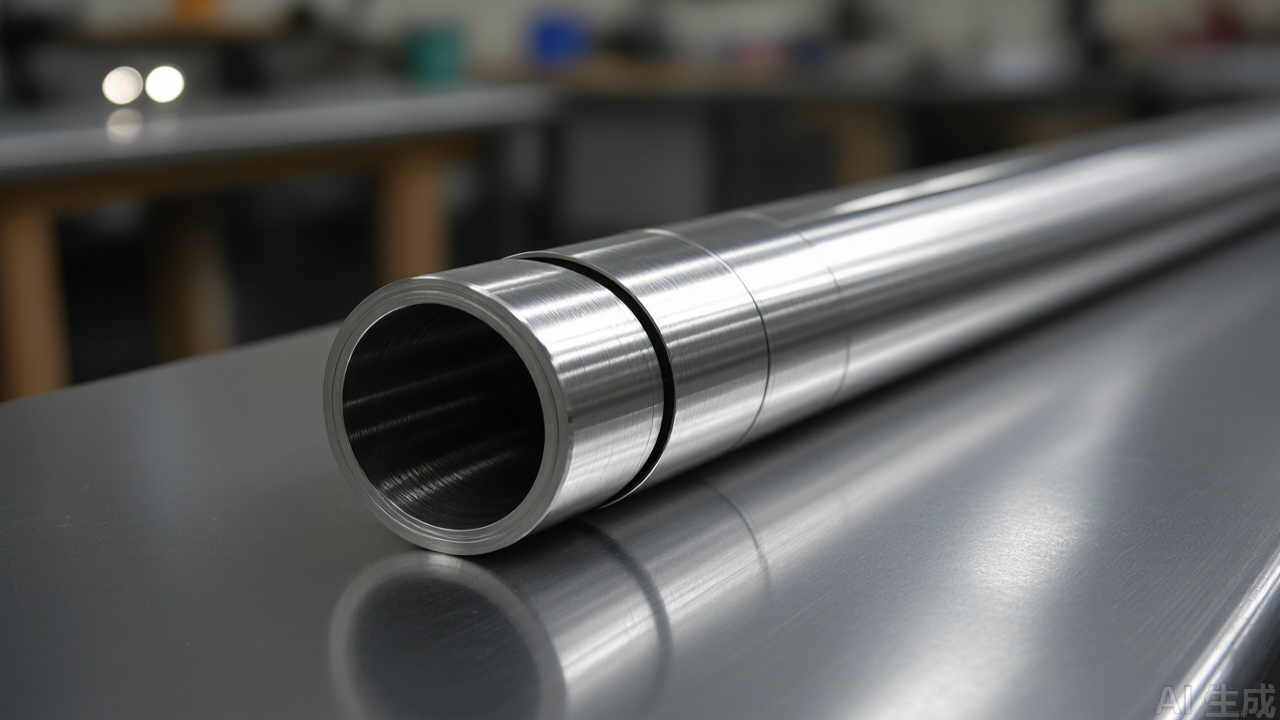
Binders are available in two main material grades: zinc-plated steel and all-stainless or hardened steel. The heavy-duty versions discussed here are made of all-steel construction, which is an important distinction for production use.
Steel binders resist deformation under load. When feeding multiple layers of denim or coated canvas, the binder walls experience lateral pressure. A thin-walled or soft-metal binder may flex slightly, changing the overlap width and causing the fabric to jam. A rigid steel channel maintains its geometry over thousands of cycles.
Steel also withstands heat better. At high sewing speeds, needle friction and fabric drag generate heat, especially when sewing synthetics or coated materials. An aluminum binder may soften or distort near the needle zone after prolonged use. Steel maintains its shape and surface finish.
Finally, a polished steel surface has a low coefficient of friction. Lightweight fabrics like polyester taffeta or nylon ripstop slide through without snagging, while heavier materials like canvas move smoothly without excessive drag. This is critical for factories sewing both light and heavy products, where the binder must not scratch or abrade the fabric surface.
Heavy-Duty vs. Lightweight Versions: Understanding the Differences
Manufacturers typically offer lap-seam binders in two body styles: one for light to medium-weight fabrics and one for heavy materials. The heavy-duty version — sometimes labeled "heavyweight model" — has a wider and taller material channel. This is not a cosmetic difference; it is functional.
Heavyweight fabric folds differently than lightweight fabric. A 14 oz denim or a multi-layer webbing stack needs greater vertical clearance to enter the binder without jamming. The heavy-duty binder has wider entry lips and an exit shaped to release the thicker stack cleanly onto the needle plate. Using a lightweight binder on heavy canvas leads to jamming at the entry or uneven folds.
Conversely, using a heavy-duty binder on lightweight shirting can also cause problems. The wider channel gives the fabric room to wander, and the overlap may become inconsistent. For factories sewing a wide range of fabrics, having both versions is common practice. The cost of a second binder is negligible compared to the rework it prevents.
All-Steel Construction vs. Surface Treatment Trade-offs
While all-steel is the preferred material for durability, there are trade-offs. Steel binders are heavier than aluminum. On high-speed single-needle machines, the added weight is usually not an issue because the binder is bolted to the table or machine head. However, on machines where the binder must be repositioned frequently, the extra weight may slow changeovers.
Surface treatment also varies. A mirror-polished binder is excellent for sticky or coated fabrics because it reduces friction. For very slick synthetics, a matte or bead-blasted surface may be better because it provides a small amount of grip. If you are buying a binder for a specific fabric, ask your supplier about surface treatment options rather than assuming all steel binders are the same.
Installation: Step-by-Step Setup for Reliable Performance
Improper installation is the most common source of lap-seam binder problems. The procedure is not complicated, but it requires attention to three critical points. Follow these steps in order.
Step 1: Mount the Bracket Securely
The binder comes with a mounting bracket that attaches to the machine head or the needle plate, depending on the model. Universal brackets are designed to fit standard industrial lockstitch machines and walking-foot machines without modification.
Position the bracket so the binder exit sits approximately 10–15 mm from the needle centerline. Tighten the bracket screws to a firm state — do not overtighten, or you may strip the threads or crack the bracket. After tightening, pull on the binder to confirm it does not shift. A loose bracket will move during sewing, changing the stitch position and potentially causing needle breakage.
Step 2: Align the Exit Channel with the Needle Centerline
The binder exit must point directly at the needle centerline. If the exit is offset to the left or right by even 1 mm, the fabric will present at an angle to the needle, causing crooked stitching.
Use a straightedge to check alignment from the binder exit to the needle tip. Adjust the bracket position laterally until the binder exit center aligns precisely with the needle. For walking-foot machines, confirm that the binder does not interfere with the alternating presser feet. Leave approximately 1 mm of clearance between the binder exit and the presser foot to prevent contact.
Step 3: Set the Vertical Height
The bottom plate of the binder exit should sit slightly above the needle plate surface. For medium-weight fabric, set the clearance at 0.5 mm. For heavy materials, increase to 1.0–1.5 mm. For lightweight fabrics, reduce to 0.3–0.5 mm.
This clearance allows the fabric to slide out of the binder and onto the needle plate without catching on the edge of the needle plate. If the binder is flush with or below the needle plate, the fabric will pile up at the exit and cause a jam.
Step 4: Set the Overlap Width
Loosen the overlap adjustment screw and insert two strips of scrap fabric into the entry slots. Pull them through until they emerge from the exit. Adjust the overlap width so the two fabric edges overlap by the target amount. For most garment applications, this is typically 6–10 mm. For heavyweight fabrics, it is usually 10–15 mm. For very lightweight fabrics, 4–6 mm may be sufficient.
Tighten the adjustment screw and run a test seam. Check that the overlap is uniform along the entire seam length and that the stitching is straight.
Step 5: Set the Stitch Offset
If your product requires a reinforcing stitch at a specific distance from the seam edge, adjust the stitch offset. This is typically done by moving the binder laterally or by adjusting a separate guide on the exit side. For standard topstitching, the offset is usually 2–4 mm from the overlapped edge.
Run a test seam and measure the distance from the seam edge to the stitch line. Adjust as needed until the measurement matches your specification.
Troubleshooting: Step-by-Step Solutions to Common Problems
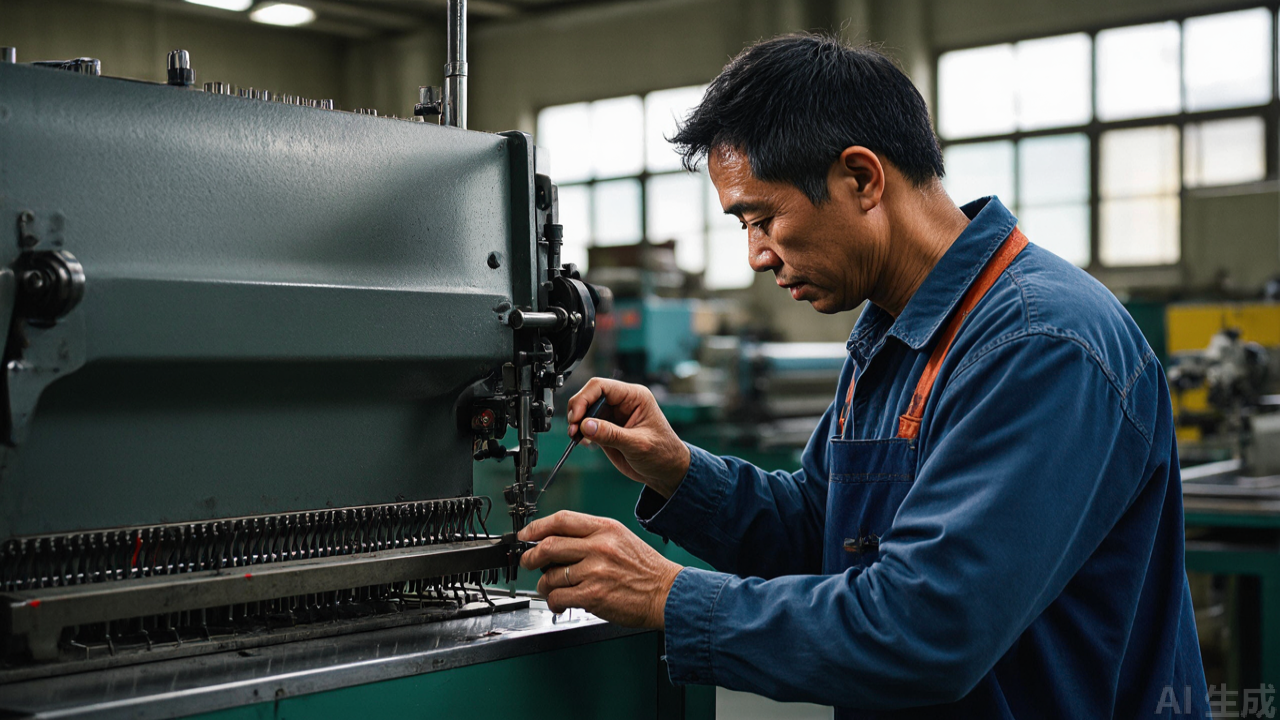
Even with correct installation, problems can arise during production. The following troubleshooting guide addresses the most common issues and provides specific adjustment values to resolve them.
Problem 1: Fabric Jams at the Binder Entry
Symptom: Fabric catches or piles up at the entry slot and does not pass through smoothly.
Possible Causes and Solutions:
- The entry channel is too narrow for the fabric stack. Measure the thickness of the folded fabric stack with calipers. If it exceeds 80% of the entry slot height, the binder is undersized. Switch to a heavy-duty binder with a wider entry channel.
- The fabric edge is frayed or uneven. Trim the fabric edge before feeding. A clean cut edge enters the channel more easily than a frayed one.
- The operator is pushing rather than guiding the fabric. The operator should guide the fabric gently into the channel, not force it. Forcing causes the fabric to bunch at the entry.
- Burrs or nicks on the entry lip. Inspect the entry edge with a magnifying glass. File any burrs smooth with a fine oilstone or abrasive cloth.
Problem 2: Crooked or Wavy Stitching
Symptom: The stitch line drifts to the left or right along the seam, or the seam has a wavy appearance.
Possible Causes and Solutions:
- The binder exit is not aligned with the needle. Recheck alignment as described in Step 2 of the installation section. A lateral offset of more than 0.5 mm will cause visible crookedness.
- The binder is loose on the bracket. Tighten the mounting screws. If the screws will not hold, replace them with new screws of the same size.
- Presser foot pressure is too high or too low. For lightweight fabrics, reduce presser foot pressure to prevent the fabric from being pushed to one side. For heavyweight fabrics, increase pressure to ensure positive feeding. Start with the machine manufacturer's standard setting and adjust in small increments.
- Feed dog height is incorrect. The feed dog should protrude 0.8–1.2 mm above the needle plate at its highest point. If it is too low, the fabric will not feed evenly. If it is too high, it will cause the fabric to bounce.
Problem 3: Uneven Overlap Width Along the Seam
Symptom: The overlap is correct at the start of the seam but becomes wider or narrower as sewing progresses.
Possible Causes and Solutions:
- The fabric is stretching during feeding. This is common with knit fabrics or bias-cut pieces. Reduce presser foot pressure and check that the feed dog is not too aggressive. For stretch fabrics, consider using a walking-foot machine, which feeds from both top and bottom simultaneously.
- The operator is guiding the fabric unevenly. The operator must maintain steady, even tension on both fabric layers. If one hand pulls harder than the other, the overlap will shift. Retrain the operator on proper feeding technique.
- The overlap adjustment screw is loose. Check the overlap adjustment screw and tighten it if it has loosened during production. Apply thread locker to the screw to prevent it from loosening again.
- The binder geometry is worn or bent. If the binder has been dropped or damaged, the channel walls may no longer be parallel. Inspect the binder visually and compare it to a known-good unit. Replace the binder if it is bent.
Problem 4: Puckering or Gathering at the Seam
Symptom: The fabric gathers or puckers along the stitch line, especially on lightweight or medium-weight fabrics.
Possible Causes and Solutions:
- Stitch length is too long. Reduce the stitch length. For lightweight fabrics, use 2.0–2.5 mm. For medium-weight fabrics, use 2.5–3.0 mm. For heavyweight fabrics, use 3.0–3.5 mm.
- The needle is too large. A large needle creates a larger hole, which can distort the fabric. Use the smallest needle size that will carry the sewing thread without breaking. For lightweight fabrics, use a size 9–11 needle. For medium-weight fabrics, use a size 11–14 needle. For heavyweight fabrics, use a size 14–18 needle.
- Upper thread tension is too high. Reduce the upper thread tension in small increments until the puckering disappears. Also check the bobbin tension — it should be light enough that the bobbin thread pulls out with smooth, even resistance.
- Presser foot pressure is too high. Excessive pressure stretches the fabric as it feeds. Reduce pressure until the fabric feeds smoothly without slipping.
Problem 5: Skipped Stitches
Symptom: The needle occasionally fails to catch the bobbin thread, leaving a gap in the seam.
Possible Causes and Solutions:
- The needle is bent or blunt. Replace the needle. A bent needle will not enter the needle hole cleanly, causing skipped stitches.
- The needle is not fully inserted. Ensure the needle is pushed all the way into the needle clamp and tighten the clamp screw. The long groove of the needle should face the direction of thread travel.
- Incorrect timing. If the machine timing is off, the needle and rotary hook will not meet correctly. Consult the machine manual or contact a service technician to check and adjust the timing.
- The binder is pressing the fabric down at the needle position. The binder exit should not contact the fabric at the needle position. Check the vertical clearance and increase it by 0.3–0.5 mm if the binder is touching the fabric.
Quick Reference Table: Fabric Weight vs. Binder Settings
The following table provides starting points for binder settings based on fabric weight. These values are recommendations only — adjust them to suit your specific fabric and seam requirements.
| Fabric Category | Typical Fabrics | Binder Type | Overlap Width (mm) | Vertical Clearance (mm) | Stitch Length (mm) | Needle Size |
|---|---|---|---|---|---|---|
| Lightweight | Polyester taffeta, nylon ripstop, silk, fine shirting | Light-duty | 4–6 | 0.3–0.5 | 2.0–2.5 | 9–11 |
| Medium-weight | Cotton poplin, linen, lightweight denim, fleece | Standard or light-duty | 6–10 | 0.5–0.8 | 2.5–3.0 | 11–14 |
| Heavyweight | Denim (10–14 oz), canvas, duck, upholstery fabric | Heavy-duty | 10–15 | 1.0–1.5 | 3.0–3.5 | 14–18 |
| Extra-heavy / Multi-layer | Coated canvas, synthetic leather, webbing stacks | Wide-channel heavy-duty | 12–15 | 1.5–2.0 | 3.0–3.5 | 16–18 |
For coated or sticky fabrics, apply a dry silicone spray to the binder channel at the start of each shift. This reduces friction without leaving an oily residue that could contaminate the fabric. For very slick fabrics, a matte surface on the binder may provide better control than a mirror polish.
Presser Foot Selection and Machine Compatibility
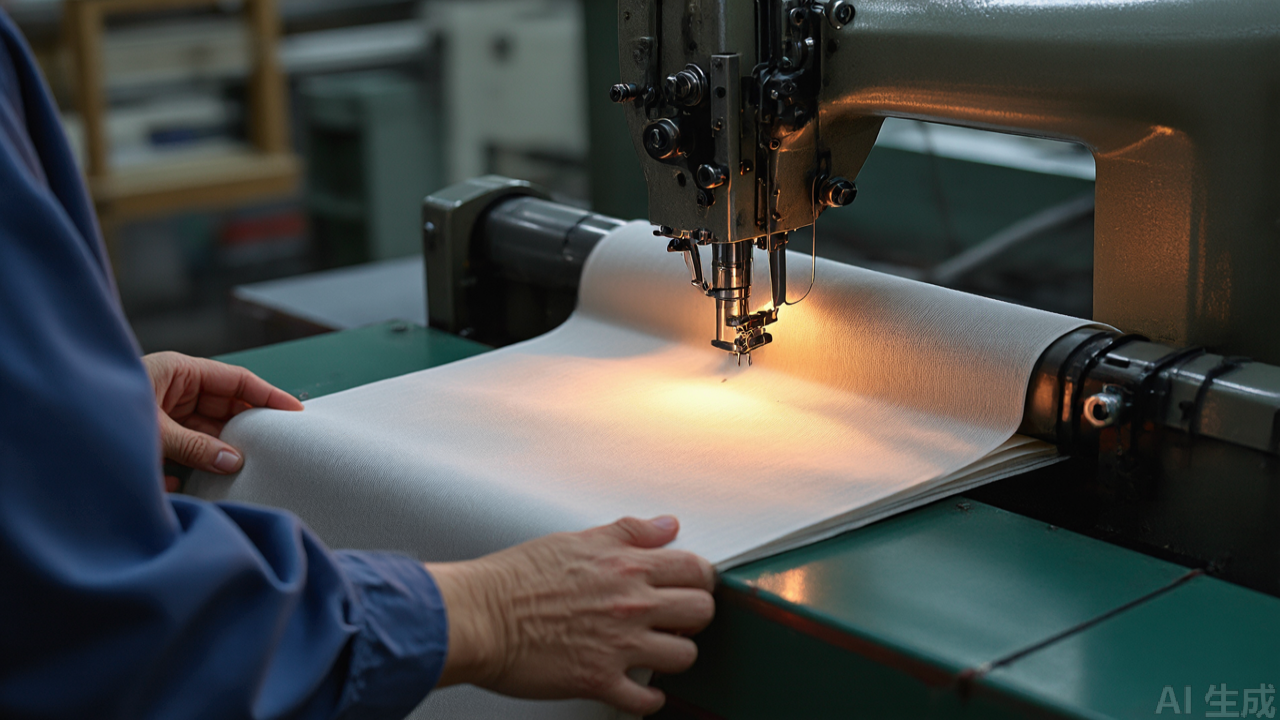
The choice of presser foot affects binder performance. A standard metal presser foot with a narrow groove may drag on the fabric as it exits the binder, causing puckering. For most lap-seam work, a flat-bottom presser foot or a Teflon-coated presser foot is recommended.
Walking-foot machines, also known as compound feed or unison feed machines, are preferred for heavy materials because the feed dog and presser foot move in sync, preventing layer shifting. The binder is fully compatible with these machines, and the mounting bracket is designed to fit standard table dimensions.
For light to medium-weight fabrics, a standard industrial lockstitch machine (drop feed) is sufficient. The key is to match the binder's capacity to the fabric weight. Do not assume that a heavy-duty binder will work well on lightweight fabric, or vice versa.
Machine Types That Benefit from This Attachment
- Single-needle lockstitch machine (flatbed): The most common platform. Suitable for shirt panels, lightweight outerwear, and general seaming operations.
- Walking-foot machine: Preferred for denim, canvas, coated fabrics, and synthetic leather. The stronger feeding system handles thick stacks without layer shifting.
- Post-bed machine: Some factories mount the binder on post-bed machines for tubular sewing operations, but this requires a custom bracket.
The binder is not typically used on overlock machines or coverstitch machines, as these machines perform different seam structures. It is strictly a lockstitch machine attachment for lap seams and edge-joining operations.
Practical Applications: Where the Lap-Seam Binder Earns Its Place
Understanding the principle is useful, but the real question is what value this sewing machine part delivers on the production floor. The following application categories represent the most common uses in garment and technical textile manufacturing.
Shirts and Blouses: Plackets and Yokes
In shirt manufacturing, front plackets and yoke joins are classic lap-seam operations. The binder allows the operator to feed two fabric layers continuously, maintaining the consistent overlap that manual work struggles to achieve over a full shift. The result is cleaner plackets and uniform stitch placement.
Workwear and Denim: Heavy Panel Joining
For work pants and denim jackets, side seams and crotch joins often use lap seams with reinforcing stitches. The heavy-duty binder with a wider channel handles thick fabric stacks without jamming. The combination of a walking-foot machine and this binder is standard in denim factories.
Home Textiles and Upholstery: Curtains and Cushion Covers
Curtain panels are often constructed by joining two or more widths of fabric. A lap seam with topstitching is a common construction. The binder speeds up this process and ensures that the seam allowance is consistent along the full length of the curtain. For cushion covers and upholstery, the binder helps manage the bulk of multiple fabric layers.
Bags and Outdoor Gear: Webbing and Straps
Backpack straps and webbing ends are often joined with lap seams before being folded into the finished strap. The binder guides the two ends into a controlled overlap, preventing raw edges from shifting during sewing. This is a high-volume operation in bag factories, and the binder reduces the skill level required to produce consistent joints.
Maintenance Practices for Long Service Life
Even a well-designed binder will underperform if it is not maintained. The following practices will extend the life of your binder and keep it performing at its best.
Daily Cleaning
Lint and fabric dust accumulate in the binder channel over time. This buildup increases friction and can alter the effective channel width. Clean the binder daily with compressed air or a soft brush. For sticky fabrics, wipe the channel with a dry cloth at the end of each shift.
Edge Inspection
A dropped binder can develop burrs or nicks on the entry lip. Such burrs will snag fabric and cause pulls or runs, especially on knits or sheer fabrics. Inspect the binder edges weekly and file any burrs smooth with a fine oilstone. If the binder has been dropped hard enough to change its shape, replace it — a bent binder cannot be reliably straightened.
Lubrication
Do not apply oil to the binder channel. Oil attracts dust and can contaminate light-colored fabrics. The binder should run dry; the low-friction surface of polished steel is sufficient for most materials. For coated or sticky fabrics, apply a dry silicone spray to the channel at the start of each shift, as noted in the reference table above.
Periodic Alignment Checks
After weeks of use, check that the binder has not shifted on its bracket. Machine vibration can gradually loosen mounting screws. A quick visual check at the start of each shift — confirming the exit is still aligned with the needle — prevents a whole batch of off-center seams.
Buying Criteria: Choosing Between Lightweight and Heavy-Duty Binders
When you are ready to purchase a lap-seam binder, the selection process involves more than just picking a size. The following criteria will help you match the binder to your actual production needs.
Assess Your Fabric Range Honestly
List the fabrics you sew by weight and construction. If you only sew lightweight shirting, a light-duty binder is sufficient. If your range includes both lightweight and heavy materials, consider buying two binders — one for each range. The cost of an extra binder is far less than the downtime caused by using the wrong one.
Match the Binder to Your Machine's Feed System
A walking-foot machine can handle thicker fabric stacks than a standard drop-feed machine. If you use a walking-foot machine specifically for heavy materials, pair it with a heavy-duty binder. If you use a standard lockstitch machine for medium-weight fabrics, a standard binder is sufficient.
Check the Adjustment Range
Not all adjustable binders have the same range of adjustment. Some allow wider overlap adjustments than others. If your product requires a very narrow overlap (for example, 3 mm on fine lingerie fabric), confirm that the binder can be set to that width. If your product requires a wide overlap (for example, 15 mm on heavy workwear), confirm that the exit channel can handle the folded stack at that width.
Consider Presser Foot Compatibility
The binder must work with the presser foot you plan to use. A standard flat-bottom presser foot is usually the best choice, but the presser foot width must match the binder exit width. If the presser foot is narrower than the binder exit, the fabric will not be pressed flat as it leaves the binder. If the presser foot is wider, it may lose edge guidance.
Evaluate the Supplier's Technical Support
This is a practical consideration, not a promotional one. A sewing machine parts supplier that can answer questions about binder geometry, material compatibility, and installation issues is more valuable than one that simply ships product. When you contact a supplier, ask for the specific dimensions of the binder entry and exit, the adjustment range, and whether the mounting bracket fits your machine model. A reputable China sewing parts supplier should be able to provide these details without hesitation.
Cost-Benefit Perspective: What the Binder Replaces
To justify the purchase of a lap-seam binder, it helps to quantify what it replaces. Manual edge alignment requires a skilled operator who can maintain a consistent overlap by eye. This skill takes time to develop, and even skilled operators fatigue over a shift.
The binder reduces the skill requirement. The operator's job becomes feeding the fabric into the channel rather than measuring and aligning. This allows factories to use less experienced operators on lap-seam operations while maintaining quality.
The binder also increases speed. Manual lap seaming may require the operator to stop every few inches to adjust the fabric. With the binder, the operation is continuous. Depending on the fabric and the operator's familiarity with the binder, productivity on lap-seam operations can increase by 20% to 40%.
Finally, the binder reduces rework. Consistent seam widths mean fewer rejects due to out-of-spec seams. In a factory producing thousands of pieces per day, a 2% reduction in rework rate can pay for the binder several times over in a year.
Limitations and Honest Trade-offs
No sewing machine attachment is a universal solution, and the lap-seam binder has its limitations. Understanding these will help you decide whether it is right for your production.
Not for Curved Seams
The binder is designed for straight or gently curved seams. It cannot follow tight curves because the binder channel is rigid and does not rotate. If your product has sharply curved lap seams, you will need to sew those sections manually.
Fabric Preparation Matters
The binder works best with fabric that has relatively straight cut edges. If the fabric edge is wavy — which is common with poorly maintained cutting equipment — the binder may not produce a clean overlap. The fabric must be fed into the channel without pulling or stretching.
Changeover Time Is Not Zero
Switching from a lap-seam operation to a different seam type requires removing the binder and installing a different attachment. This changeover takes several minutes. For factories running very short batches, the changeover time may offset the speed gains from the binder.
Operator Training Is Still Necessary
While the binder reduces the skill required for edge alignment, operators still need training on how to feed smoothly and how to clear jams without damaging the binder. New operators will require a few hours of practice to reach full speed.
Final Recommendations for Factory Managers and Technicians
The adjustable lap-seam binder attachment is a proven sewing machine accessory that solves a specific production problem: consistent, efficient edge-to-edge joining. For factories sewing garments, home textiles, or technical products with straight lap seams, it is a low-cost investment with a clear return in quality and speed.
When purchasing, focus on material quality, adjustment range, and compatibility with your existing machines. An all-steel binder with a universal mounting bracket is a safe choice for most industrial settings. If you are a parts buyer, ask your supplier for the specific dimensions of the entry and exit channels so you can confirm compatibility with your fabric range before ordering.
The distinction between lightweight and heavy-duty versions is not a marketing gimmick. It reflects real differences in channel geometry that affect performance on different fabric weights. Buying the correct version for your primary fabric range will save you from the frustration of jamming and inconsistent seams.
For technicians, the installation and troubleshooting guidelines in this article cover the essentials: secure mounting, precise needle alignment, correct vertical clearance, and systematic diagnosis of common problems. Follow these, and the binder will perform reliably for years. Ignore them, and you will spend more time troubleshooting than sewing.
A final note on maintenance: treat the binder as a precision tool. It is a simple piece of metal, but its geometry is the key to consistent seams. Protect it from drops, clean it regularly, and inspect the edges for damage. A well-maintained binder from any reputable industrial sewing machine parts supplier will outlast multiple machines and deliver consistent performance throughout its service life.
Need this part for your workshop?
Get a Free Quote on WhatsApp: +86 137 3825 6697Browse the full catalog at pinseam.com · Free 2026 full catalog (PDF) · Related guide: industrial presser foot
Edited by the technical team at PL (Professional Leader) — high-quality sewing machine accessories from China. About our factory | Catalog: pinseam.com | WhatsApp: +86 137 3825 6697
📢 New arrivals & factory updates on Telegram — join our channel: t.me/plsewingparts
Explore Our Parts Guides
- sewing machine accessories, needle threaders & thread guides
- industrial & magnetic seam guides
- presser foot guide: types & compatibility
- industrial presser feet for factory lines
- roller & rolled hemmer presser feet
- industrial sewing machine parts & spare parts
- wholesale sewing machine parts, factory direct
- about PL (Professional Leader)
Questions about a specific part? Chat with us on WhatsApp +86 137 3825 6697 — factory direct, reply within hours.


Comments
Post a Comment