Presser Foot Selection for Industrial Sewing: A Practical Comparison and Shop-Floor Testing Guide
Selecting the correct presser foot for an industrial sewing machine is rarely a matter of brand loyalty or guesswork; it is a decision driven by fabric behavior, seam type, and the physical limits of the machine itself. This article compares common presser foot categories—general-purpose, roller, Teflon-coated, and walking-foot styles—and presents hands-on testing scenarios so that factory managers and sewing technicians can match the right accessory to the job before production begins.
Related guide: presser foot — types, fitting and machine compatibility.
We will also examine how a standard presser foot manufacturer labels and finishes these parts, what to inspect when a new batch arrives from a China sewing parts supplier, and why a seemingly identical sewing machine spare part can perform differently across machine brands. The goal is to give you a decision framework, not a product catalog.
Why the Presser Foot Is the First Variable to Control in Seam Quality
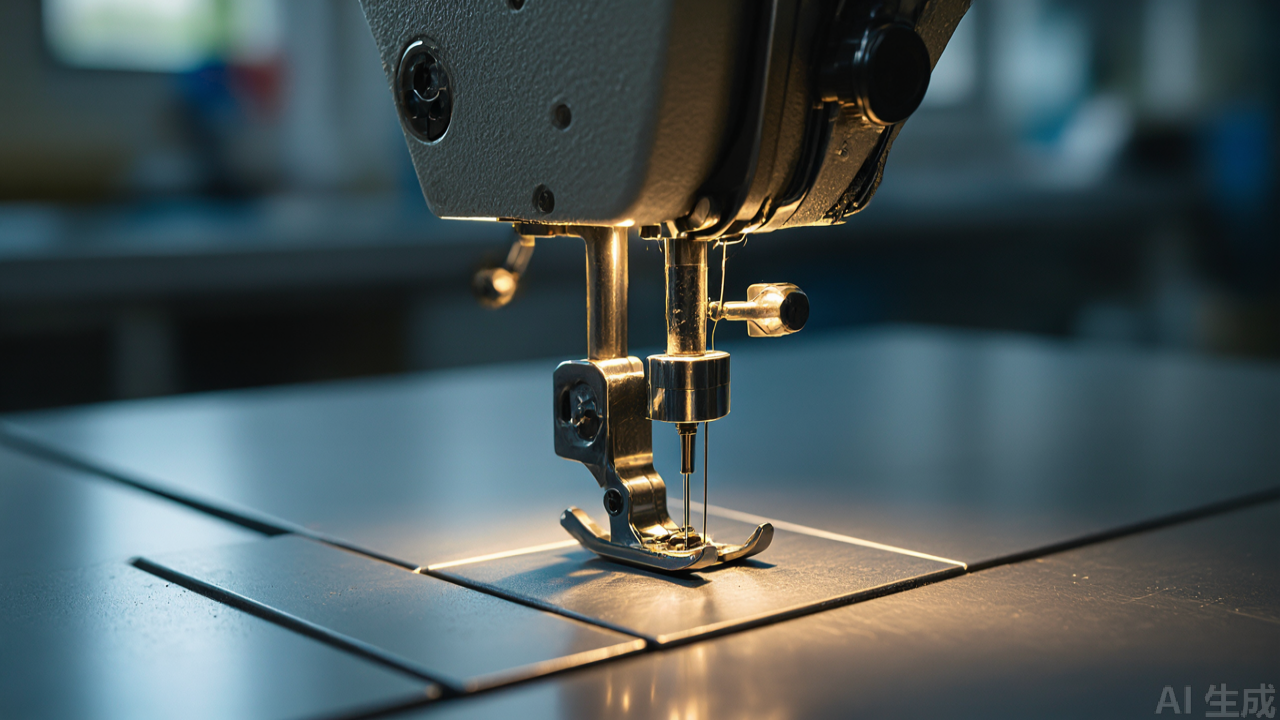
On a lockstitch machine, the presser foot does far more than hold fabric flat. It controls material feed rate relative to the feed dog, determines stitch density consistency, and prevents ply shift in multi-layer assemblies. When a seam puckers, skips, or drifts off course, the presser foot is often the first component a technician should examine—before adjusting timing or tension.
The fundamental problem is that no single foot geometry works across all fabrics. A foot designed for woven shirting will crush pile fabrics, drag on coated materials, or allow lightweight knits to flag. Therefore, the selection process must begin with a clear statement of the fabric's surface friction, thickness, and compressibility.
Understanding Presser Foot Classification: Not All "P" Numbers Are Universal
Many overseas buyers assume that a part number like "P5" corresponds to a standardized international specification. In reality, presser foot numbering systems vary significantly between machine builders. A "P5" from one manufacturer may refer to a narrow hemming foot, while another brand uses the same code for a blind hem foot. This lack of cross-brand uniformity is a common source of ordering errors.
When communicating with a presser foot manufacturer or a China sewing parts supplier, always specify the shank type (low, slant, or vertical), the machine brand and model, and the intended application. Do not rely on a model number alone. Request a dimension drawing or a physical sample if the order volume justifies it.
Shank Compatibility: The First Technical Gate
Industrial presser feet attach to the machine via a shank that fits into the presser bar. Low-shank feet (typically 8mm from the bottom of the shank to the needle plate) are the most common on single-needle lockstitch machines. Slant-shank feet are found on older Japanese machines, and vertical-shank feet appear on some heavy-duty models.
Before any comparison of foot face geometry, confirm the shank height and the needle hole alignment. A foot with the correct face but the wrong shank will not sit level on the feed dog, causing uneven feeding and needle deflection.
Comparative Testing: Standard Foot vs. Specialized Presser Feet
To make an informed selection, we ran a controlled comparison on a standard industrial lockstitch machine (DP×5 needle, 90/14) using four fabric types: 100% cotton poplin, polyester microfiber with a water-repellent coating, 12-gauge denim, and a lightweight nylon tricot. The same thread, needle, and stitch length (3mm) were used throughout. The only variable was the presser foot.
Test 1: General-Purpose Foot (Standard "J" Foot)
The standard foot—flat on the bottom with a single needle slot—performed predictably on cotton poplin. Stitch formation was even, and the fabric fed without slippage. On the coated microfiber, however, the foot caused visible drag marks and slight fabric stretching at the start of the seam. On denim, the foot lifted slightly at the needle passage, creating a subtle but measurable stitch length variation. On nylon tricot, the foot allowed the fabric to flag, producing skipped stitches at the seam start.
Verdict: Acceptable for stable wovens only. Not suitable for coated, heavy, or stretchy materials.
Test 2: Roller Presser Foot (Independent Roller Action)
The roller foot, equipped with a freely rotating front roller, was tested next. On the coated microfiber, the roller eliminated drag marks entirely, as the rolling action did not create frictional resistance. On denim, the roller foot improved feed consistency over multiple plies, but required careful pressure adjustment to prevent the roller from leaving a crease mark on the fabric surface. On nylon tricot, the roller foot did not solve the flagging problem; the fabric still lifted with the needle.
Verdict: Best for coated fabrics and multi-layer heavy wovens. Not for stretch knits or very lightweight materials.
Test 3: Teflon-Coated Foot (Low-Friction Face)
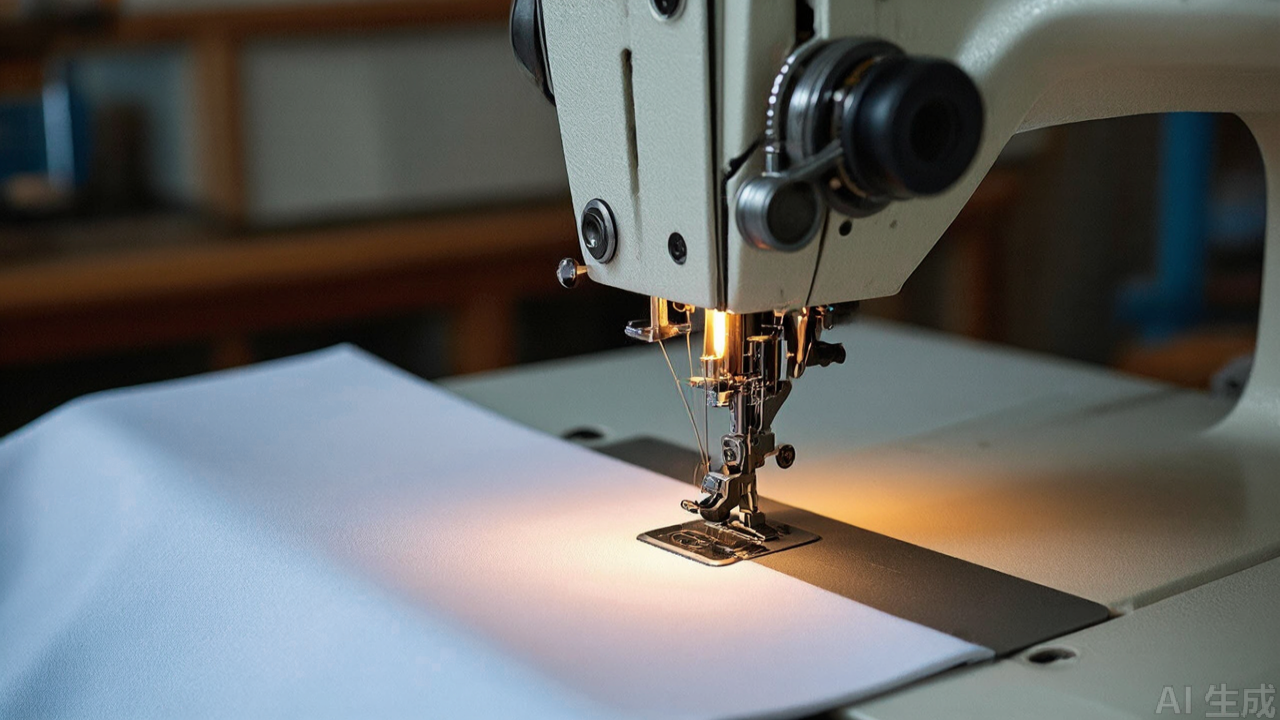
The Teflon-coated foot, with its non-stick surface, was applied to the coated microfiber and the nylon tricot. On the microfiber, the foot glided without dragging, and no surface marking appeared. On the tricot, the low-friction face allowed the fabric to feed more freely under the foot, reducing but not entirely eliminating flagging. The foot also proved useful on sticky materials such as vinyl and laminated fabrics, where a standard foot would adhere and stall the feed.
Verdict: A versatile option for synthetic and coated materials. Does not solve feed dog-related issues on stretch fabrics.
Test 4: Walking Foot (Compound Feed with Presser Foot)
The walking foot, which moves in synchronization with the feed dog, was tested on denim and nylon tricot. On denim, the walking foot produced perfectly even stitches across four plies, with no ply shift or stitch length variation. On tricot, the walking foot eliminated flagging entirely, as the top feed mechanism held the fabric down during the entire needle cycle. The trade-off was a slightly slower maximum sewing speed and a more complex installation procedure.
Verdict: The most reliable choice for thick, multi-layer, or stretch fabrics. Not necessary for simple single-ply wovens.
Material and Manufacturing Tolerances: What to Inspect in a Presser Foot
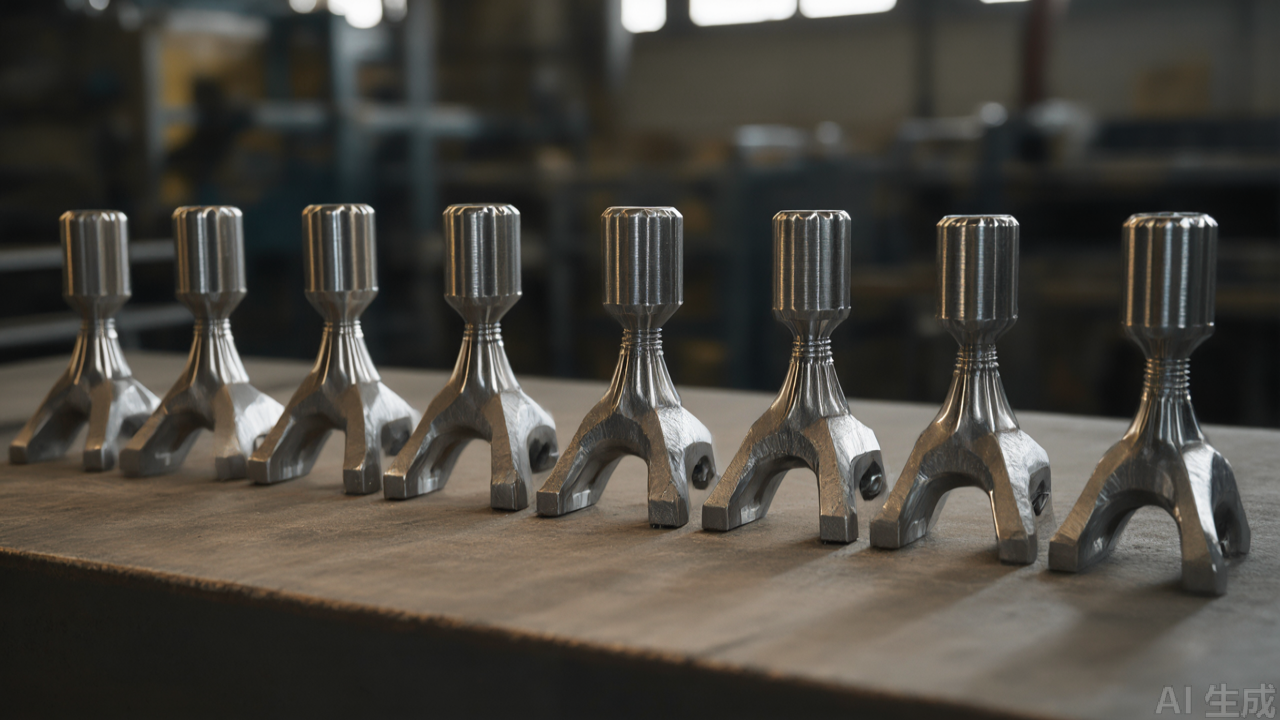
Regardless of the foot type, the quality of the manufacturing process determines whether the foot performs consistently over time. Industrial sewing machine parts are typically made from hardened carbon steel or stainless steel. The critical areas to inspect are the bottom face flatness, the needle slot width, and the surface finish.
A well-made presser foot should have a perfectly flat bottom face when placed on a reference surface. Any convexity will cause the fabric to slip toward the center, while concavity will create edge pressure marks. The needle slot must be wide enough to allow free needle passage but narrow enough to prevent fabric from being pushed down into the hole.
Hardness and Wear Resistance
Presser feet undergo constant abrasion from the feed dog and fabric. A foot with insufficient surface hardness will develop a polished wear pattern within weeks, changing its friction characteristics. Most reputable presser foot manufacturers specify a Rockwell hardness of HRC 45–55 for standard steel feet. If a supplier cannot provide hardness data, treat the product with caution.
For high-abrasion applications, such as sewing denim with metal rivets or abrasive technical textiles, consider a foot with a tungsten carbide insert or a hardened steel face. These options cost more but extend service life significantly.
Step-by-Step Installation and Adjustment of a Replacement Presser Foot
Replacing a presser foot is a routine maintenance task, but incorrect installation can cause needle breakage, skipped stitches, or fabric damage. Follow this sequence for a low-shank lockstitch machine.
Step 1: Power Off and Raise the Presser Bar
Turn off the machine and raise the presser foot lever to its highest position. This releases tension on the presser bar spring and allows the foot to be removed without force.
Step 2: Loosen the Clamping Screw
Locate the clamping screw on the side of the presser bar shank. Loosen it with the appropriate hex wrench or screwdriver. Do not remove the screw completely; one or two turns is sufficient to release the foot.
Step 3: Slide the Old Foot Out and the New Foot In
Slide the old foot forward and off the shank. Position the new foot so that the needle hole aligns with the needle center. Push it back until it seats firmly against the shank stop.
Step 4: Tighten and Check Alignment
Tighten the clamping screw, then manually rotate the handwheel to bring the needle down into the needle hole. The needle should pass through the center of the hole without touching the sides. If it touches, loosen the screw and adjust the foot position slightly.
Step 5: Set Presser Foot Pressure
Adjust the presser foot pressure according to the fabric type. A common mistake is to over-tighten the pressure for light fabrics, which causes drag marks and skipped stitches. For medium wovens, start with the pressure knob at the midpoint and adjust incrementally.
Suitable Machines and Fabric Types: A Selection Matrix
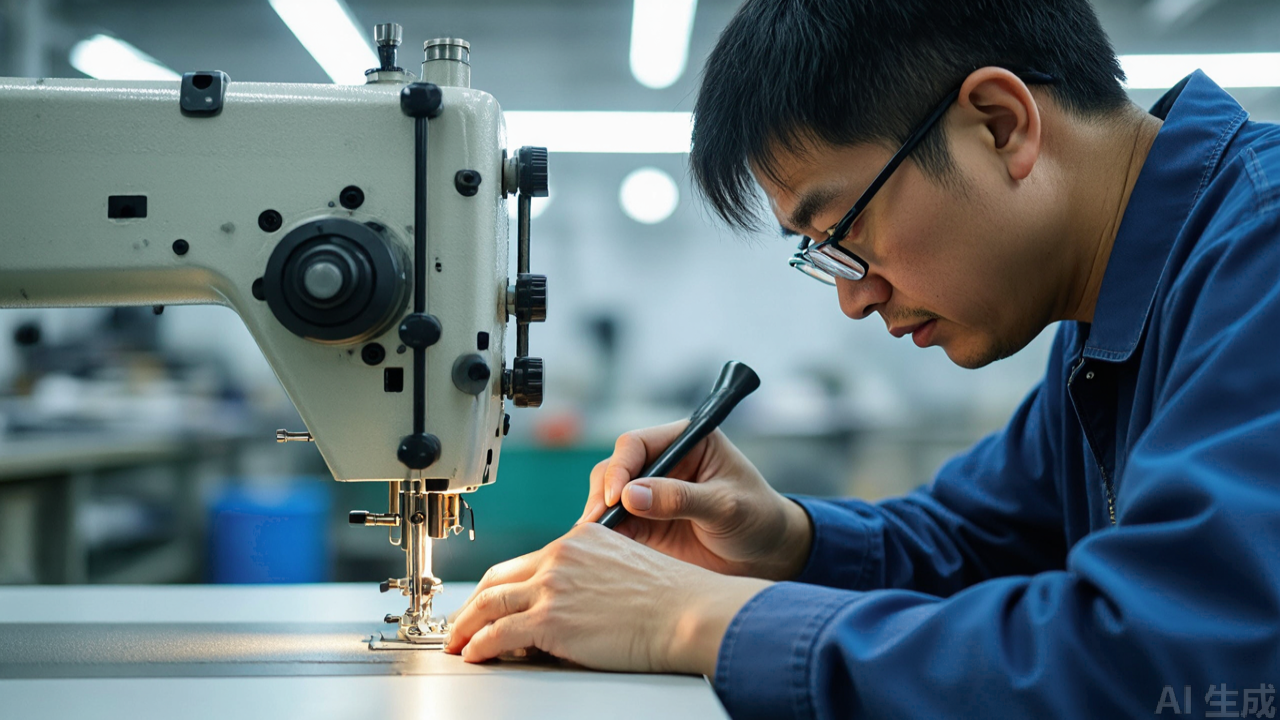
Different sewing machine categories require different presser foot approaches. A lockstitch machine, an overlock machine (serger), and a coverstitch machine each have distinct foot geometries and feed mechanisms. The following matrix summarizes suitable foot types for common applications.
- Standard lockstitch (single needle): Use a general-purpose foot for basic wovens; a roller foot for coated fabrics; a walking foot for heavy denim or multi-layer assemblies.
- Overlock machine (serger): Presser feet are typically narrower and have a different shank design. A differential feed overlock machine rarely needs a specialty foot, but a Teflon-coated foot helps on slippery or sticky knit fabrics.
- Coverstitch machine: The presser foot must accommodate the wide needle spacing and the looper mechanism. Use a foot with a clear view window for precise edge alignment on hemming operations.
- Heavy-duty or walking-foot machines: These machines often have an integrated walking foot mechanism. Replacement feet must match the specific feed system; do not assume standard low-shank parts will fit.
Common Mistakes in Presser Foot Selection and Usage
Even experienced technicians fall into several recurring traps when selecting or using presser feet. Recognizing these mistakes can save significant production time and material waste.
Mistake 1: Ignoring Needle Size Compatibility
The needle slot in a presser foot is sized for a specific needle range. Using a size 100/16 needle in a foot designed for size 70/10 will cause the needle to scrape against the slot walls, generating heat and potentially breaking the needle. Conversely, a small needle in a large slot allows fabric to be pushed down, creating skipped stitches.
Mistake 2: Using a Walking Foot on Thin, Stable Fabrics
A walking foot is a heavy accessory that adds mass to the presser bar. On thin fabrics, this mass can cause the feed to be overly aggressive, creating seam puckering or fabric distortion. Reserve the walking foot for fabrics that genuinely require top feed assistance.
Mistake 3: Overlooking the Feed Dog Relationship
The presser foot and feed dog must work as a matched pair. If the feed dog is worn or the teeth are too aggressive for the fabric, no presser foot will fix the resulting feed issues. Always inspect the feed dog condition before blaming the presser foot.
Mistake 4: Assuming All "China Sewing Parts Supplier" Products Are Equal
Quality varies widely across sources. A low-cost presser foot from an unknown supplier may have poorly machined needle slots or inconsistent hardness. Request material certificates and dimensional inspection reports, especially for high-volume production use.
Maintenance and Longevity: Extending Presser Foot Service Life
Presser feet are wear items, not permanent components. Their lifespan depends on the abrasiveness of the fabric, the frequency of use, and the maintenance regime. Implement the following practices to maximize service life.
Daily Cleaning
At the end of each shift, remove the presser foot and clean the bottom face with a soft cloth and a mild solvent. Lint and fabric finish residues accumulate on the foot surface and change its friction characteristics. Do not use abrasive pads, which will scratch the surface and accelerate wear.
Periodic Inspection
Once a month, inspect the foot under magnification for signs of wear, such as a polished area on the bottom face or a burr on the needle slot edge. Compare the worn foot to a new one by placing both on a flat surface and checking for contact uniformity.
Storage and Handling
Store spare presser feet in a compartmentalized box to prevent them from knocking against each other. Apply a thin coat of anti-rust oil if they will be stored for more than a few weeks, particularly in humid environments.
Practical Selection Tips for Factory Managers and Parts Buyers
When building a presser foot inventory, resist the urge to stock one type in large quantities. Instead, analyze your production mix and stock the minimum variety that covers 90% of your operations. The remaining 10% can be sourced on demand, provided your supplier has a fast turnaround.
For factories that sew a wide range of fabrics, a practical starter set might include: a general-purpose foot, a roller foot, a Teflon-coated foot, and a walking foot for the most common machine gauge. This set covers stable wovens, coated materials, and multi-layer heavy assemblies.
How to Evaluate a New Presser Foot Supplier
When evaluating a new presser foot manufacturer or supplier, request samples of the specific foot types you intend to use. Test them on your actual production machines and fabrics. Measure stitch consistency, fabric drag, and wear after a defined number of meters sewn. Do not rely on catalog specifications alone.
Also, verify that the supplier can provide consistent batch quality. Ask about their quality control process, including dimensional inspection frequency and hardness testing. A reputable China sewing parts supplier will be able to provide this documentation without hesitation.
When to Pay More for a Premium Presser Foot
Premium presser feet, often made from stainless steel or with specialized coatings, command a higher price. They are worth the investment when the application involves high-abrasion fabrics, strict quality standards for fabric surface appearance, or high-speed production where downtime is costly.
For general-purpose sewing on stable fabrics, a well-made standard carbon steel foot is sufficient. Do not overspend on features you do not need.
Conclusion: Match the Foot to the Fabric, Not the Brand
The presser foot is a small component with an outsized impact on seam quality and production efficiency. By understanding the functional differences between standard, roller, Teflon-coated, and walking feet, you can make informed selections that reduce rework and material waste.
When sourcing sewing machine accessories from overseas, prioritize technical communication over part number assumptions. Specify the machine model, shank type, needle size, and fabric application. Test samples before committing to bulk orders. And always inspect incoming parts for dimensional accuracy and surface finish.
With a systematic approach to presser foot selection, your factory can achieve consistent stitch quality across diverse materials, minimize machine downtime, and extend the service life of both the foot and the sewing machine itself. The right accessory is not the most expensive one—it is the one that matches the physical demands of your specific sewing operation.
Need this part for your workshop?
Get a Free Quote on WhatsApp: +86 137 3825 6697Browse the full catalog at pinseam.com · Free 2026 full catalog (PDF) · Related guide: presser foot
Edited by the technical team at PL (Professional Leader) — high-quality sewing machine accessories from China. About our factory | Catalog: pinseam.com | WhatsApp: +86 137 3825 6697


Comments
Post a Comment